Starting the Wizard
From the Products page, click the Create button to open the product creation wizard.Step 1: Choose the Product Type
The first step asks you to select the type of product you want to create. Each type is presented as a card with an icon and a description to help you make the right choice.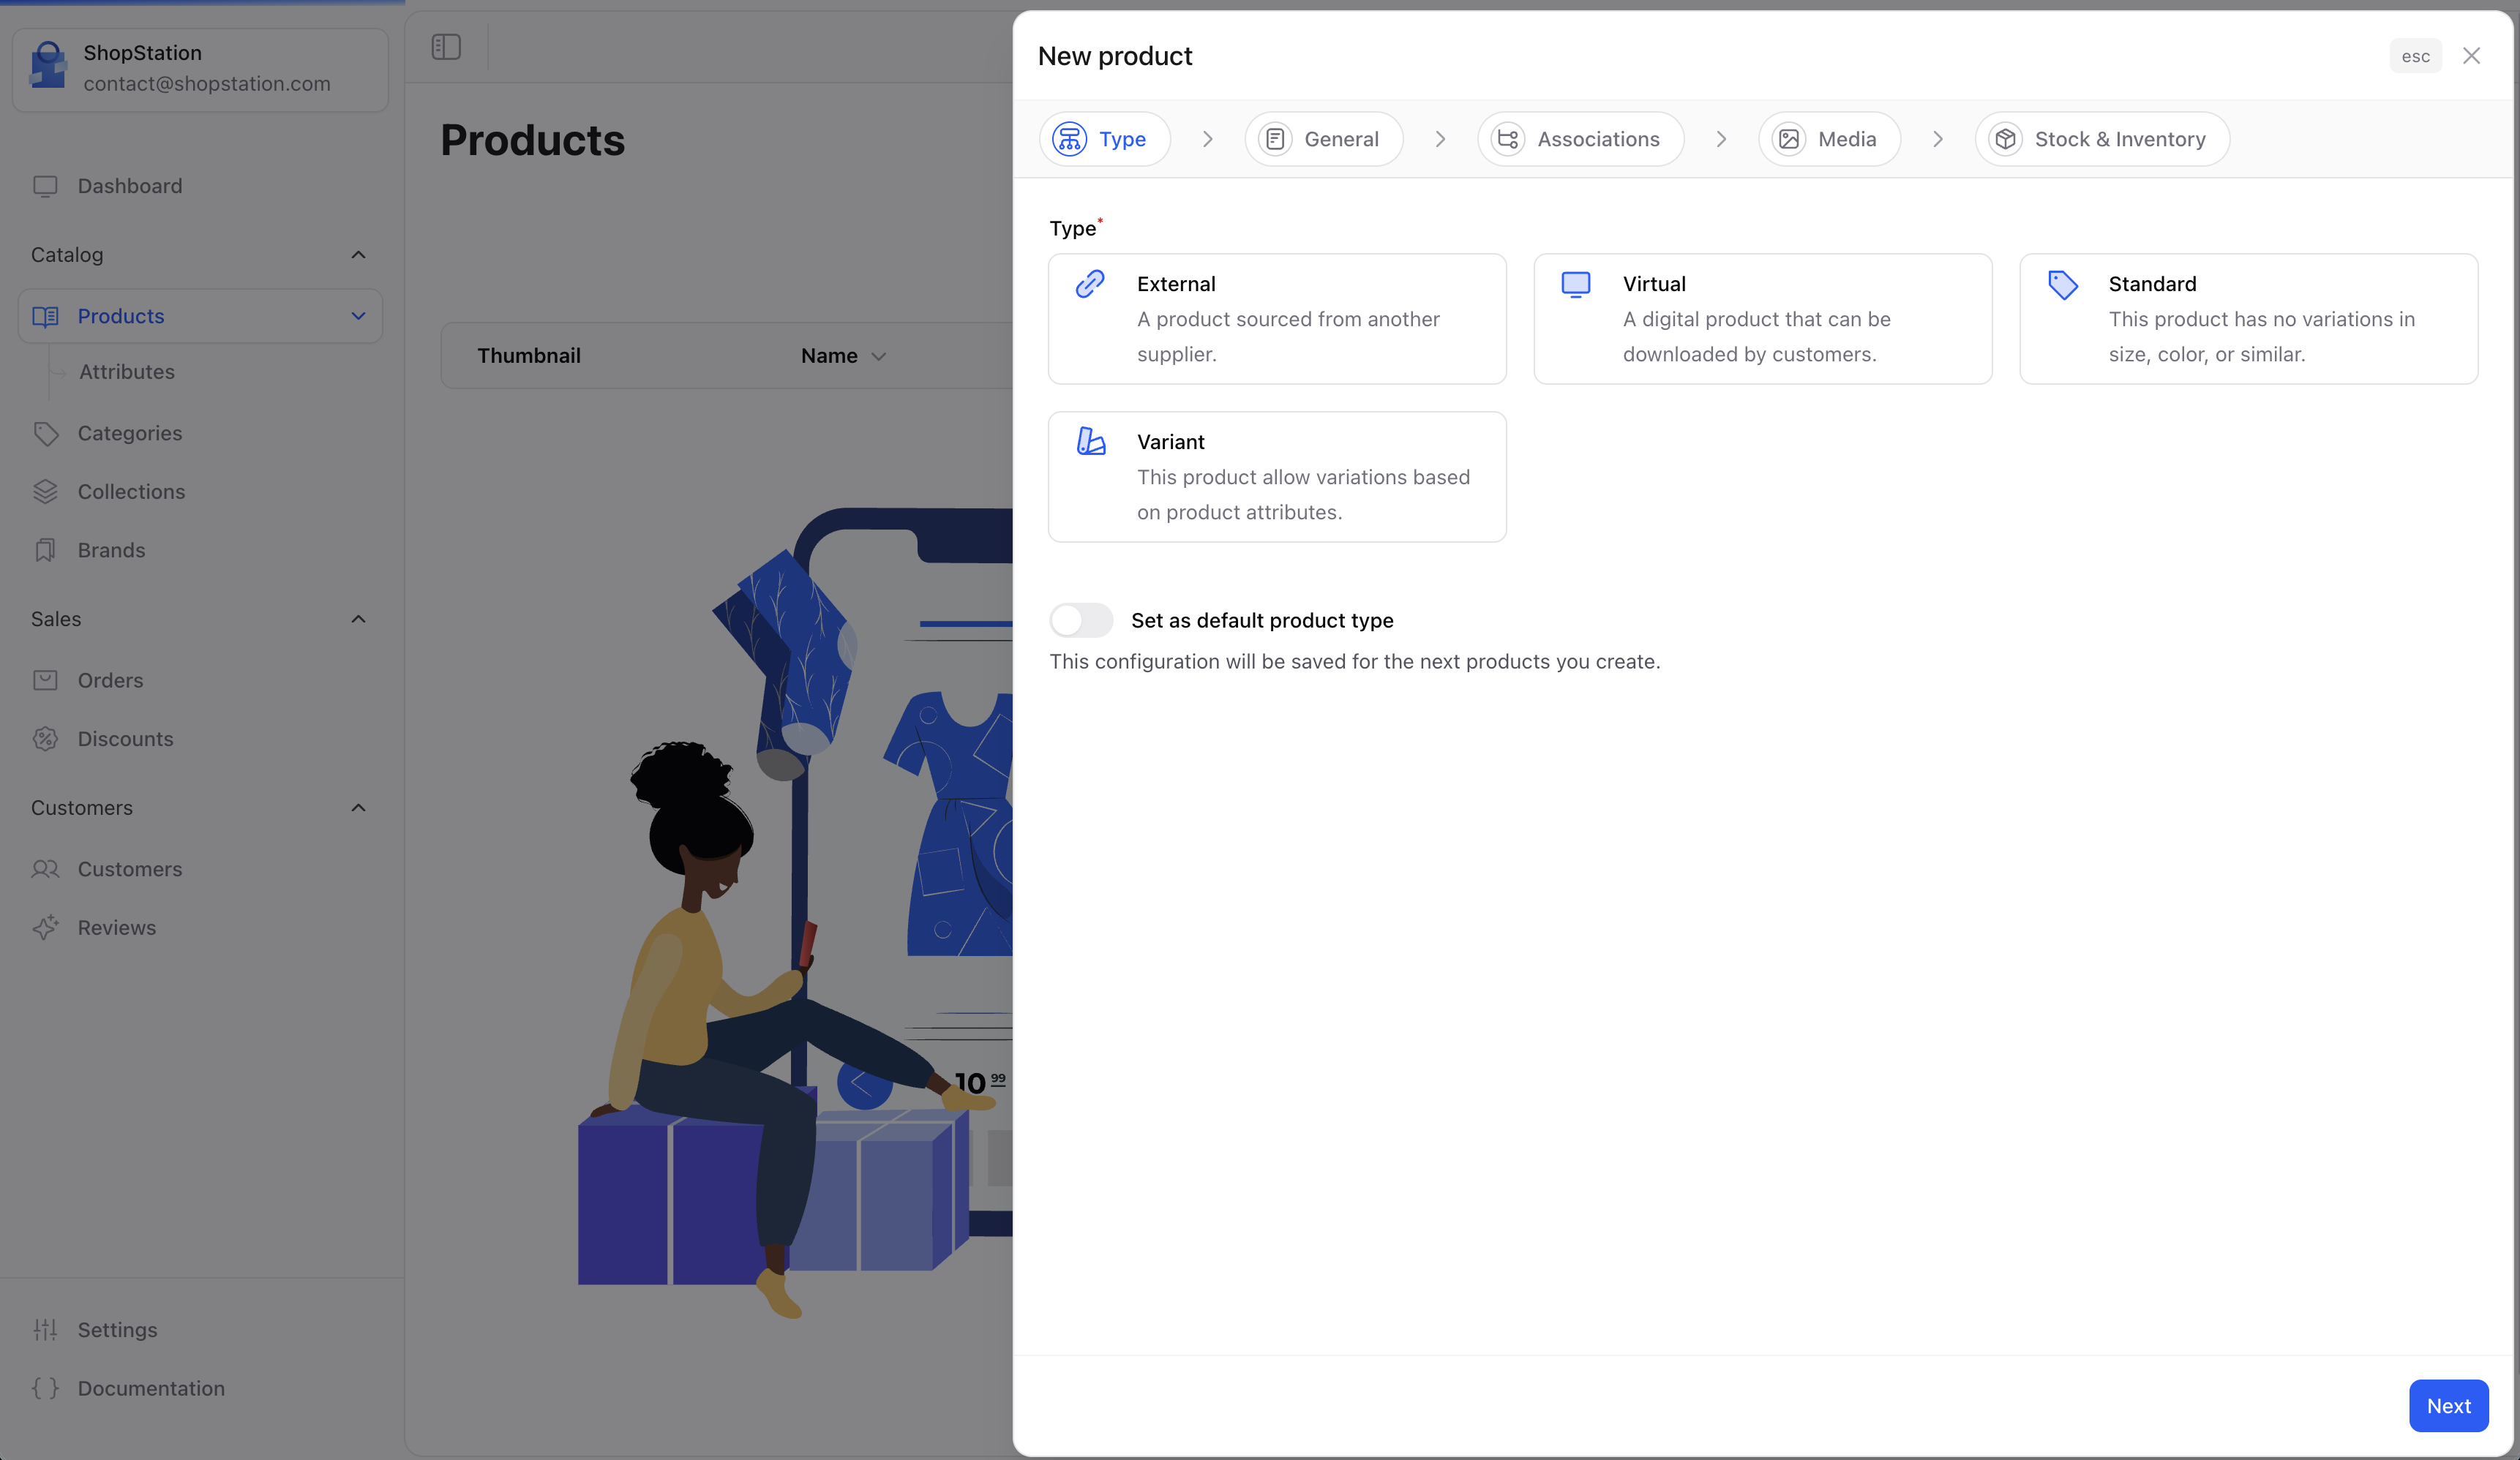
- Standard. Physical products that require shipping
- Virtual. Digital products (downloads, subscriptions, courses)
- External. Dropshipping products fulfilled by a third party
- Variant. Products with multiple options (size, color, material)
Step 2: General Information
This step collects the core information about your product.
The Name field automatically generates a URL slug (e.g., “Blue Running Shoes” becomes
blue-running-shoes). You can modify the slug later in the product settings.Step 3: Associations
Link your product to the organizational structures of your store.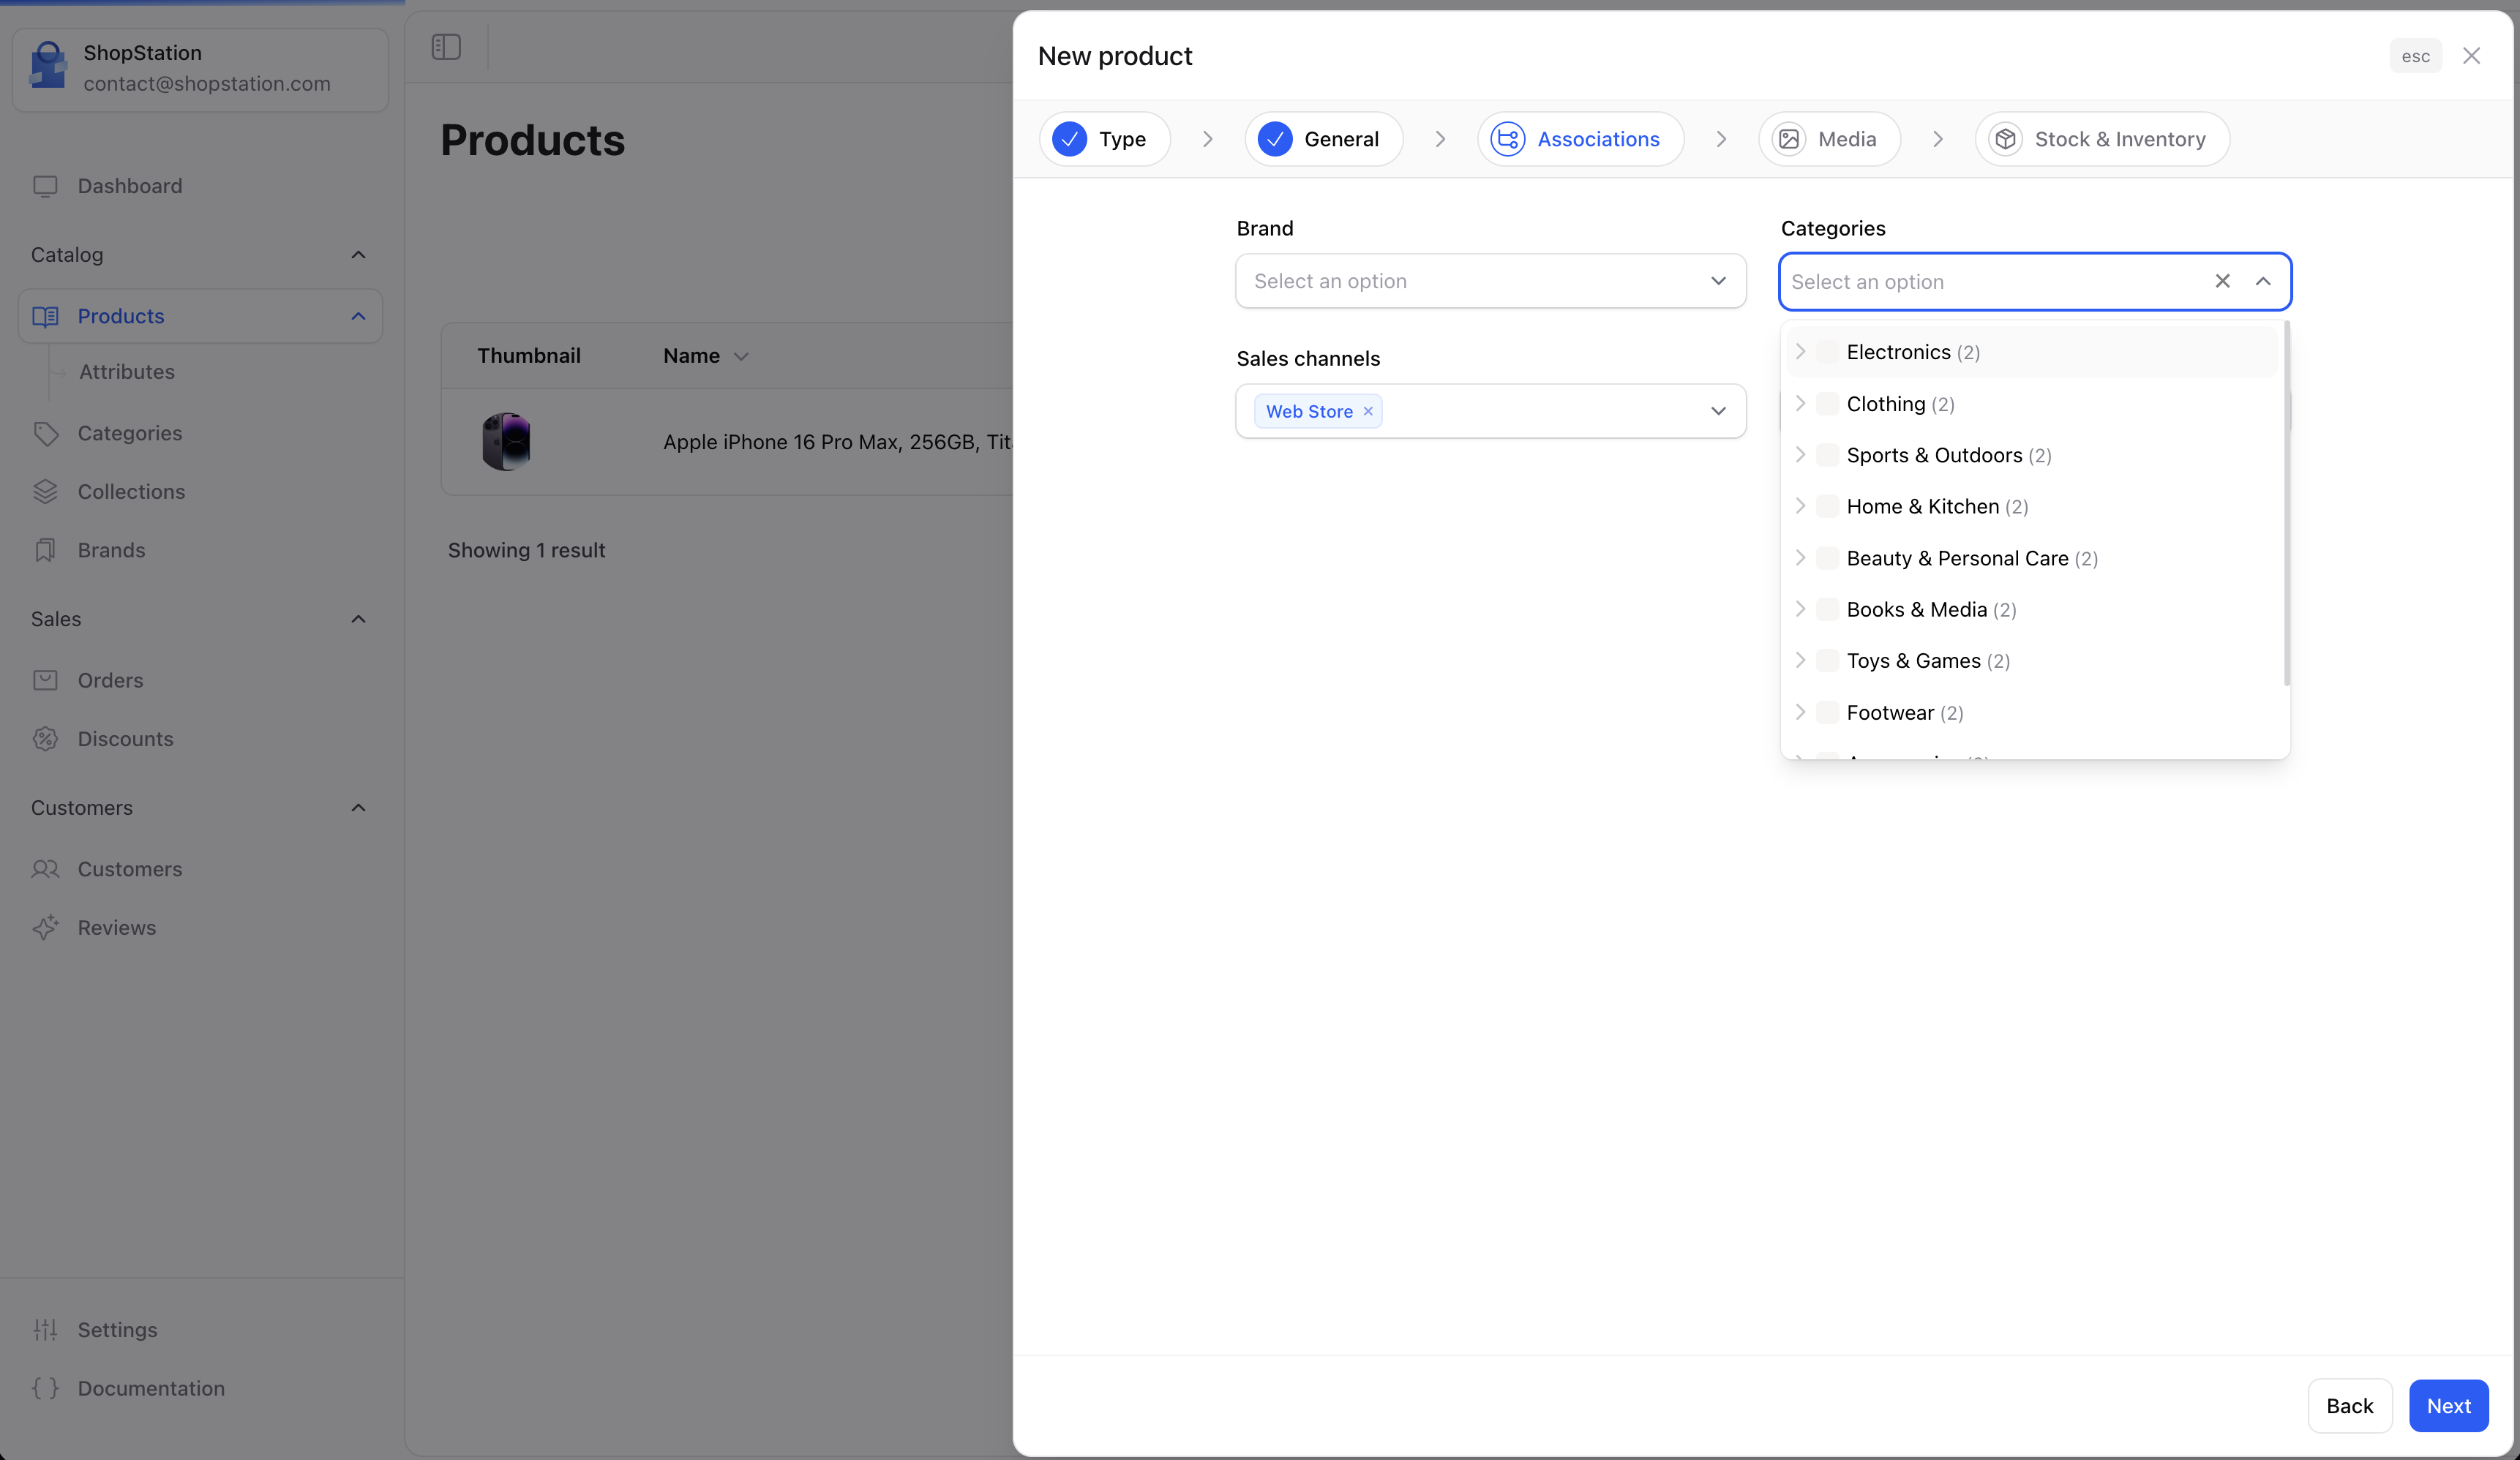
Step 4: Media
Upload images to showcase your product.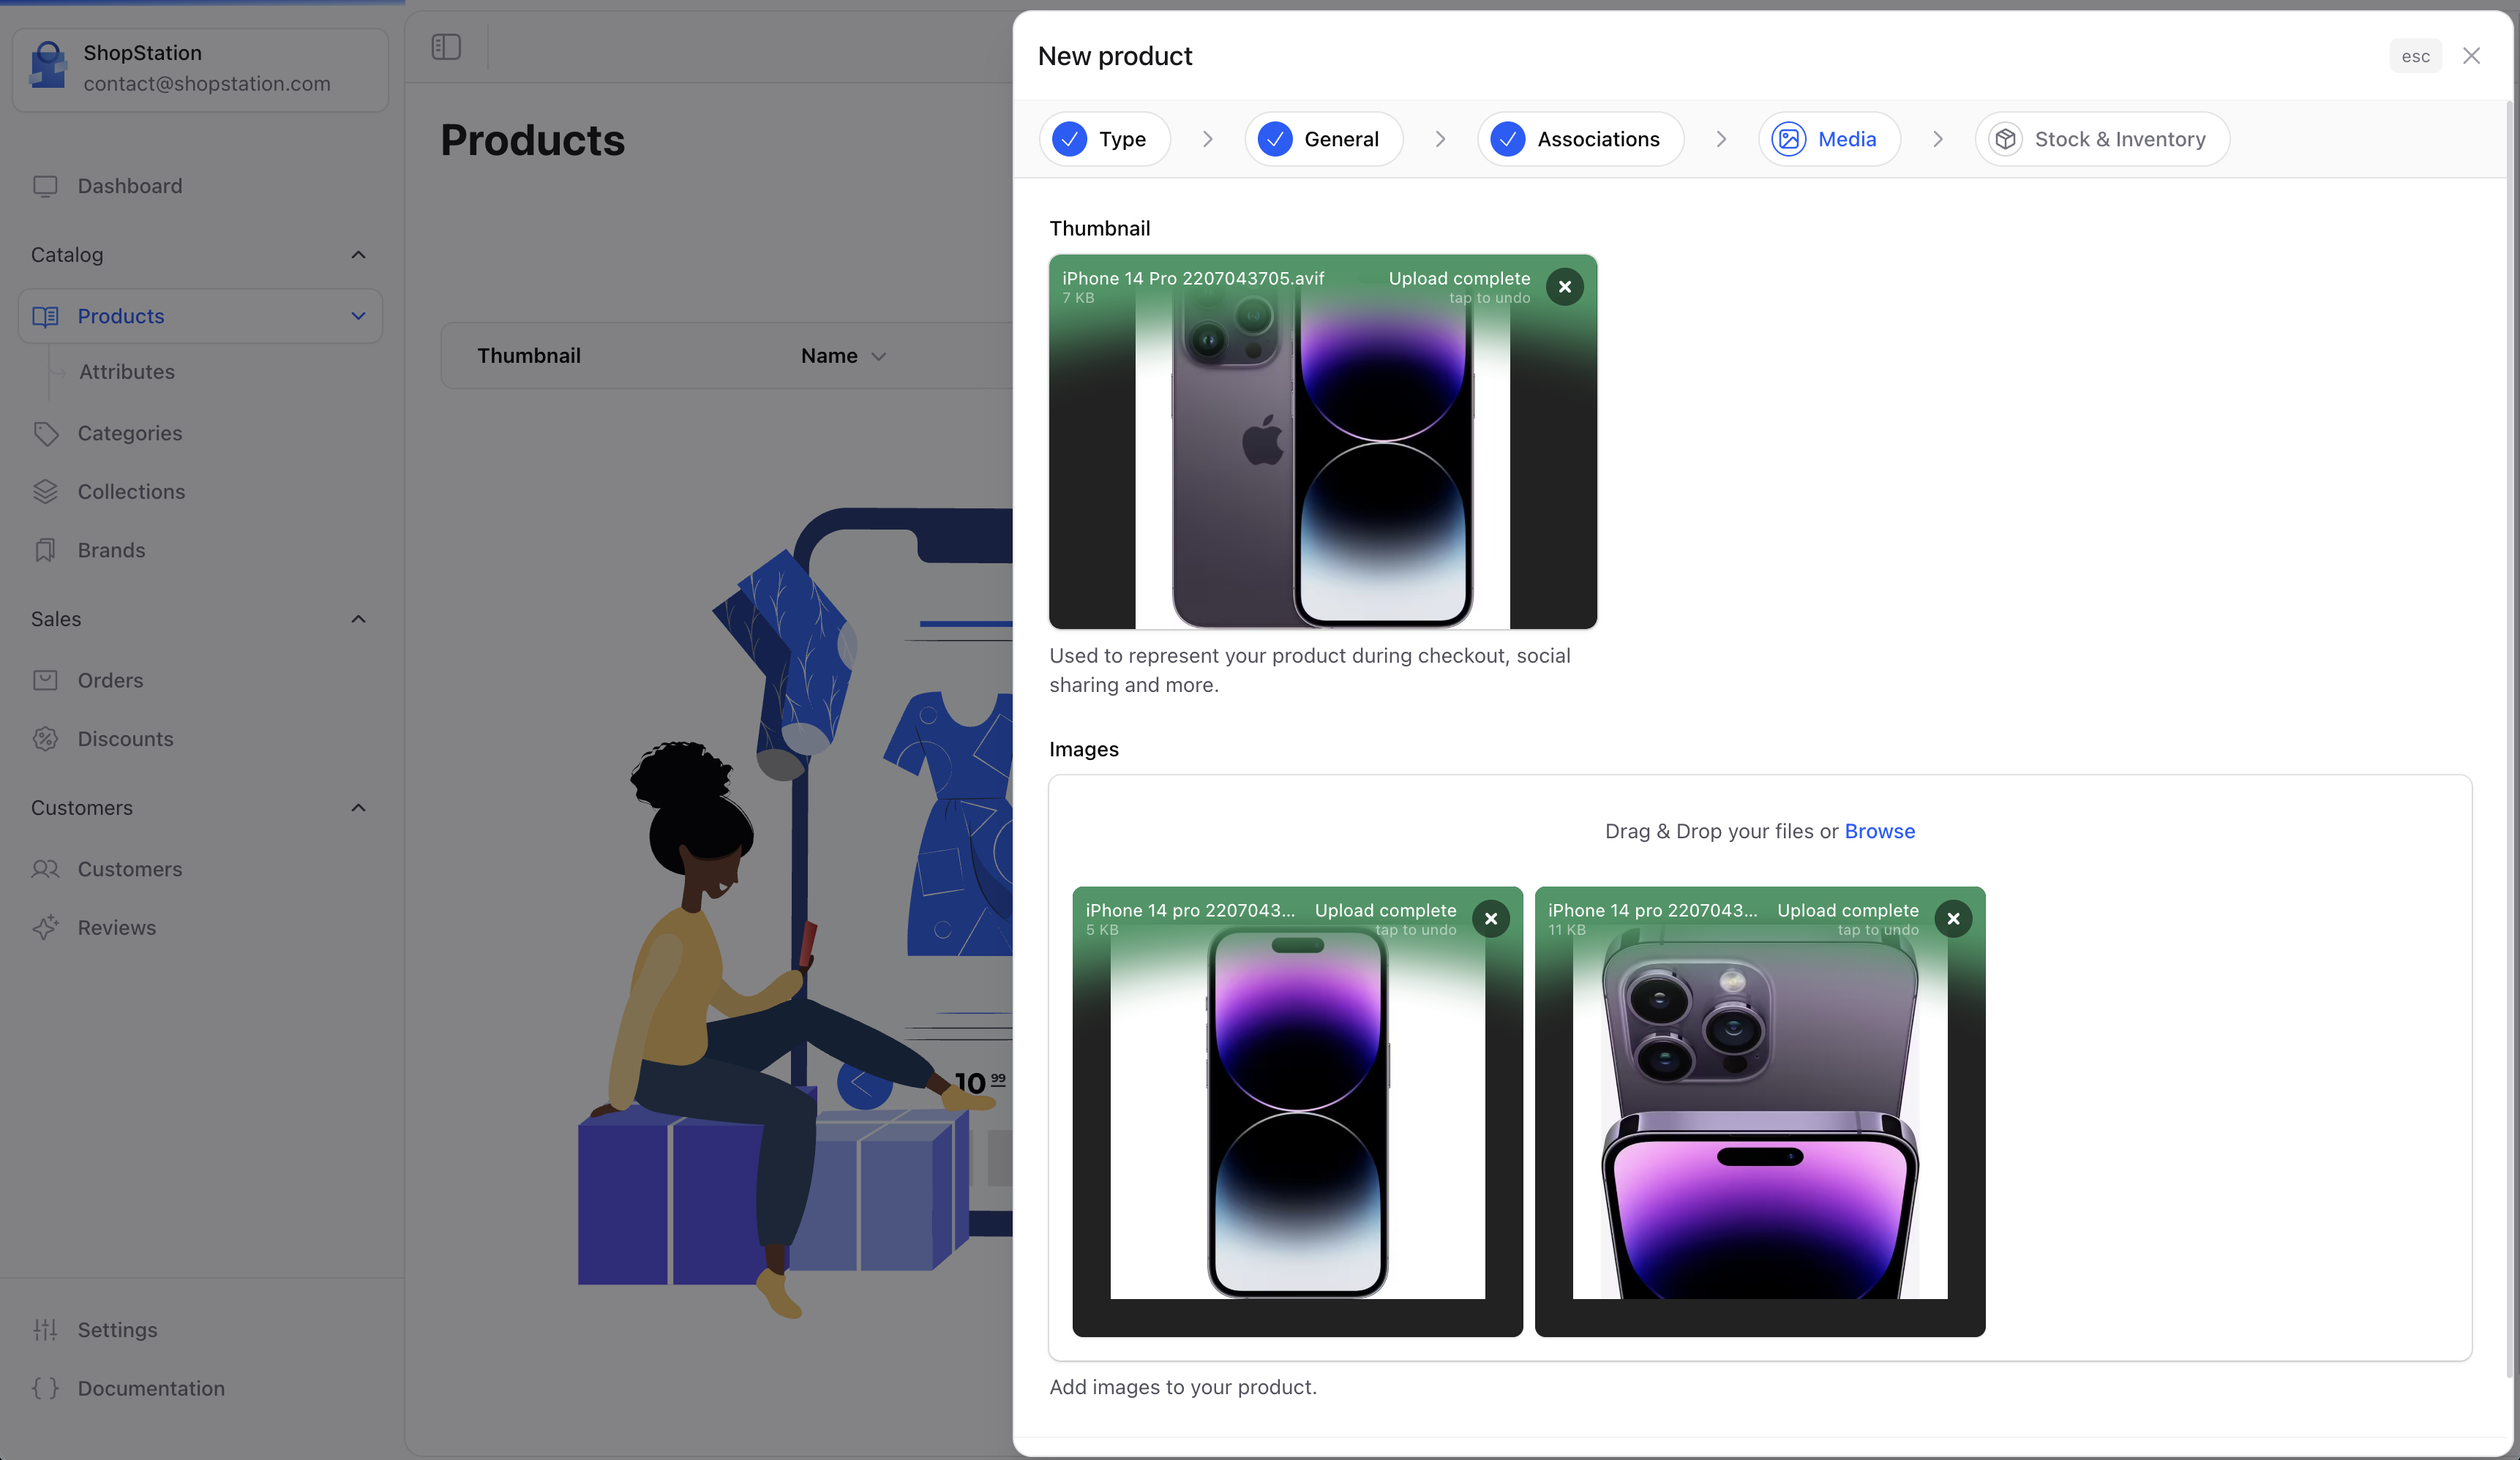
Image best practices:
- Use high-resolution images (minimum 800x800px recommended)
- Keep a consistent aspect ratio across products
- Show the product from multiple angles
- Use a clean background for the thumbnail
Step 5: Stock & Inventory
Set up the initial inventory information for your product.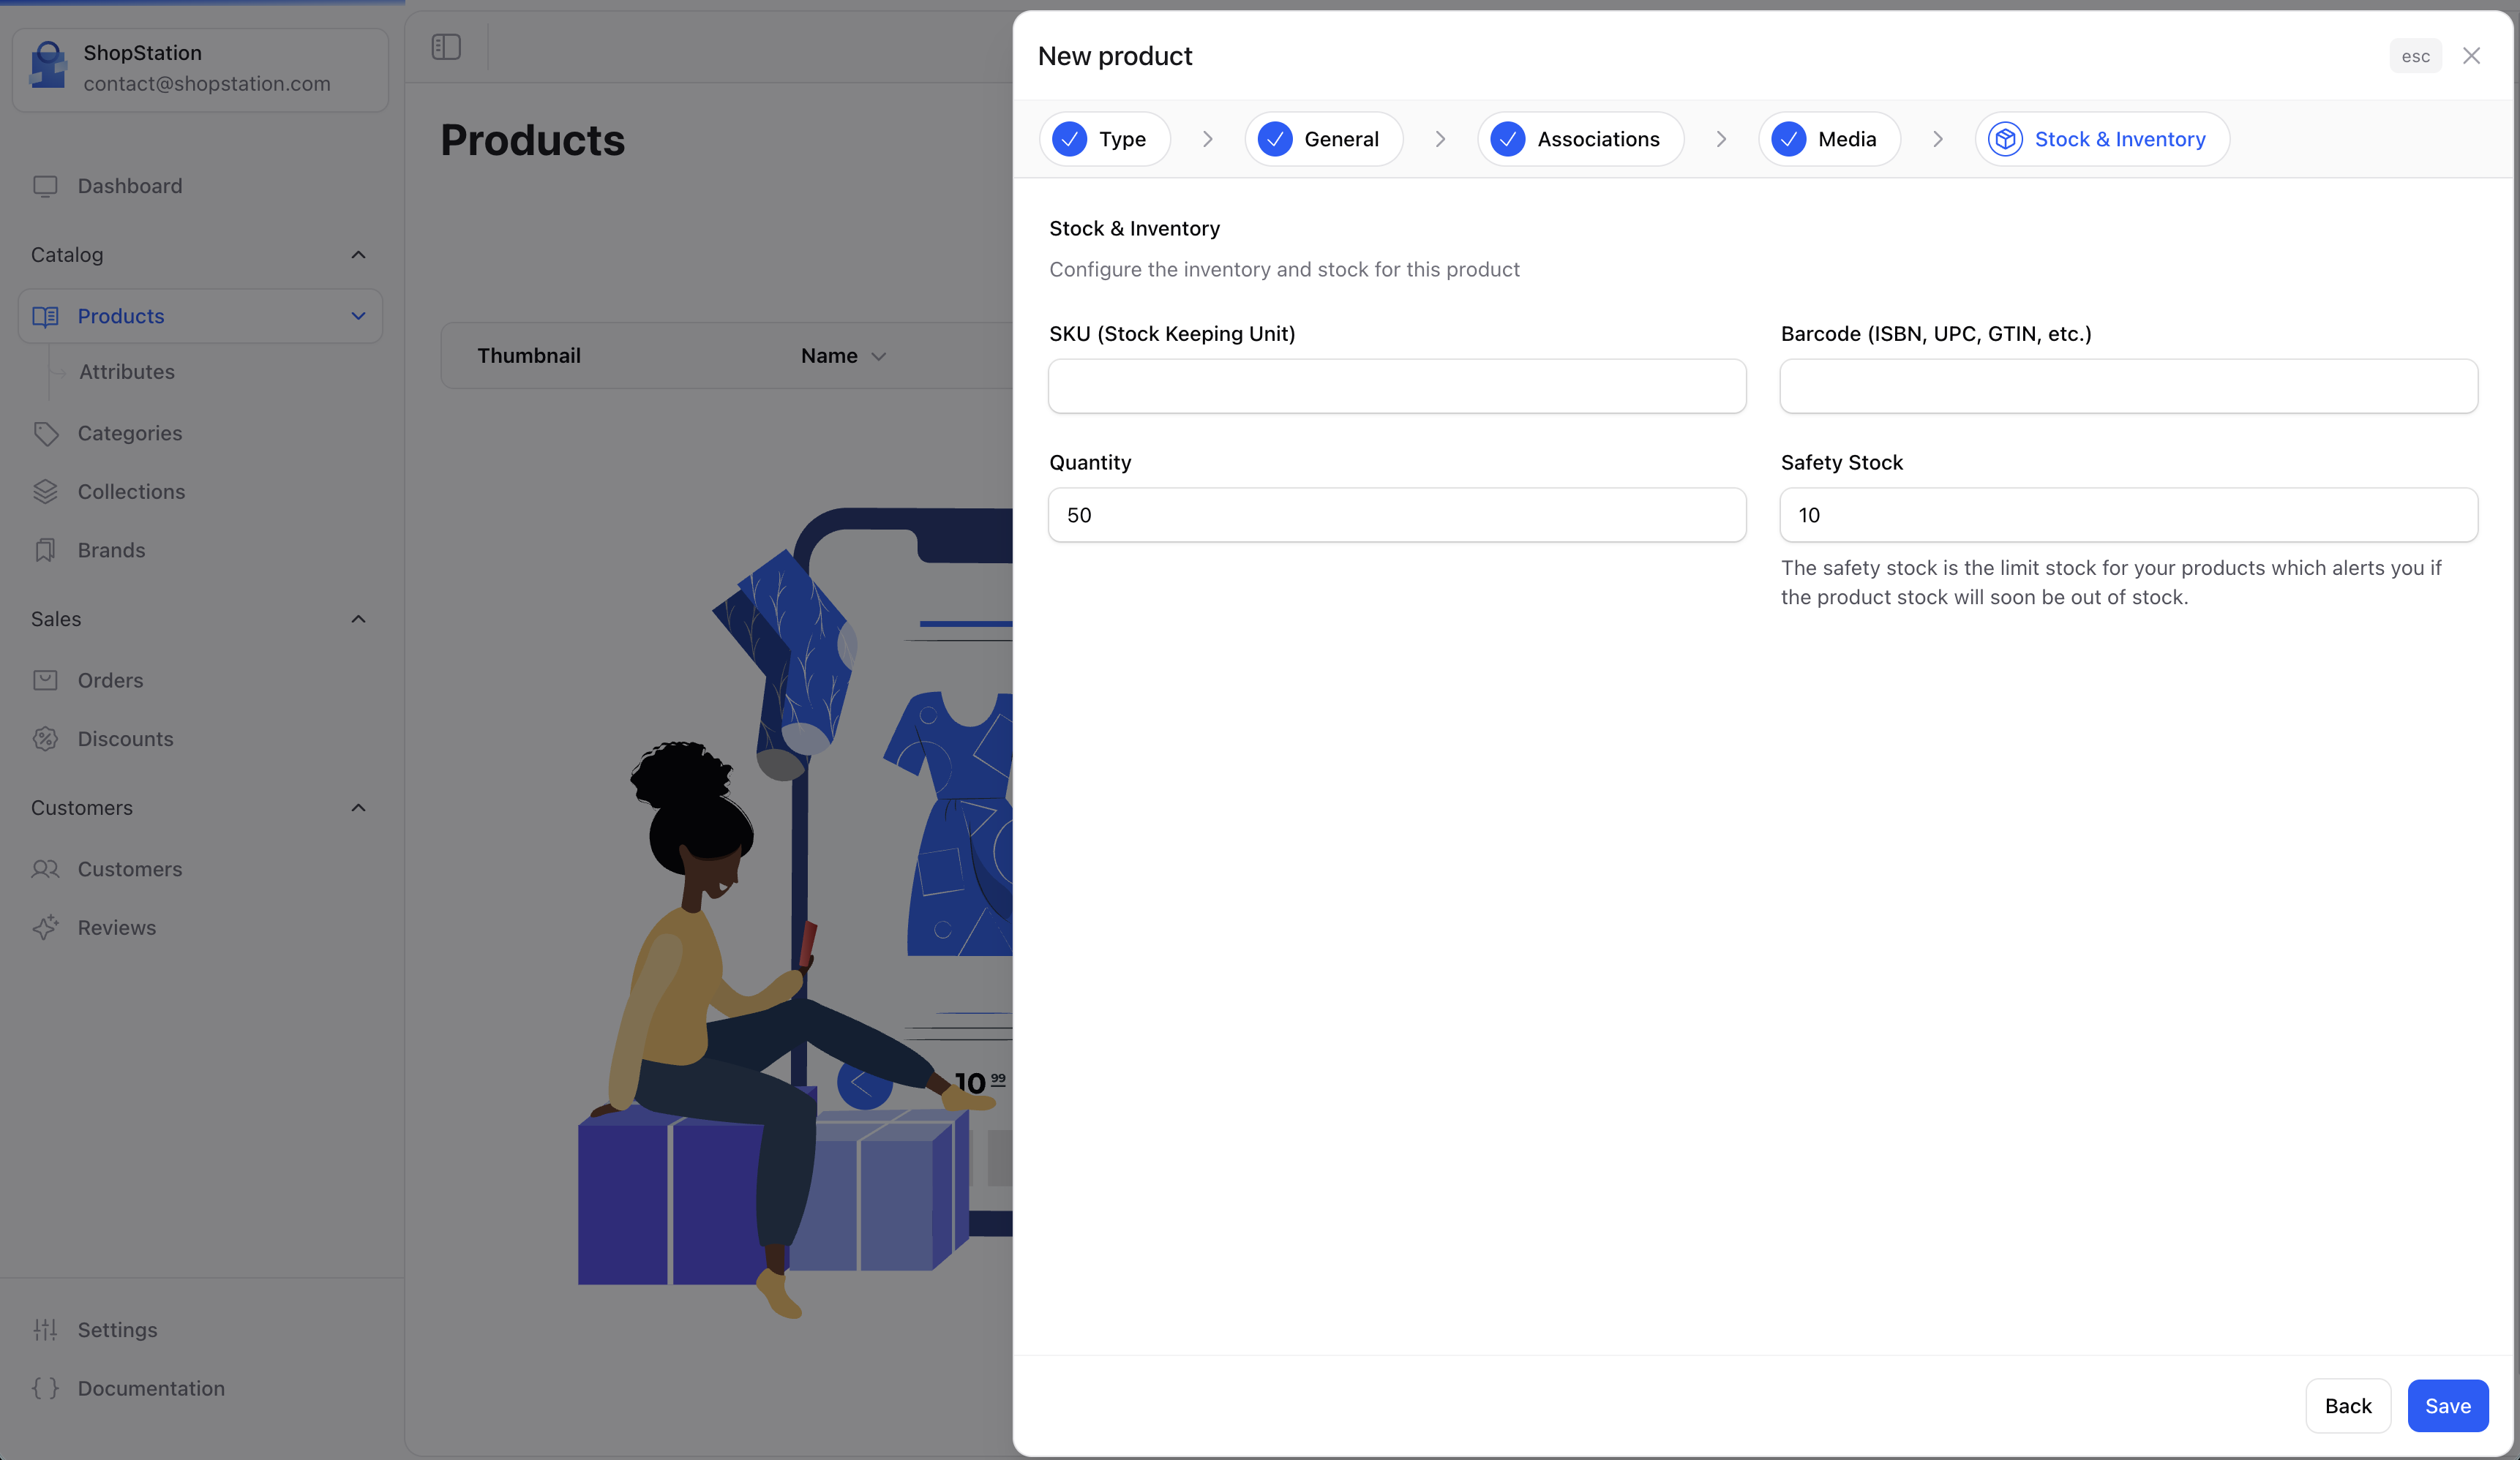
For Variant products, inventory is managed at the variant level (per size/color combination), not at the parent product level. You’ll configure stock for each variant after creation.
For Virtual and External products, inventory tracking is typically not needed since there’s no physical stock to manage.
Completing the Creation
After filling in all the steps, click Save to create your product. You’ll be redirected to the product detail page where you can:- Configure pricing
- Set up shipping dimensions (Standard & Variant products)
- Add product attributes (Standard & Variant products)
- Upload digital files (Virtual products)
- Generate variants (Variant products)
- Optimize SEO settings
- Link related products
What’s Next?
Depending on your product type, continue with the specific guide:Standard Product
Configure shipping, attributes, and inventory for physical goods.
Virtual Product
Upload digital files and configure access for downloadable products.
External Product
Set up dropshipping product details and supplier information.
Variant Product
Create variants from attribute combinations like size and color.