
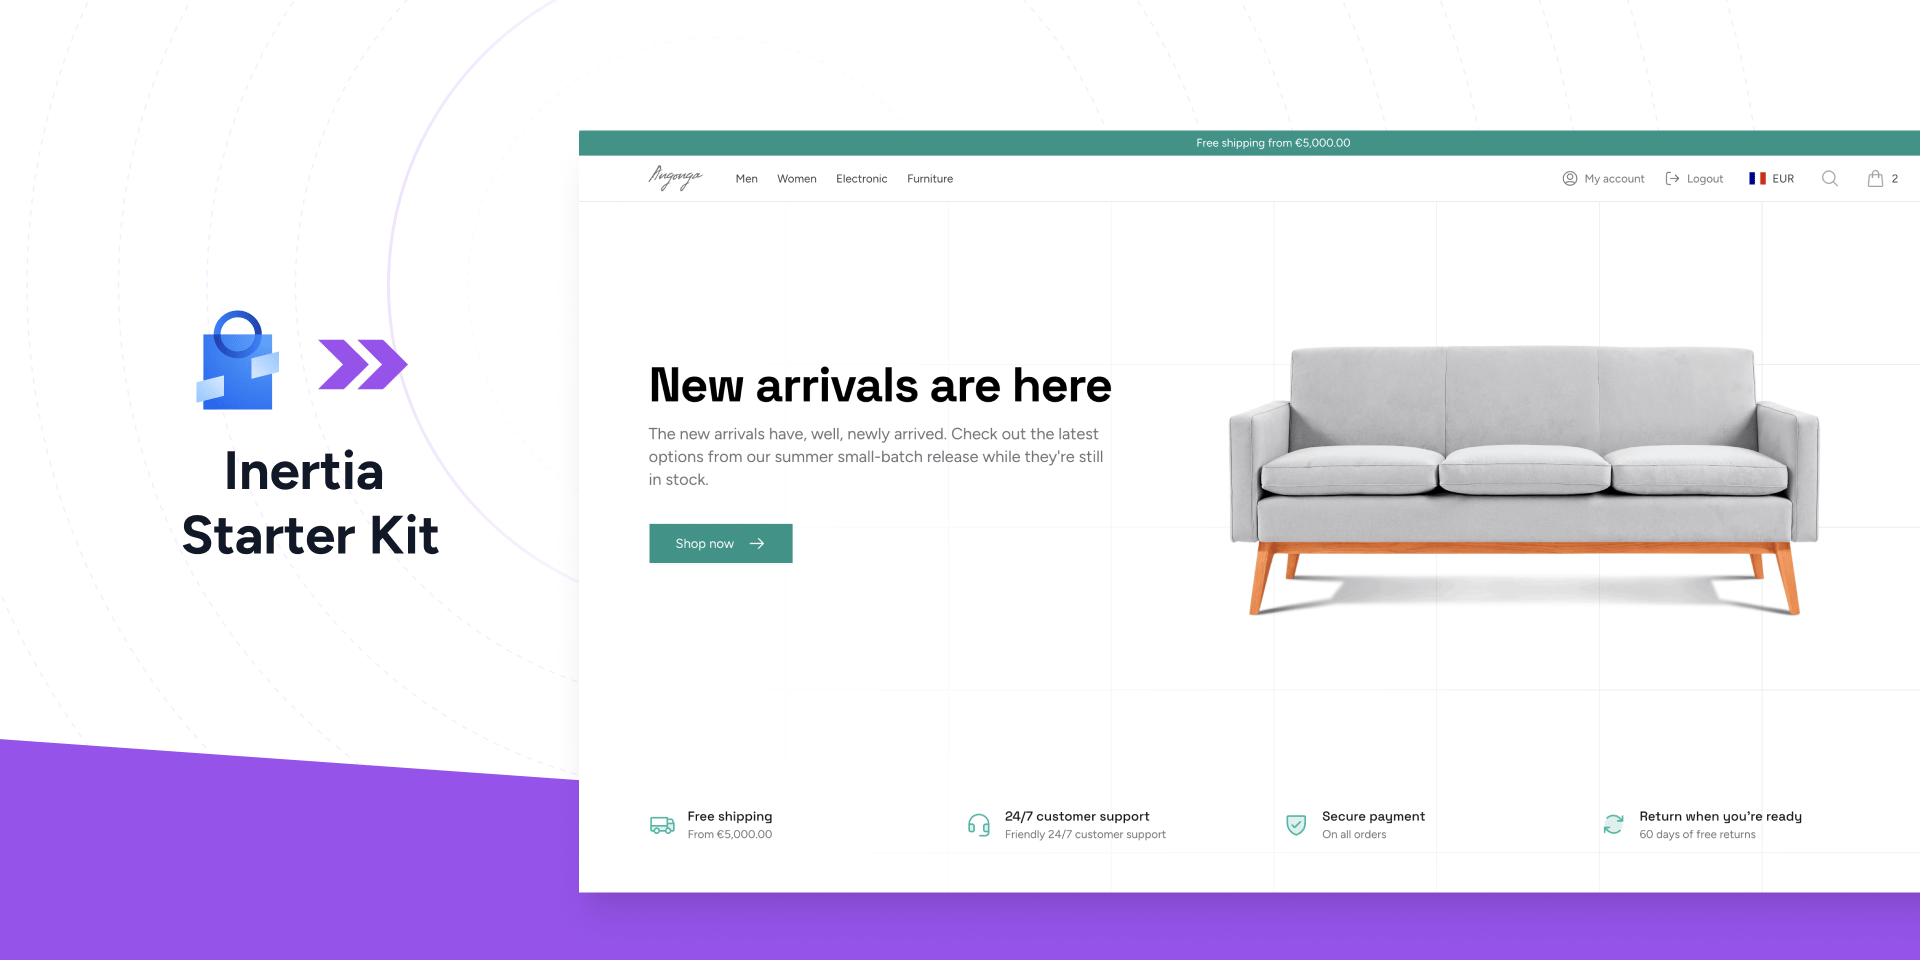
Prerequisites
Installation
Theshopper:kit:install command is built into Shopper. No additional package is required.
After installing dependencies, the kit runs its post-install commands: database migrations, storage symlink creation, npm install, and the frontend asset build.
Once complete, the kit package is removed from your
composer.json. The code is yours.
Project Structure
The starter kit publishes files into standard Laravel directories. The backend is shared with the React Starter Kit; only theresources/js frontend differs. Here is the full structure.
Routing
The starter kit defines all storefront routes inroutes/web.php. Unlike the Livewire kit, each page is rendered by a dedicated controller that returns an Inertia response. Routes are named so you can reference them through Wayfinder in your Vue components.
Public Routes
Cart mutations are exposed as their own throttled endpoints:
POST /cart adds a line, PATCH /cart/{line} updates a quantity, DELETE /cart/{line} removes a line, and DELETE /cart clears the cart. The active pricing zone is changed with PATCH /zone.
Authenticated Routes
These routes require the user to be logged in and have a verified email.
The checkout flow posts to dedicated endpoints for each step (
checkout/shipping-address, checkout/shipping-option, checkout/prepare-payment, checkout/place-order). The Stripe webhook endpoint is registered at /webhooks/stripe with rate limiting.
Architecture
The starter kit follows a clear separation of concerns. Business logic lives in Action classes, data structures in DTOs, HTTP handling in controllers, and UI in Vue components. This makes it straightforward to modify any part of the storefront without affecting others.Actions
Actions are single-responsibility classes that encapsulate business logic. They are resolved from the container, so you can swap implementations or add dependencies as needed.
Order creation is wrapped in
CreateOrder, which uses Cache::lock for idempotency and verifies cart ownership before converting the cart into an order.
DTOs
Data Transfer Objects provide type-safe structures for data passed between the backend and the Vue frontend. Because the kit uses the TypeScript Transformer, these DTOs also become TypeScript types your components can import.Controllers
Each storefront page is rendered by a controller inapp/Http/Controllers/. Controllers query Shopper’s models, wrap data in DTOs, and return an Inertia response that renders the matching page component.
resources/js/pages/.
Inertia Shared Data
TheHandleInertiaRequests middleware shares global data with every page, so your components always have access to the authenticated user and the current shop state without re-fetching it. The shop prop carries the cart count, the selected zone, the active currency, available channels and zones, the tax label, and navigation categories.
useShop composable reads this shared data, and useCart exposes the cart count and mutation helpers.
Models
The starter kit publishes model files that extend Shopper’s base models. These are configured inconfig/shopper/models.php so that Shopper’s internals use your extended versions.
InteractsWithStorefrontMedia trait appends thumbnail and images attributes to every JSON response, so your Vue components receive ready-to-use media URLs.
CheckoutSession
TheCheckoutSession class defines constants for session keys used throughout the checkout flow. This provides a single place to reference all checkout-related session data.
Helpers
Theapp/helpers.php file defines three global functions used across the storefront.
Type Safety
This kit is type-safe end to end. Three tools work together so your Vue components never guess at the shape of backend data.
The
TypeScriptTransformerServiceProvider registers the transformer. Run the generation command after changing a DTO to refresh the TypeScript types your components import.
Checkout Flow
The checkout is a multi-step process handled byCheckoutController. Each step posts to its own endpoint and validates its data before proceeding to the next.
Step 1 - Shipping Address. The customer enters a new address or selects one of their saved addresses. The address is stored in the session and attached to the cart via CartManager::addAddress().
Step 2 - Delivery Options. The BuildShippingPackages action builds package data from the cart, then FetchDeliveryRates queries configured carriers for available shipping rates based on the address and packages. The customer selects a delivery option.
Step 3 - Payment. FetchPaymentMethods loads available payment methods for the customer’s country. When the customer places the order, the CreateOrder action converts the cart into an order inside a database transaction, adds shipping costs, and initiates payment processing through Shopper’s PaymentProcessingService.
For Stripe payments, the customer is redirected to a dedicated payment page (StripePaymentController) that renders the Stripe Payment Element through the useStripeElements composable. The StripeWebhookController handles payment confirmation webhooks.
Zones and Currency
The starter kit uses Shopper’s zone system for multi-currency and regional pricing. TheZoneSelector component in the footer lets customers pick their country. When a zone is selected, the ZoneSessionManager stores a CountryByZoneData DTO in the session with the zone ID, country code, and currency code. All prices across the storefront update to reflect the zone’s currency through the shared shop prop.
If no zone is selected, the storefront falls back to your store’s default currency from shopper_currency().
The current_tax_label() helper checks the zone’s tax configuration to display “TTC” (tax-inclusive) or “HT” (tax-exclusive) labels alongside prices.
To enable zone selection, create at least one active zone in your Shopper admin panel. You can optionally set a default zone using the SHOPPER_DEFAULT_ZONE environment variable.
Customization
Once installed, every file belongs to your project. Here are the most common customization paths.Styling
All views use shadcn-vue components and Tailwind CSS v4. Modify colors, spacing, and layouts by editing the components inresources/js. UI primitives live in resources/js/components/ui/, and the storefront chrome is in resources/js/layouts/storefront/.
Pages
Each page is a Vue single-file component inresources/js/pages/. Edit any .vue file to change a page’s layout or content. To change the data a page receives, edit its controller in app/Http/Controllers/.
Checkout
To modify the checkout flow, edit the action classes inapp/Actions/Checkout/. Each action handles one concern, so you can change how shipping rates are calculated without touching payment logic.
To add a new payment provider, implement the provider using Shopper’s payment system and register it in your admin panel. The checkout will automatically pick it up through FetchPaymentMethods.
Adding Pages
Create a controller, register a named route inroutes/web.php, and add the matching Vue component under resources/js/pages/.
Models
Add methods, scopes, or relationships directly to the model files inapp/Models/. These models extend Shopper’s base models, so all existing functionality is preserved.