Customers
Fields
The model used isApp\Models\User which extends the \Shopper\Framework\Models\User\User model.
Components
The components used to manage customers are found in the component configuration fileconfig/shopper/components.php.
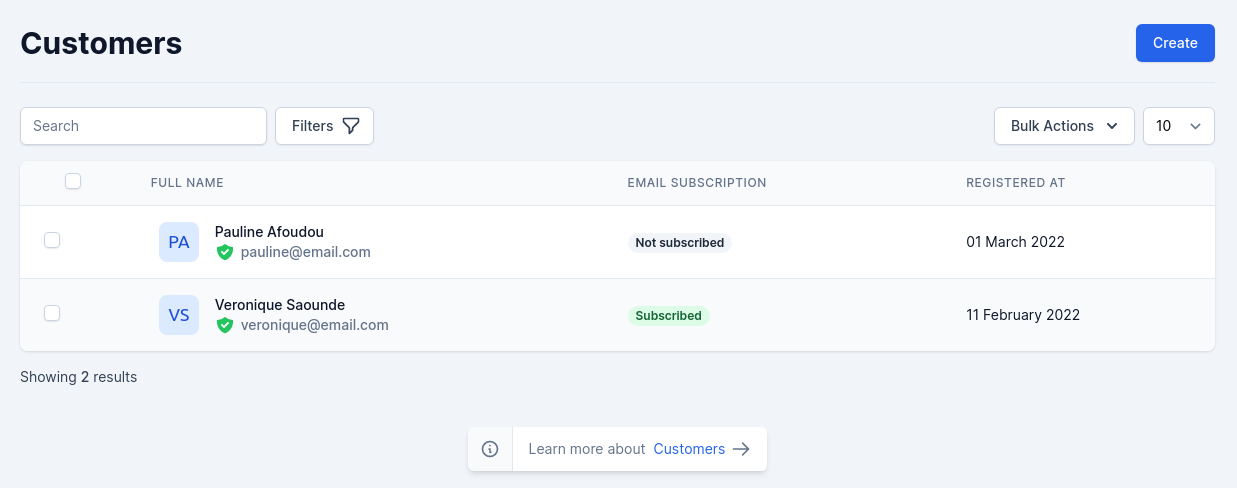
Manage Customers
When a new customer places an order with your store, their name and information are automatically added to your customer list. A customer profile is created when a customer interacts with your store. Alternatively, you can add a customer to your store manually.Create customer
From your Shopper admin, go to Customers and click on “Add customer” button.
Create customer
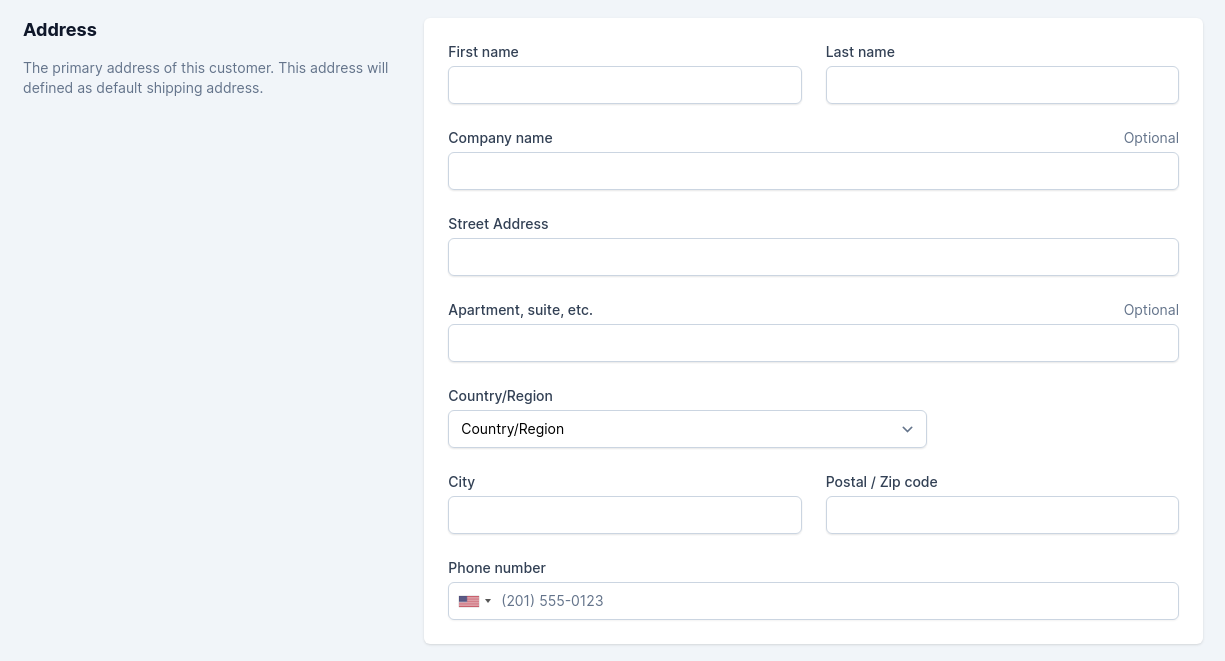
Customer address form

Customer notifications
Shopper\Framework\Http\Livewire\Customers\Create
The clients that are displayed in the listing page are those that have the
user profile which is the default role associated with all clients.Customer’s Information
In the case where you would like to have more information on a given customer, you can click on the customer name row in the customer’s list. A new page appears.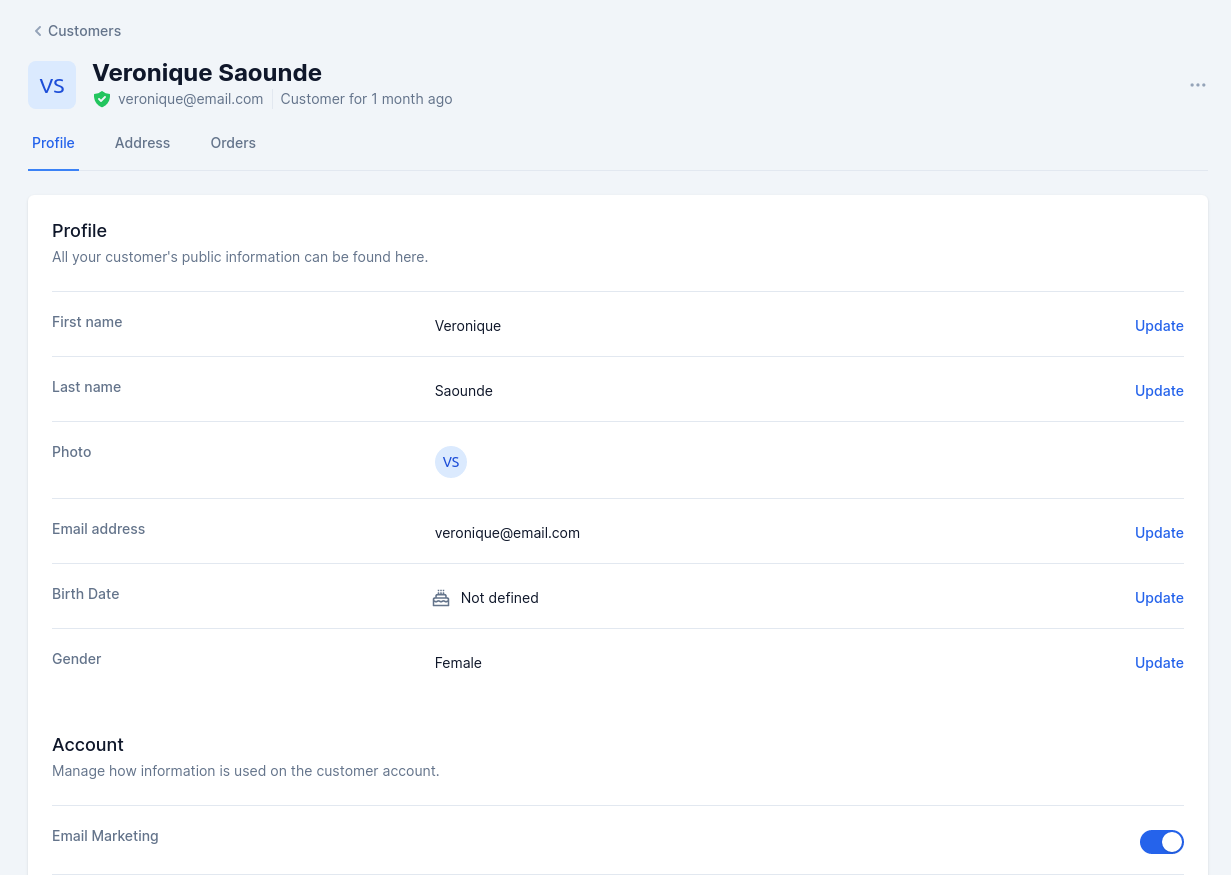
Customer informations
- Customer information, first and last name, e-mail address, picture, birth date, gender.
- Registered Addresses
- Orders Summary of purchases already made by the customer. Amount spent, payment type, order status. For more information on each order, click on the order number.