> ## Documentation Index
> Fetch the complete documentation index at: https://docs.laravelshopper.dev/llms.txt
> Use this file to discover all available pages before exploring further.
# Managing Customers
> View and manage your customer accounts and information.
Your customers are essential to your business. Shopper helps you manage customer information, track their orders, and build lasting relationships.
## Overview
The Customers section allows you to:
* View all registered customers
* Access customer details and order history
* Manage customer addresses
* Send notifications to customers
* Create customers manually
## Accessing Customers
Click on **Customers** in the sidebar to access customer management.
 ## Customer List
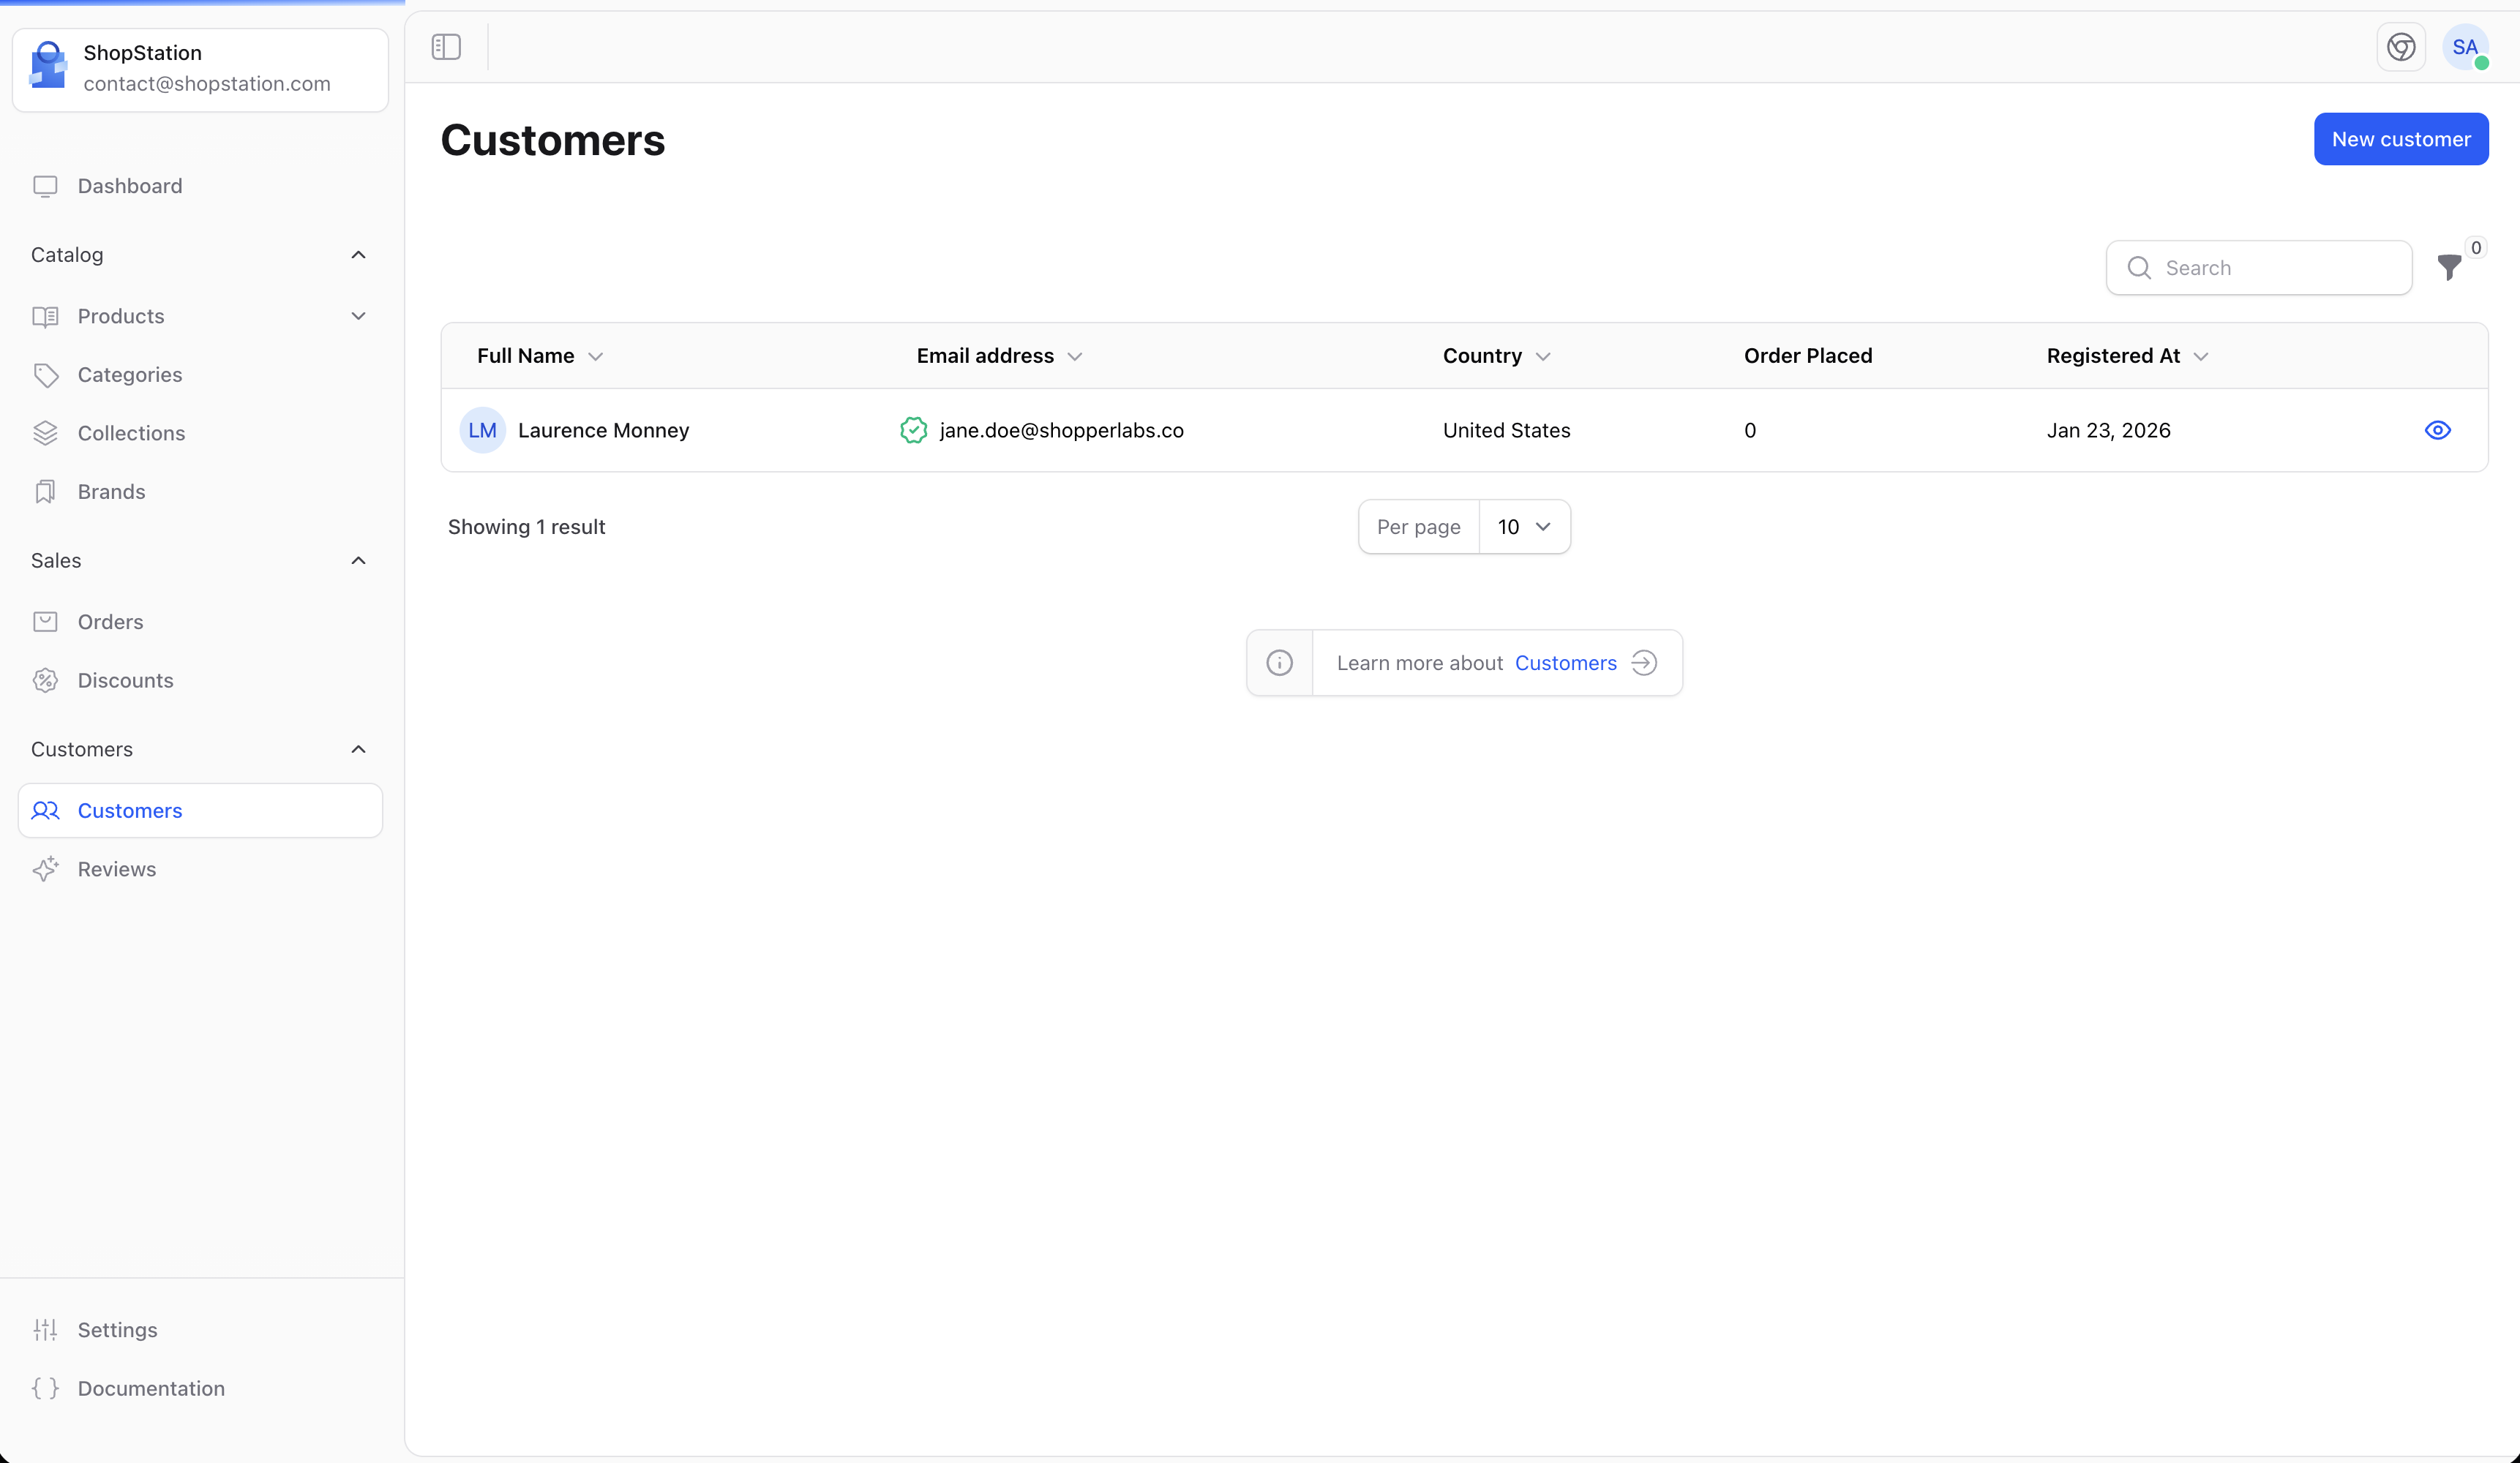
The customer list displays:
| Column | Description |
| ---------------- | ----------------------- |
| **Name** | Customer's full name |
| **Email** | Contact email address |
| **Orders** | Number of orders placed |
| **Amount spent** | Total spending amount |
| **Created** | When they registered |
### Empty State
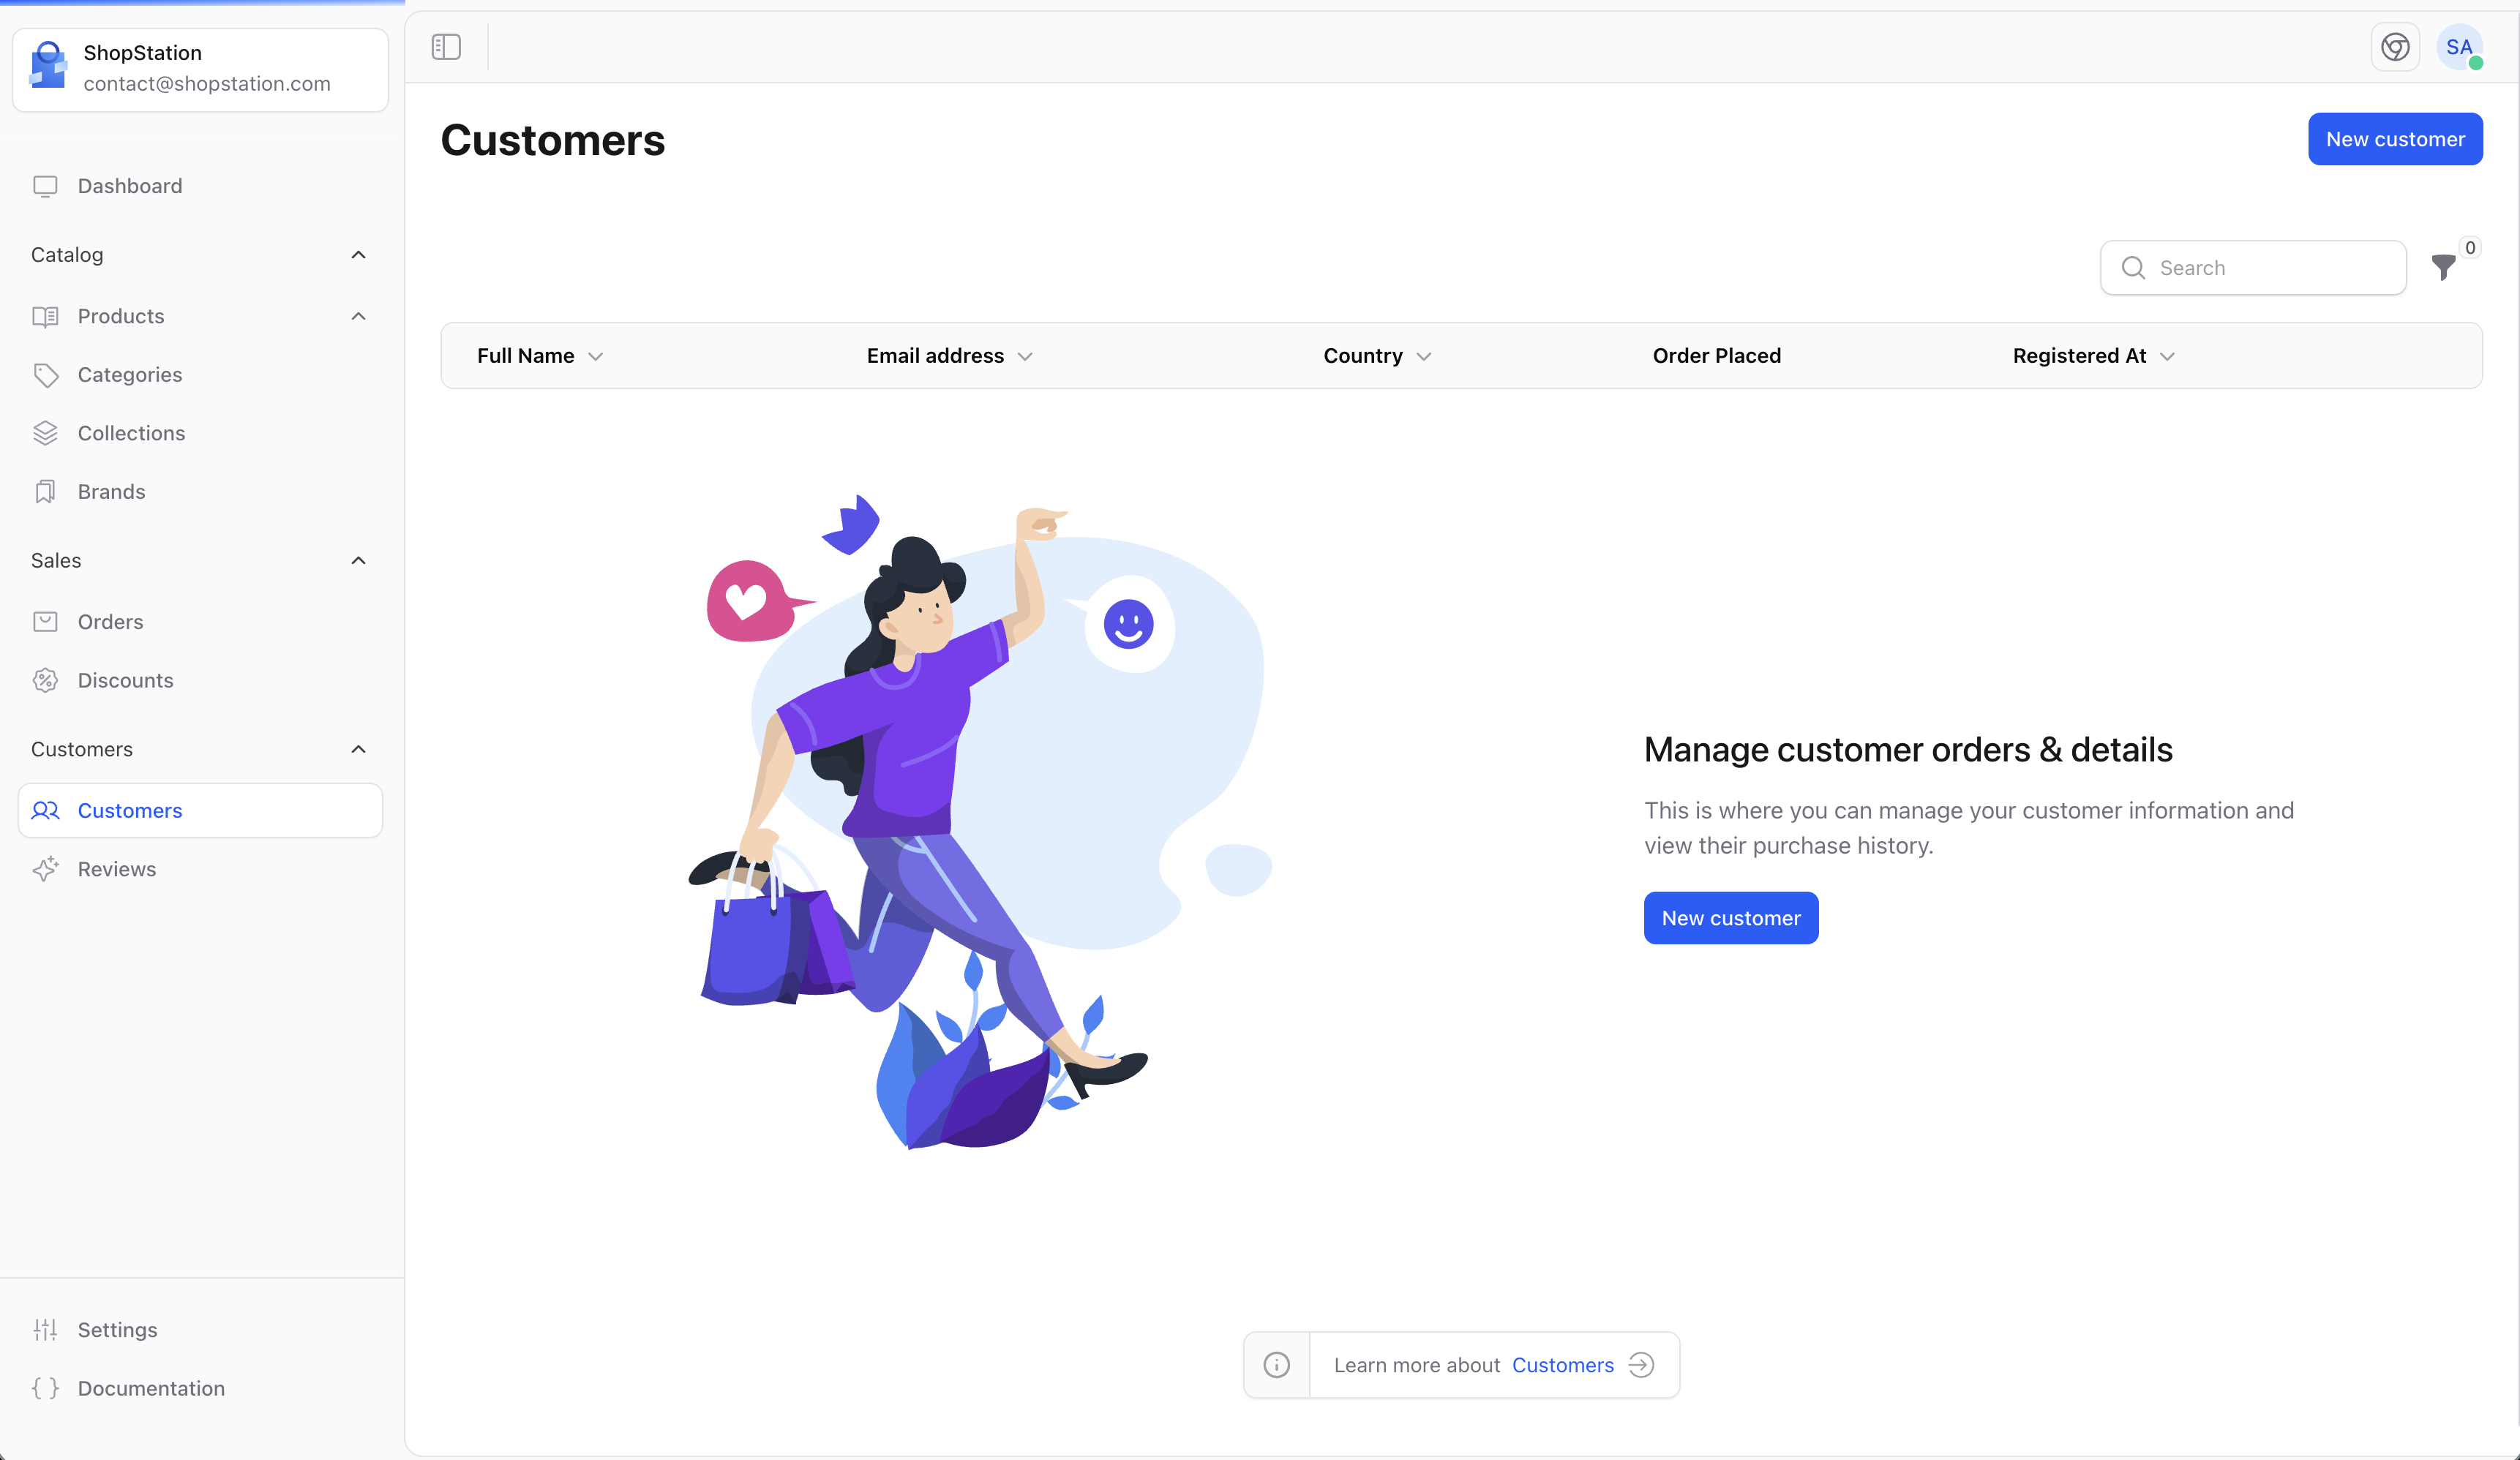
If you don't have any customers yet, you'll see a helpful prompt:
## Customer List
The customer list displays:
| Column | Description |
| ---------------- | ----------------------- |
| **Name** | Customer's full name |
| **Email** | Contact email address |
| **Orders** | Number of orders placed |
| **Amount spent** | Total spending amount |
| **Created** | When they registered |
### Empty State
If you don't have any customers yet, you'll see a helpful prompt:
 ## Customer Details
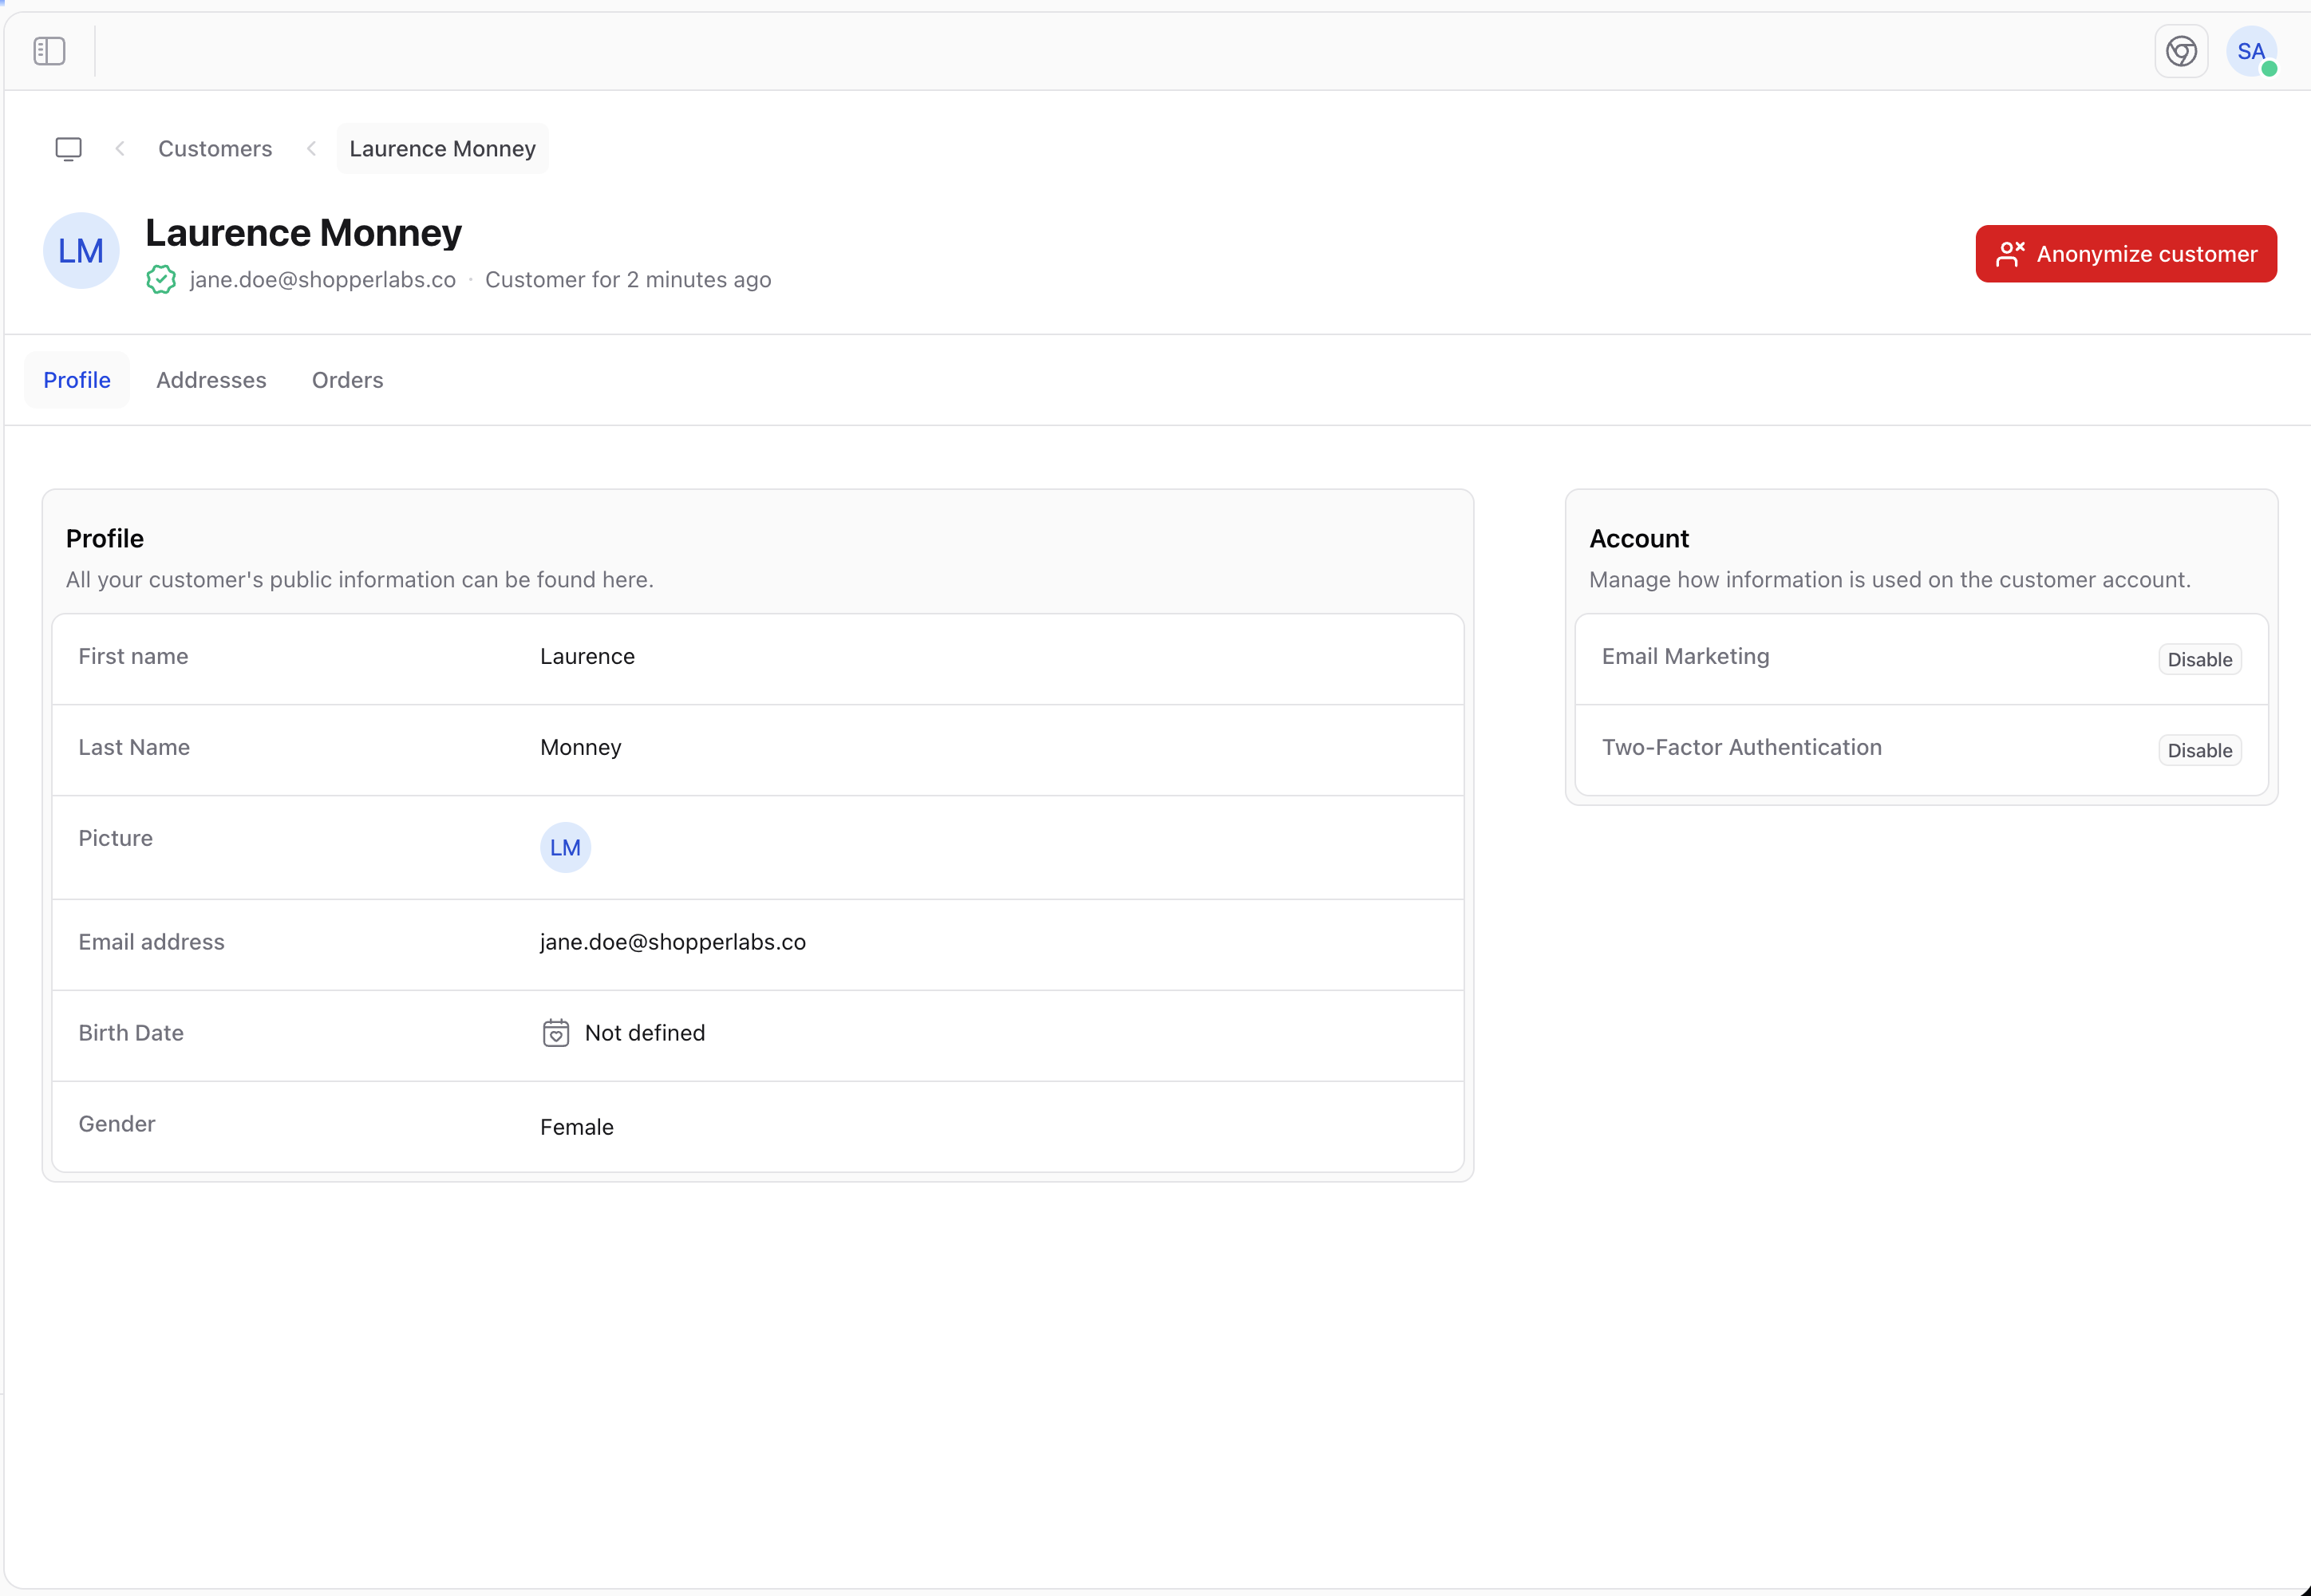
Click on a customer to view their complete profile:
## Customer Details
Click on a customer to view their complete profile:
 ### Profile Information
* **Personal details** - Name, email, phone
* **Account status** - Active, disabled
* **Marketing preferences** - Email subscriptions
* **Notes** - Internal notes about the customer
### Addresses
View and manage customer addresses:
### Profile Information
* **Personal details** - Name, email, phone
* **Account status** - Active, disabled
* **Marketing preferences** - Email subscriptions
* **Notes** - Internal notes about the customer
### Addresses
View and manage customer addresses:
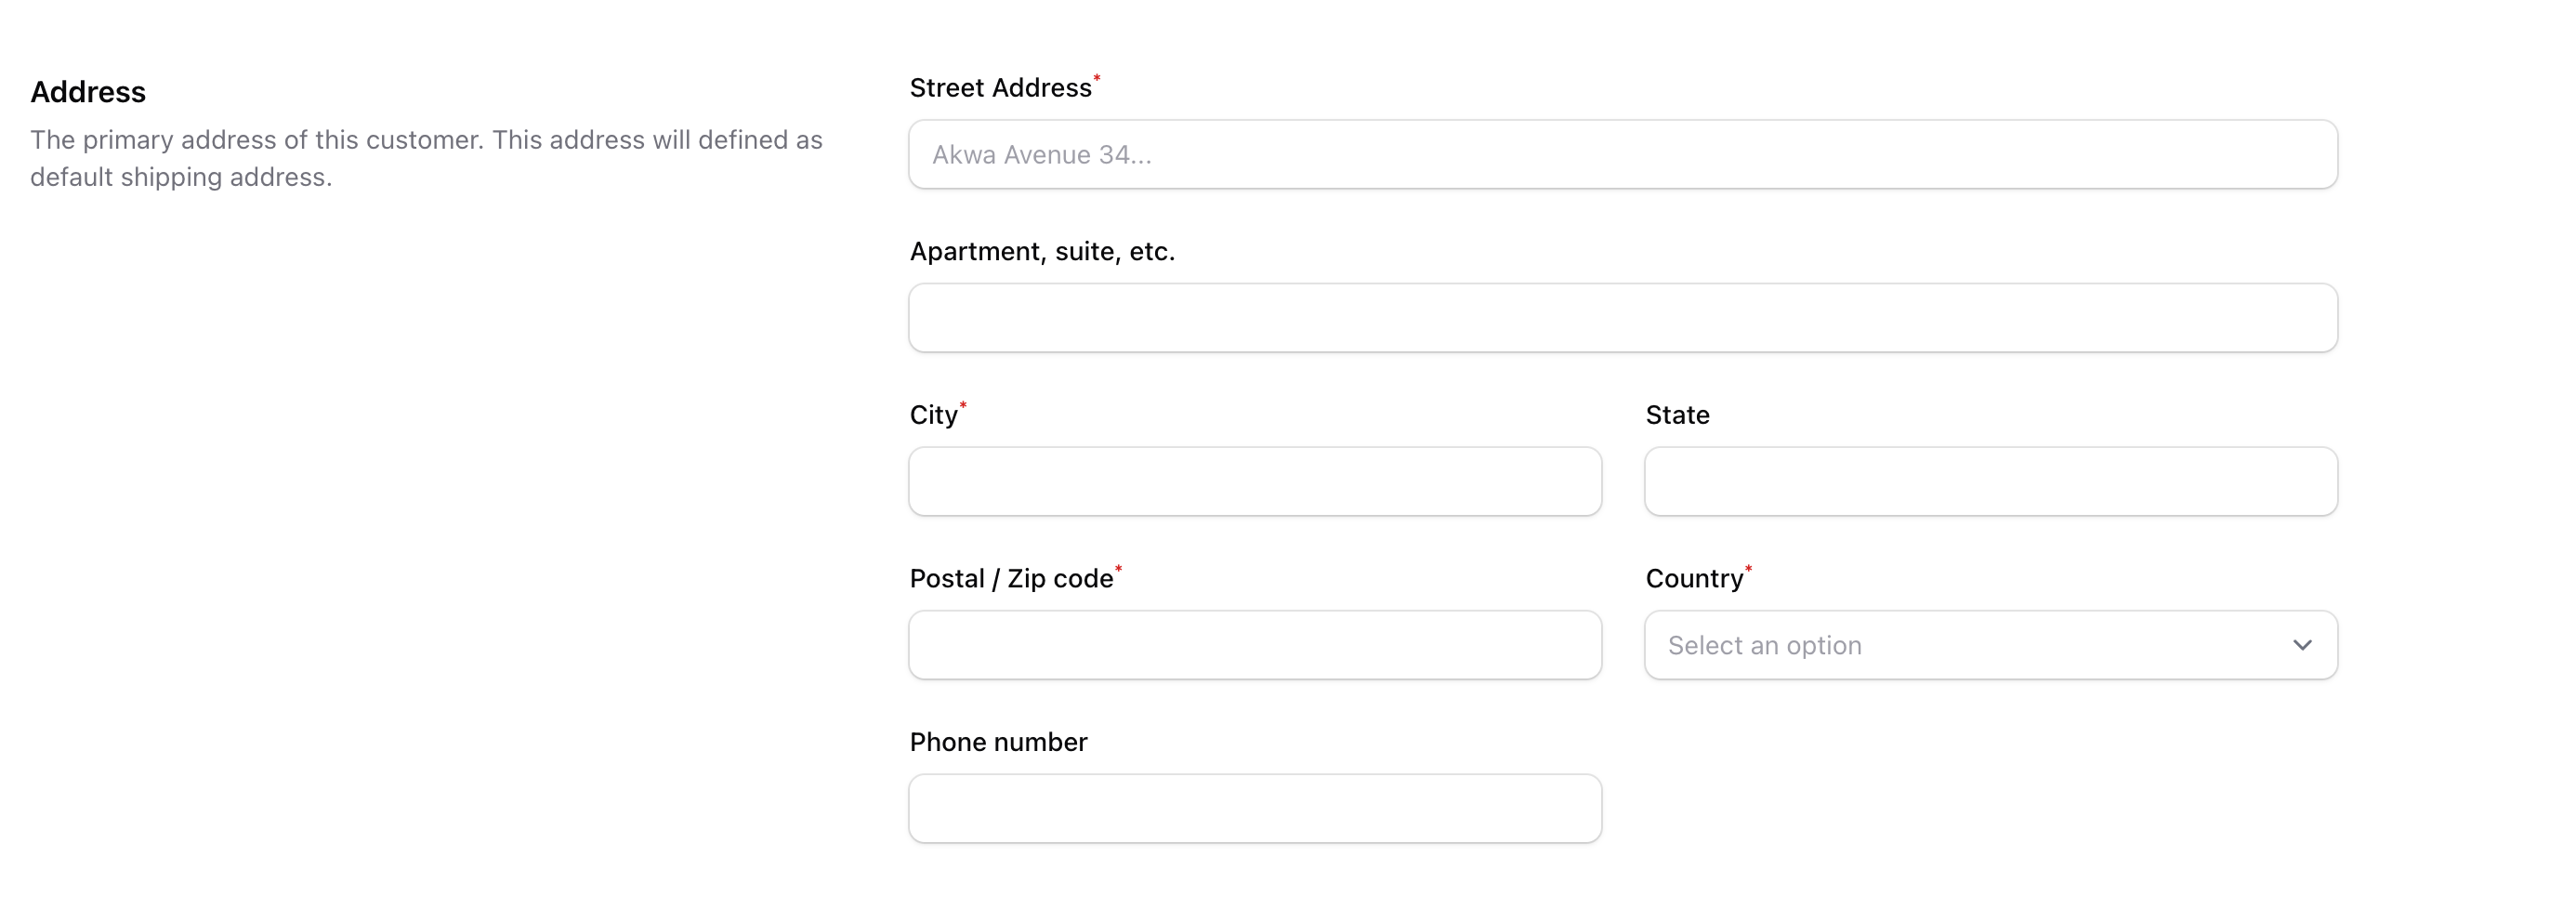 Customers can have multiple addresses:
* **Default shipping address**
* **Default billing address**
* **Additional addresses**
### Order History
View all orders placed by the customer:
* Order numbers and dates
* Order totals
* Payment and fulfillment status
## Creating a Customer
To manually add a customer:
1. Click the **Create** button on the Customers page
2. Fill in the customer details
3. Click **Save**
Customers can have multiple addresses:
* **Default shipping address**
* **Default billing address**
* **Additional addresses**
### Order History
View all orders placed by the customer:
* Order numbers and dates
* Order totals
* Payment and fulfillment status
## Creating a Customer
To manually add a customer:
1. Click the **Create** button on the Customers page
2. Fill in the customer details
3. Click **Save**
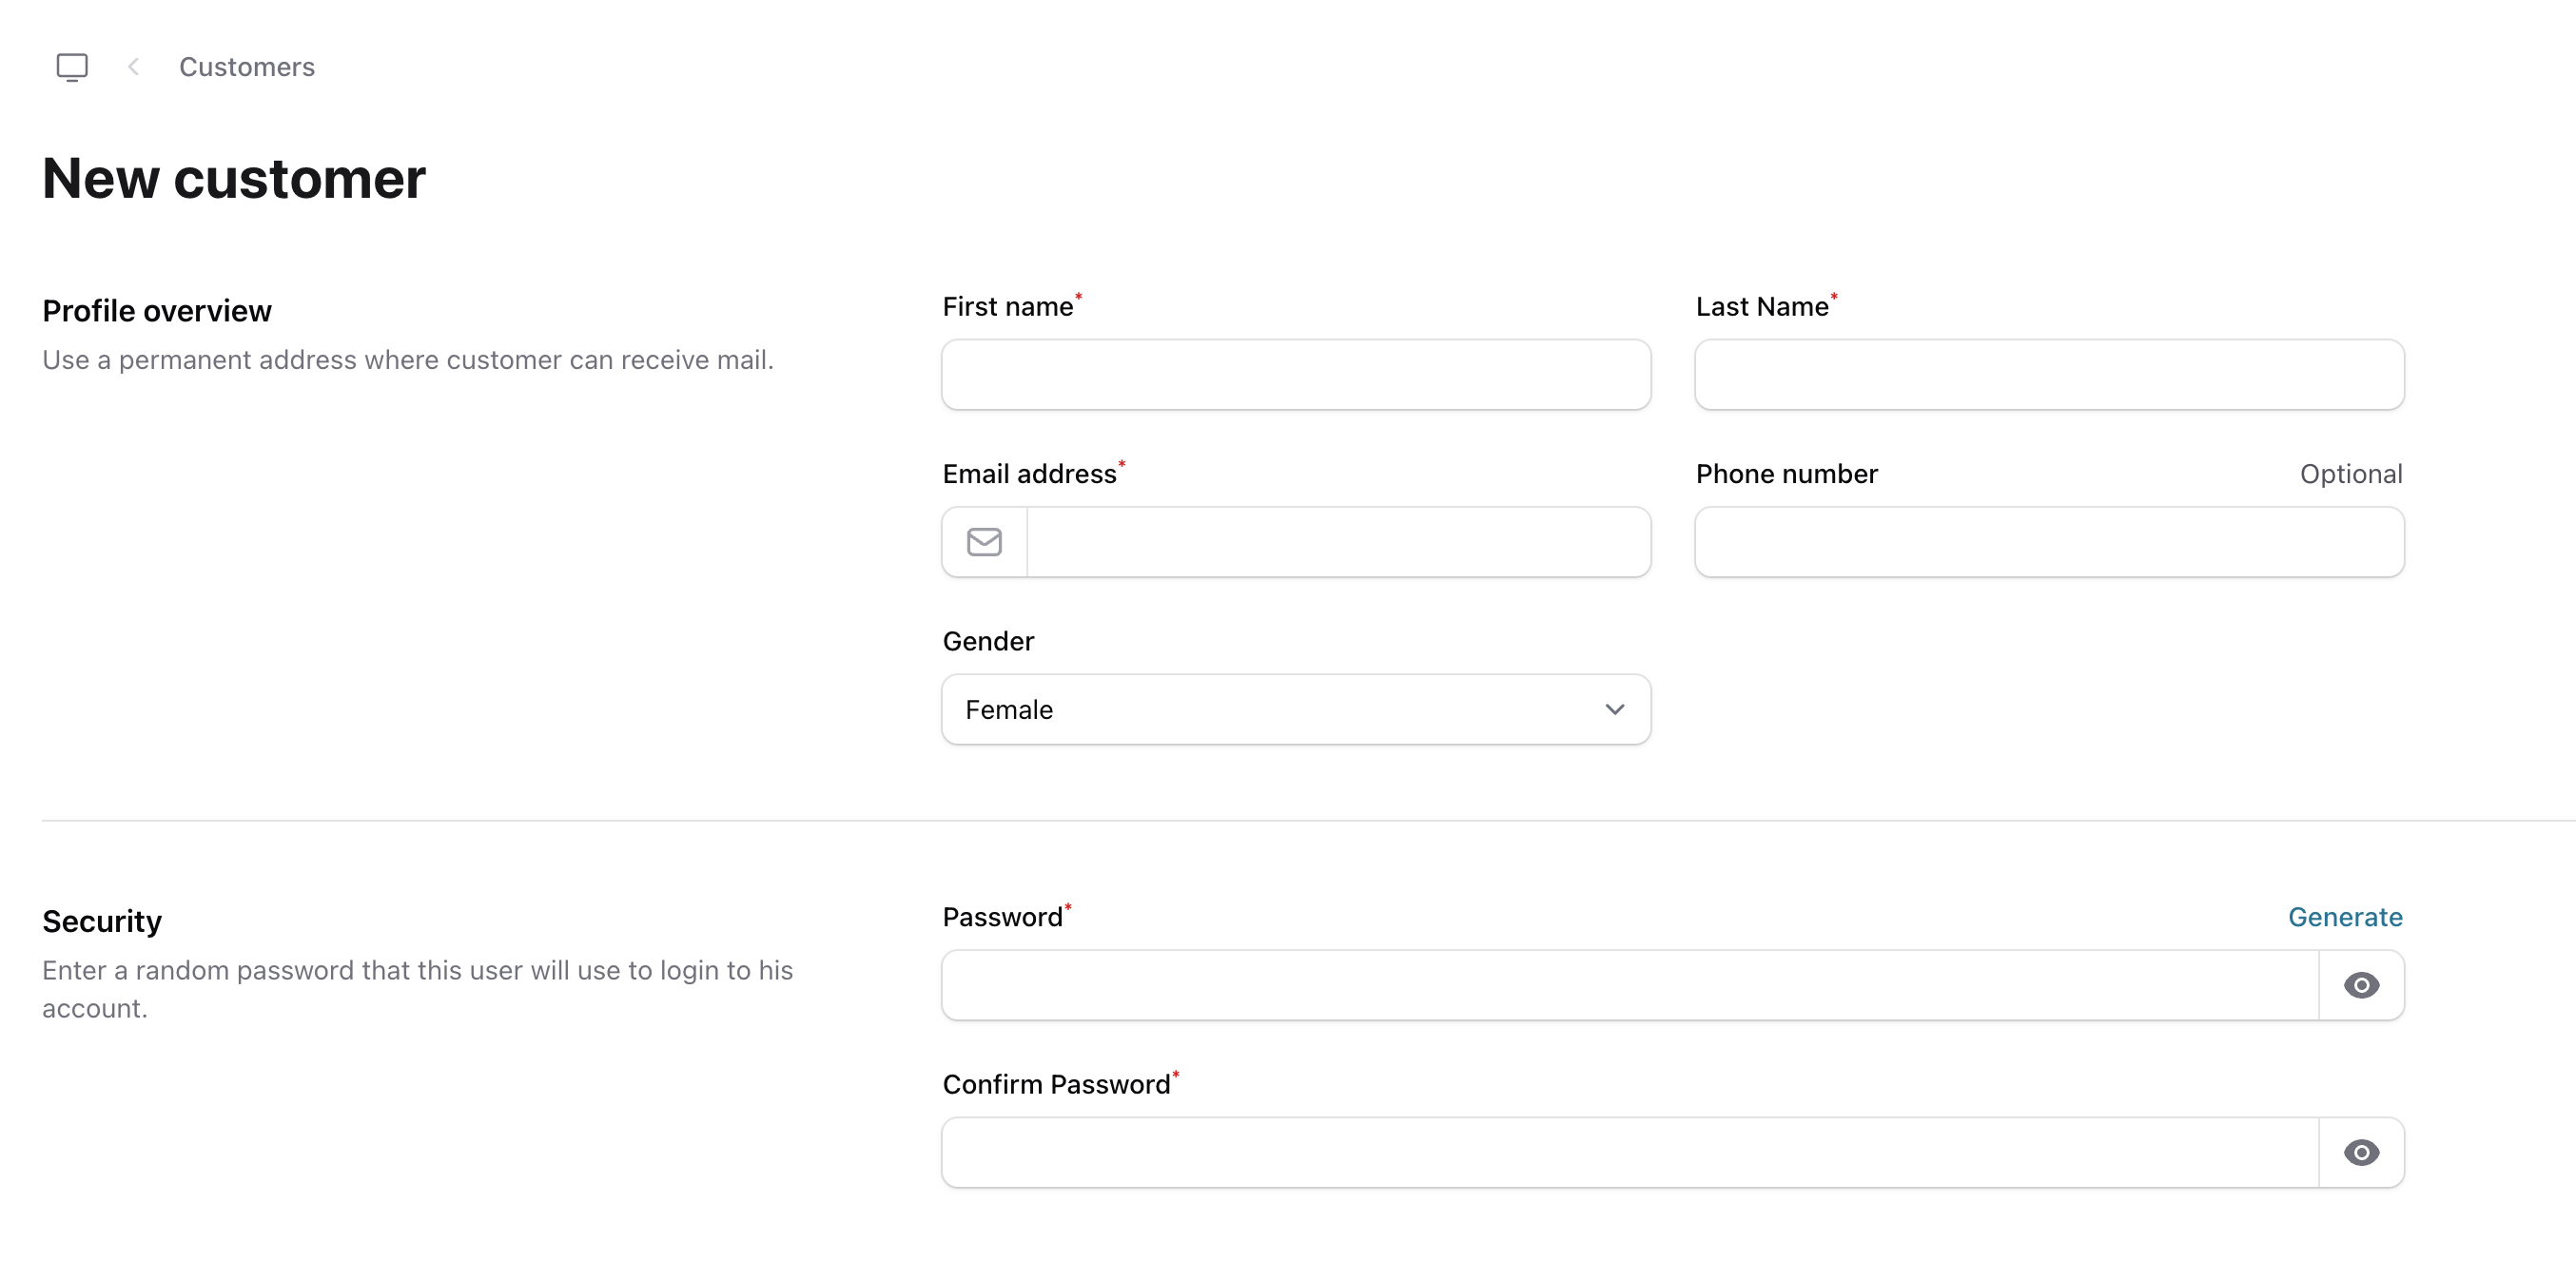
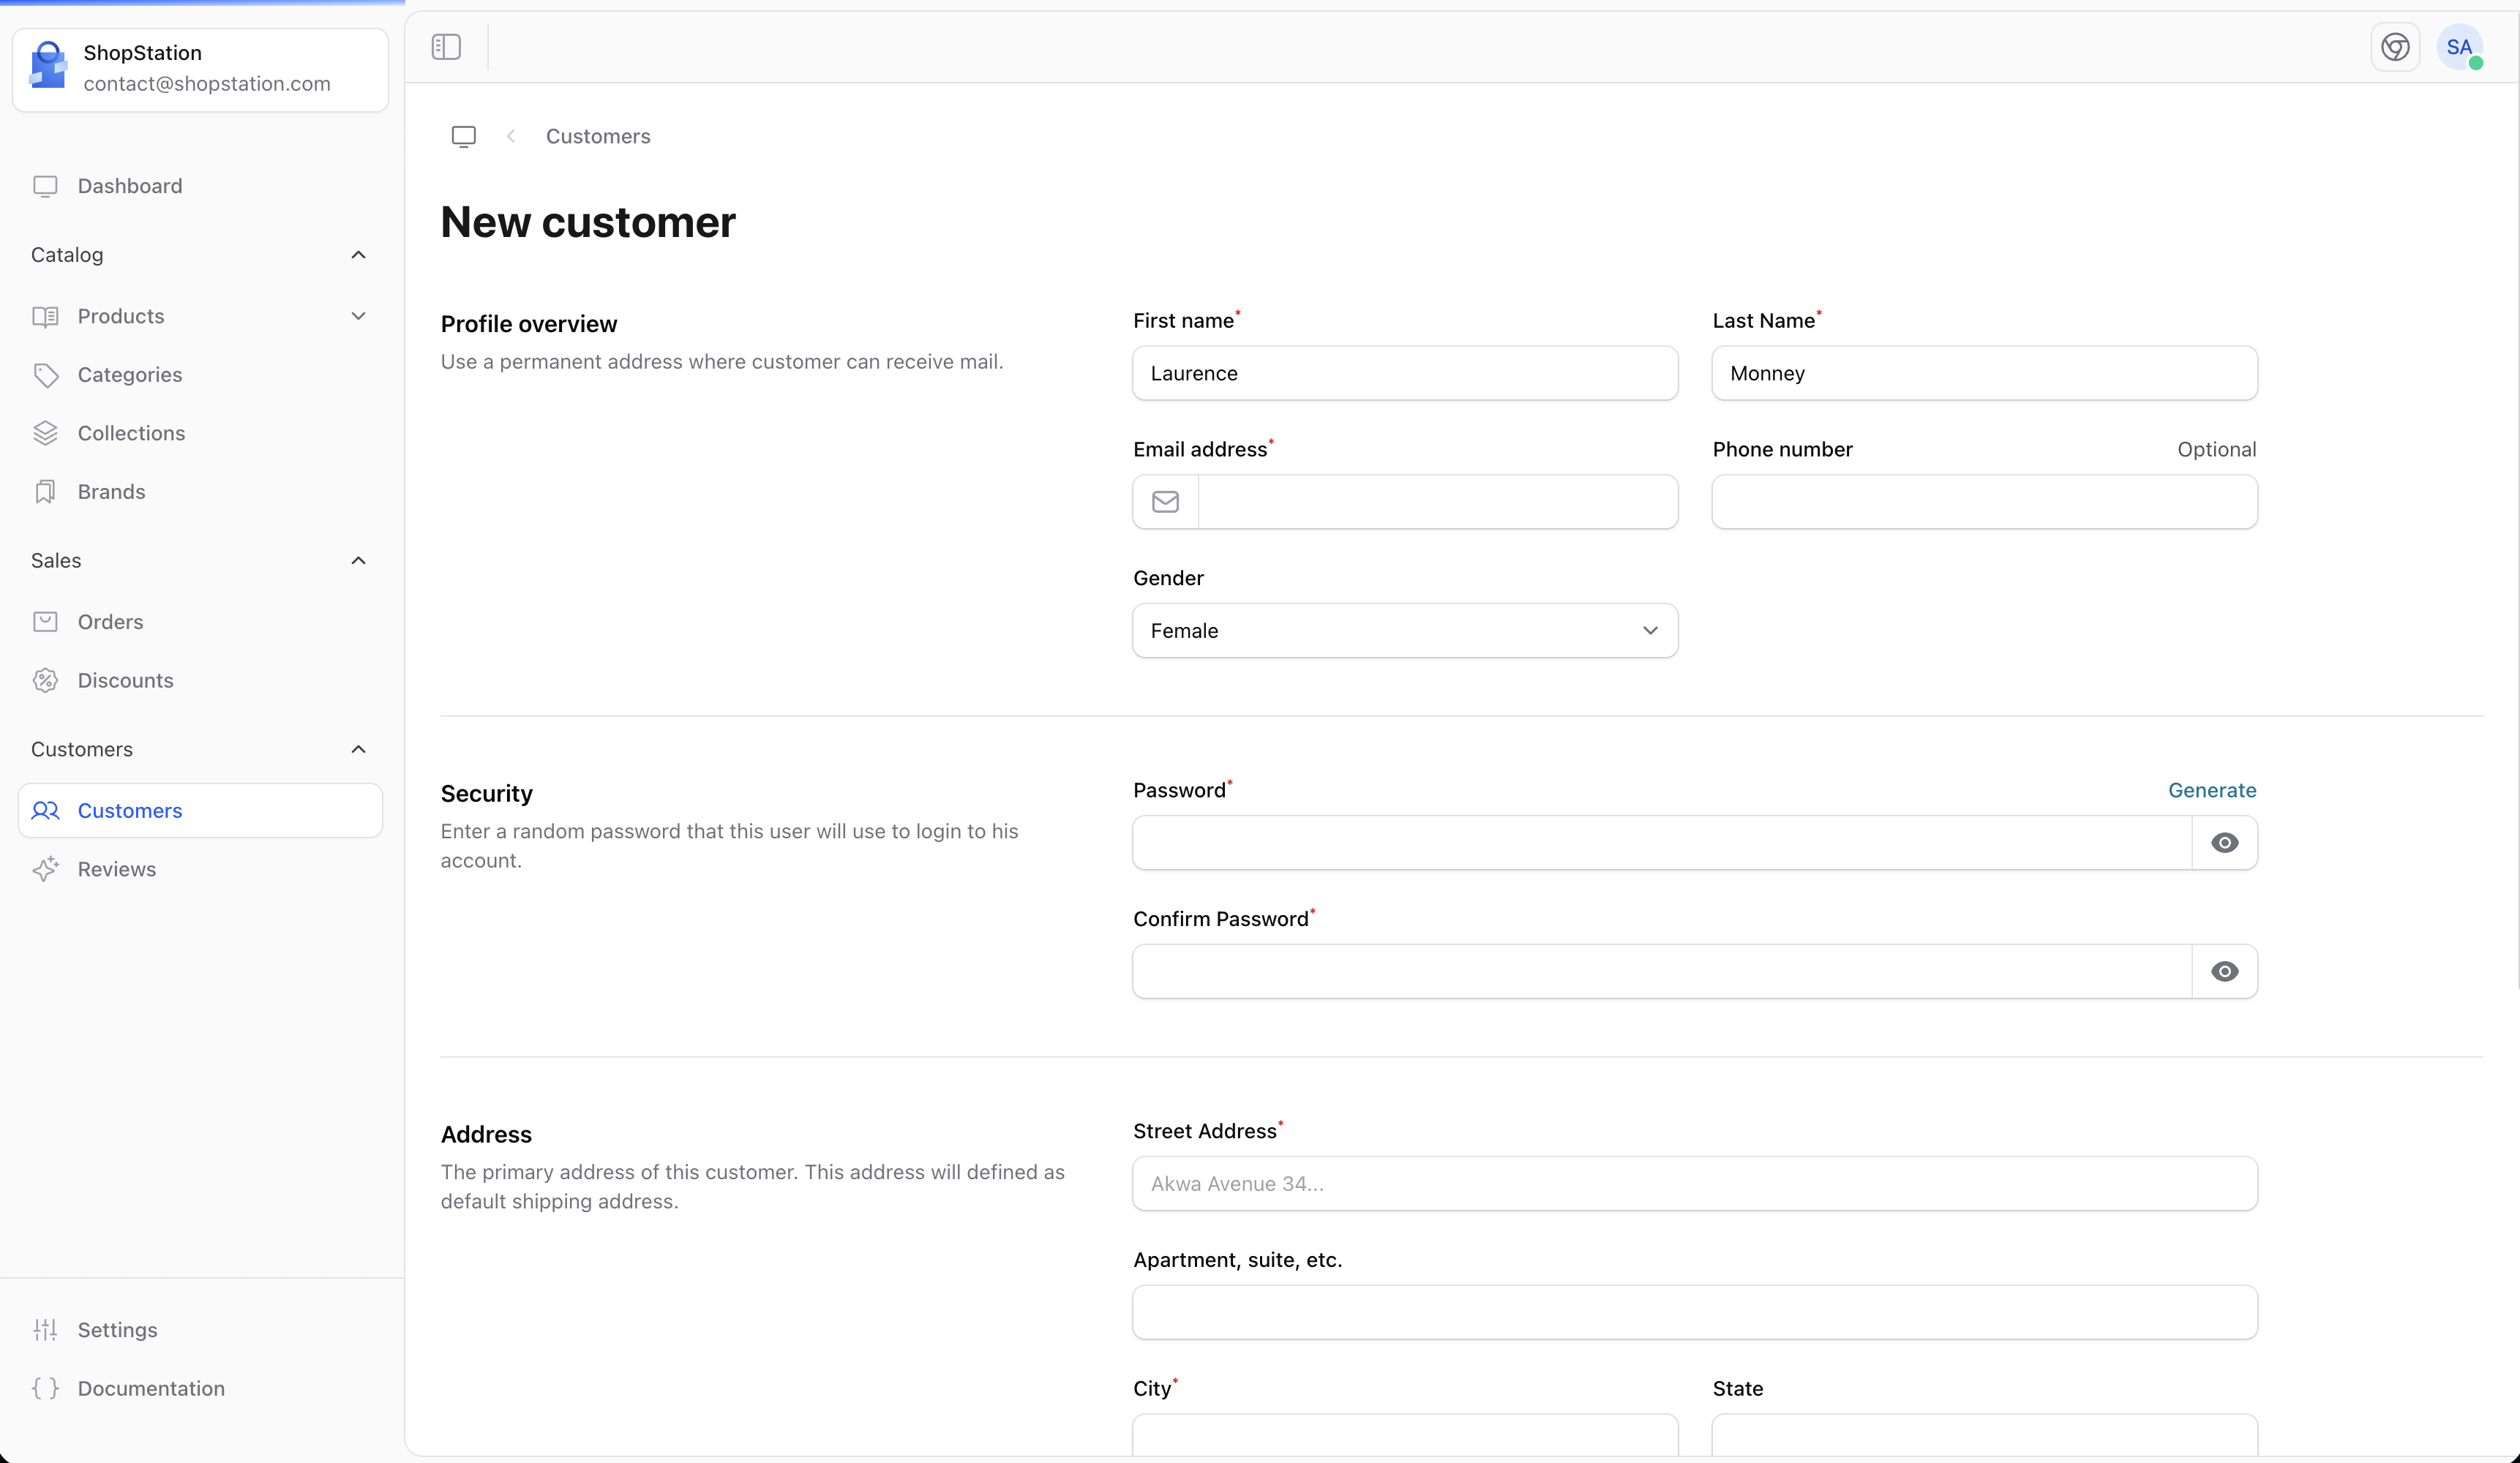 ### Customer Fields
| Field | Required | Description |
| -------------- | -------- | --------------------------------- |
| **First name** | Yes | Customer's first name |
| **Last name** | Yes | Customer's last name |
| **Email** | Yes | Unique email address |
| **Phone** | No | Contact phone number |
| **Password** | No | Account password (or send invite) |
### Customer Fields
| Field | Required | Description |
| -------------- | -------- | --------------------------------- |
| **First name** | Yes | Customer's first name |
| **Last name** | Yes | Customer's last name |
| **Email** | Yes | Unique email address |
| **Phone** | No | Contact phone number |
| **Password** | No | Account password (or send invite) |
 ## Customer Notification
Send notifications to customers:
## Customer Notification
Send notifications to customers:
 Common notifications include:
* Order confirmations
* Shipping updates
* Marketing emails
* Password resets
## Customer Account (Storefront)
Customers can manage their own accounts on your storefront:
Common notifications include:
* Order confirmations
* Shipping updates
* Marketing emails
* Password resets
## Customer Account (Storefront)
Customers can manage their own accounts on your storefront:
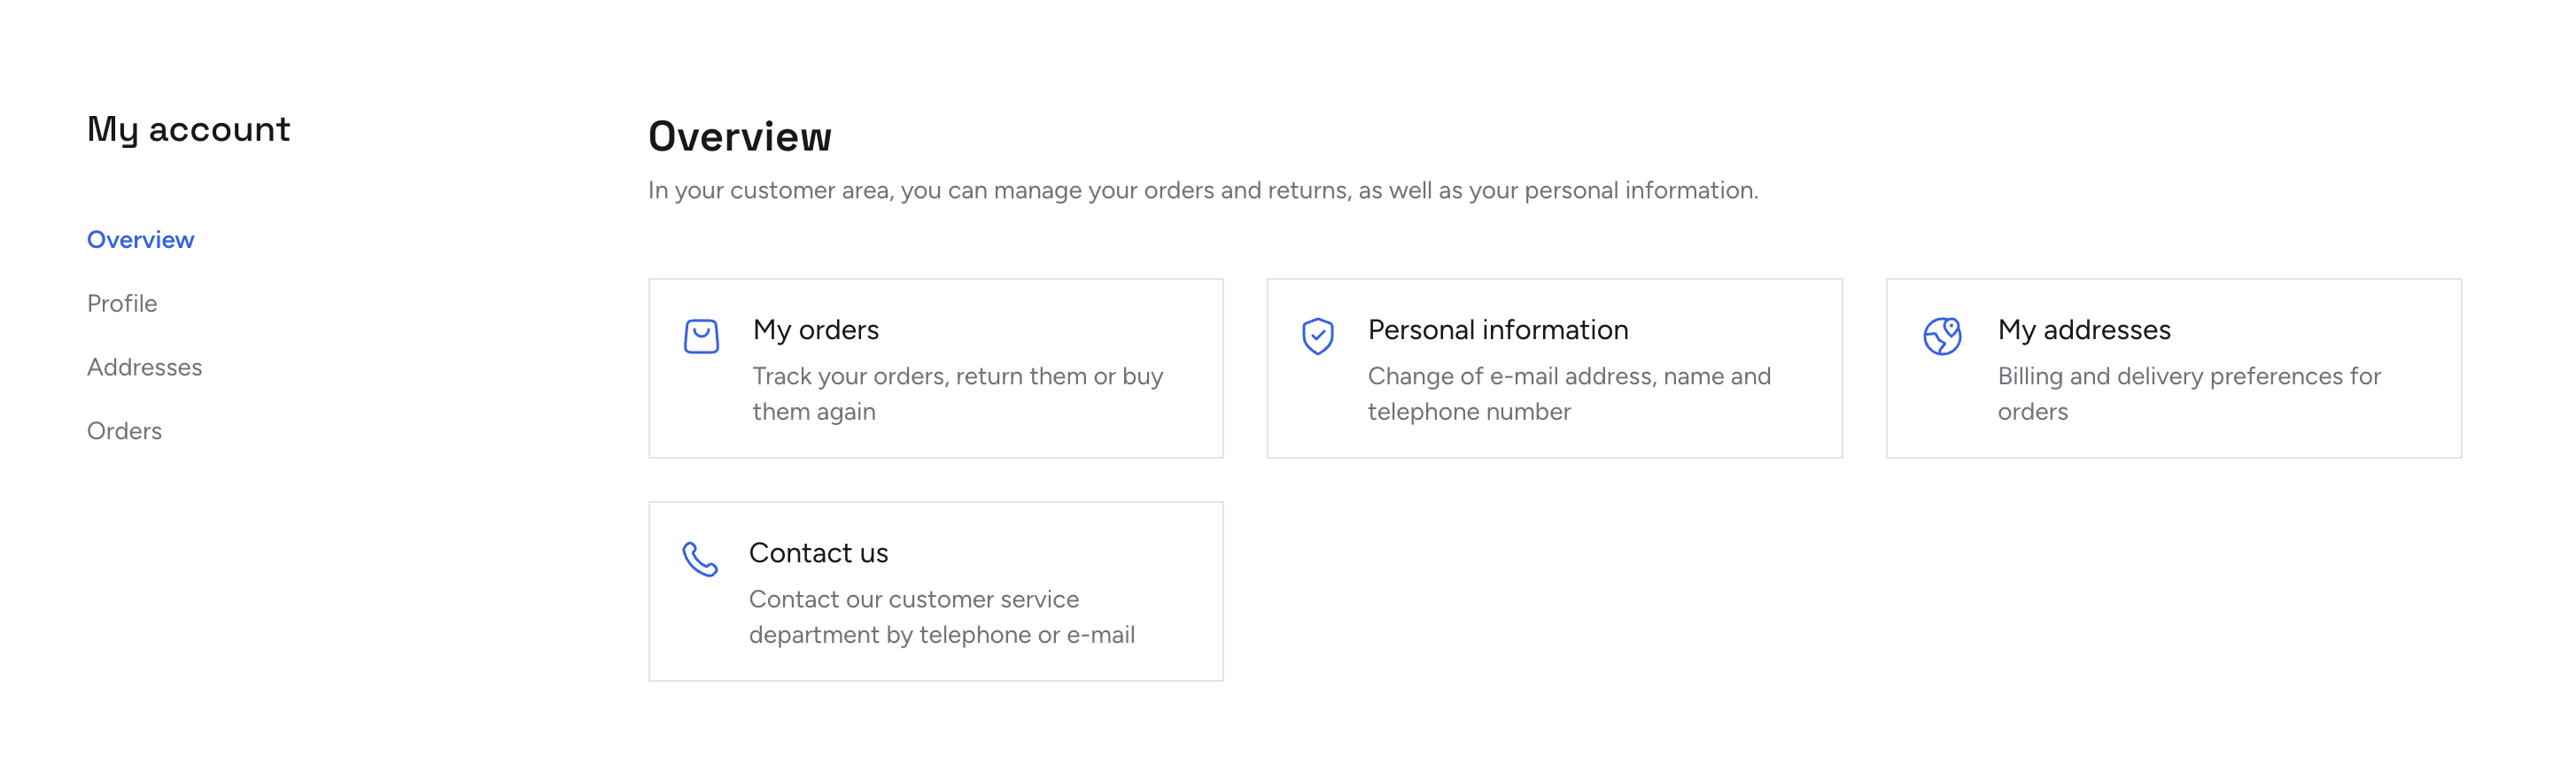 They can:
* Update personal information
* Manage addresses
* View order history
* Change password
They can:
* Update personal information
* Manage addresses
* View order history
* Change password
 ## Customer Authentication
Customers register and log in through your storefront:
## Customer Authentication
Customers register and log in through your storefront:
 ## Best Practices
Handle customer data responsibly and comply with privacy laws.
Group customers for targeted marketing.
Monitor purchasing patterns to understand your audience.
Maintain communication to build loyalty.
## Customer Data Privacy
If a customer requests their data to be removed (GDPR "right to be forgotten"), you can anonymize their account:
1. Go to the customer's profile page
2. Click the **Anonymize** action
3. Confirm the action
This replaces the customer's personal information (name, email, phone, avatar) with anonymous data and deletes all their addresses. Order history is preserved for your records, but the customer's identity is removed.
Anonymization cannot be undone. The customer's personal data is permanently replaced. Only use this when a customer explicitly requests data removal.
Encourage customers to create accounts by offering benefits like faster checkout, order tracking, and exclusive offers.
For developer details, see the [Customers documentation](/v2/customers).
## Best Practices
Handle customer data responsibly and comply with privacy laws.
Group customers for targeted marketing.
Monitor purchasing patterns to understand your audience.
Maintain communication to build loyalty.
## Customer Data Privacy
If a customer requests their data to be removed (GDPR "right to be forgotten"), you can anonymize their account:
1. Go to the customer's profile page
2. Click the **Anonymize** action
3. Confirm the action
This replaces the customer's personal information (name, email, phone, avatar) with anonymous data and deletes all their addresses. Order history is preserved for your records, but the customer's identity is removed.
Anonymization cannot be undone. The customer's personal data is permanently replaced. Only use this when a customer explicitly requests data removal.
Encourage customers to create accounts by offering benefits like faster checkout, order tracking, and exclusive offers.
For developer details, see the [Customers documentation](/v2/customers).