> ## Documentation Index
> Fetch the complete documentation index at: https://docs.laravelshopper.dev/llms.txt
> Use this file to discover all available pages before exploring further.
# Creating a Product
> Step-by-step guide to creating a product using the creation wizard.
Creating a product in Shopper is done through a guided wizard that walks you through each step. The process is the same for all product types, with some steps adapting based on the type you choose.
## Starting the Wizard
From the Products page, click the **Create** button to open the product creation wizard.
## Step 1: Choose the Product Type
The first step asks you to select the type of product you want to create. Each type is presented as a card with an icon and a description to help you make the right choice.
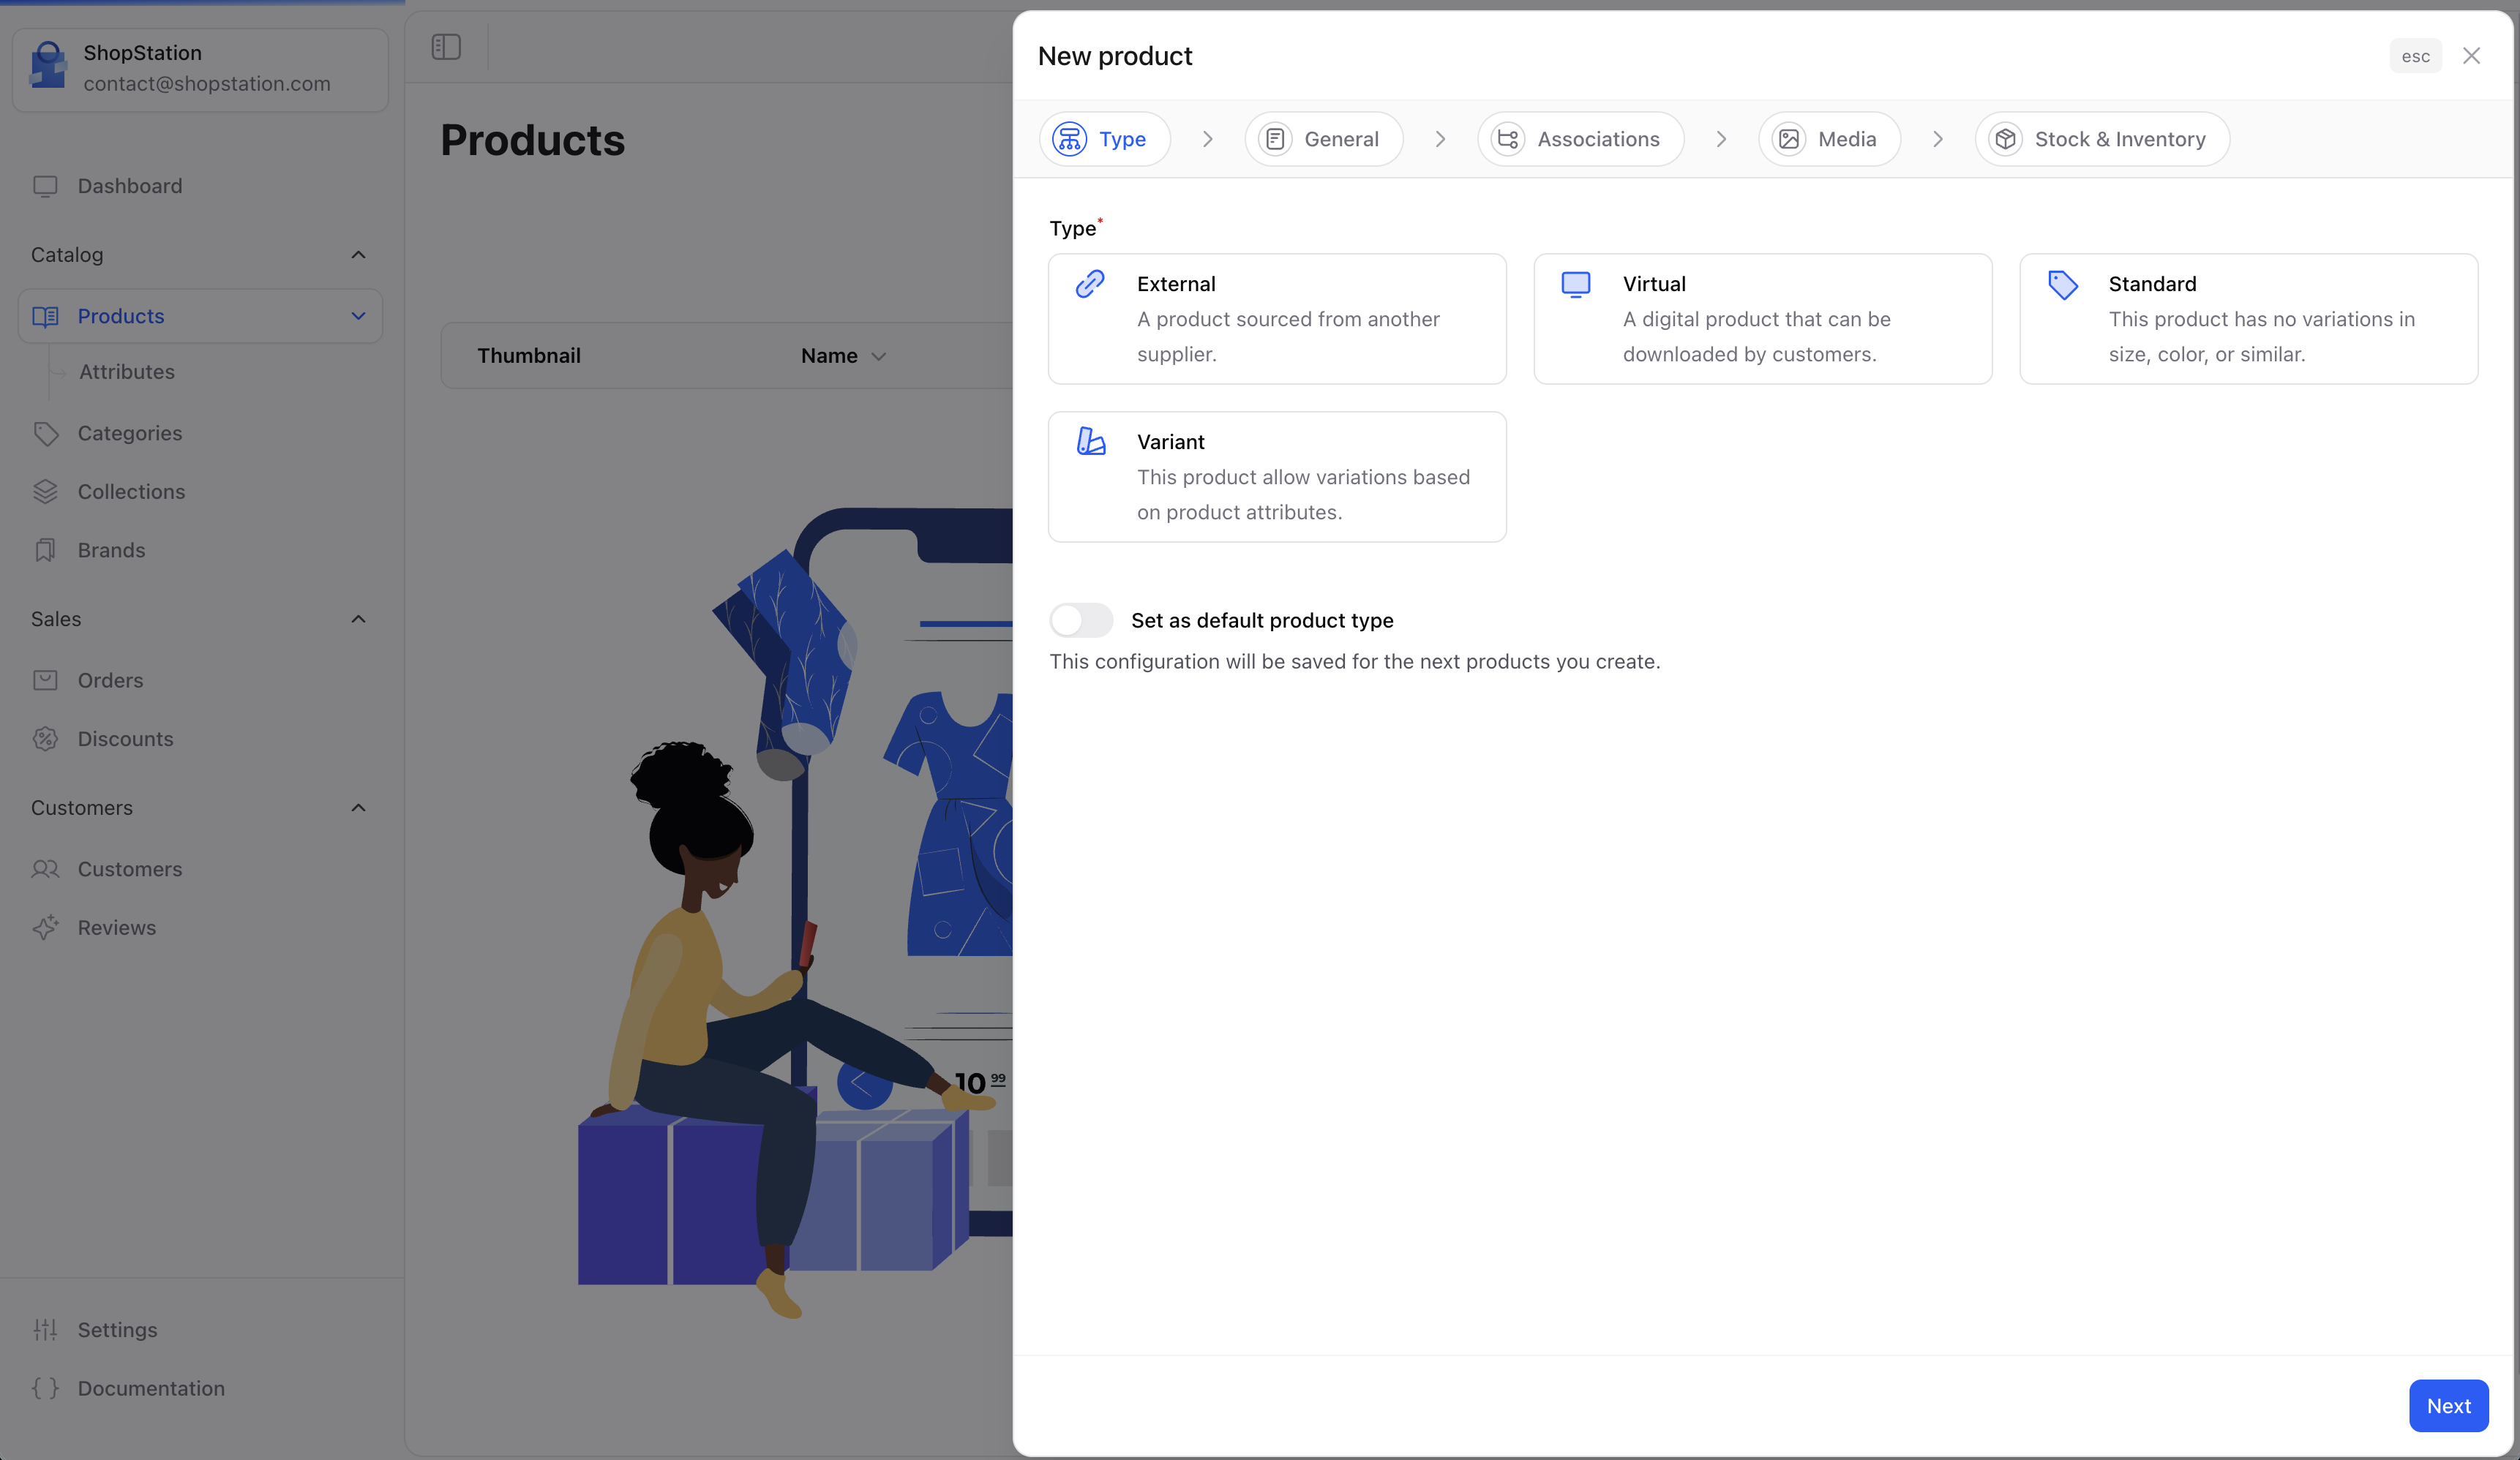 The available types are:
* **Standard**. Physical products that require shipping
* **Virtual**. Digital products (downloads, subscriptions, courses)
* **External**. Dropshipping products fulfilled by a third party
* **Variant**. Products with multiple options (size, color, material)
If your store only sells one type of product, your administrator can configure a default product type in the settings. In that case, this step will be skipped automatically.
Select your product type and click **Next** to continue.
## Step 2: General Information
This step collects the core information about your product.
The available types are:
* **Standard**. Physical products that require shipping
* **Virtual**. Digital products (downloads, subscriptions, courses)
* **External**. Dropshipping products fulfilled by a third party
* **Variant**. Products with multiple options (size, color, material)
If your store only sells one type of product, your administrator can configure a default product type in the settings. In that case, this step will be skipped automatically.
Select your product type and click **Next** to continue.
## Step 2: General Information
This step collects the core information about your product.
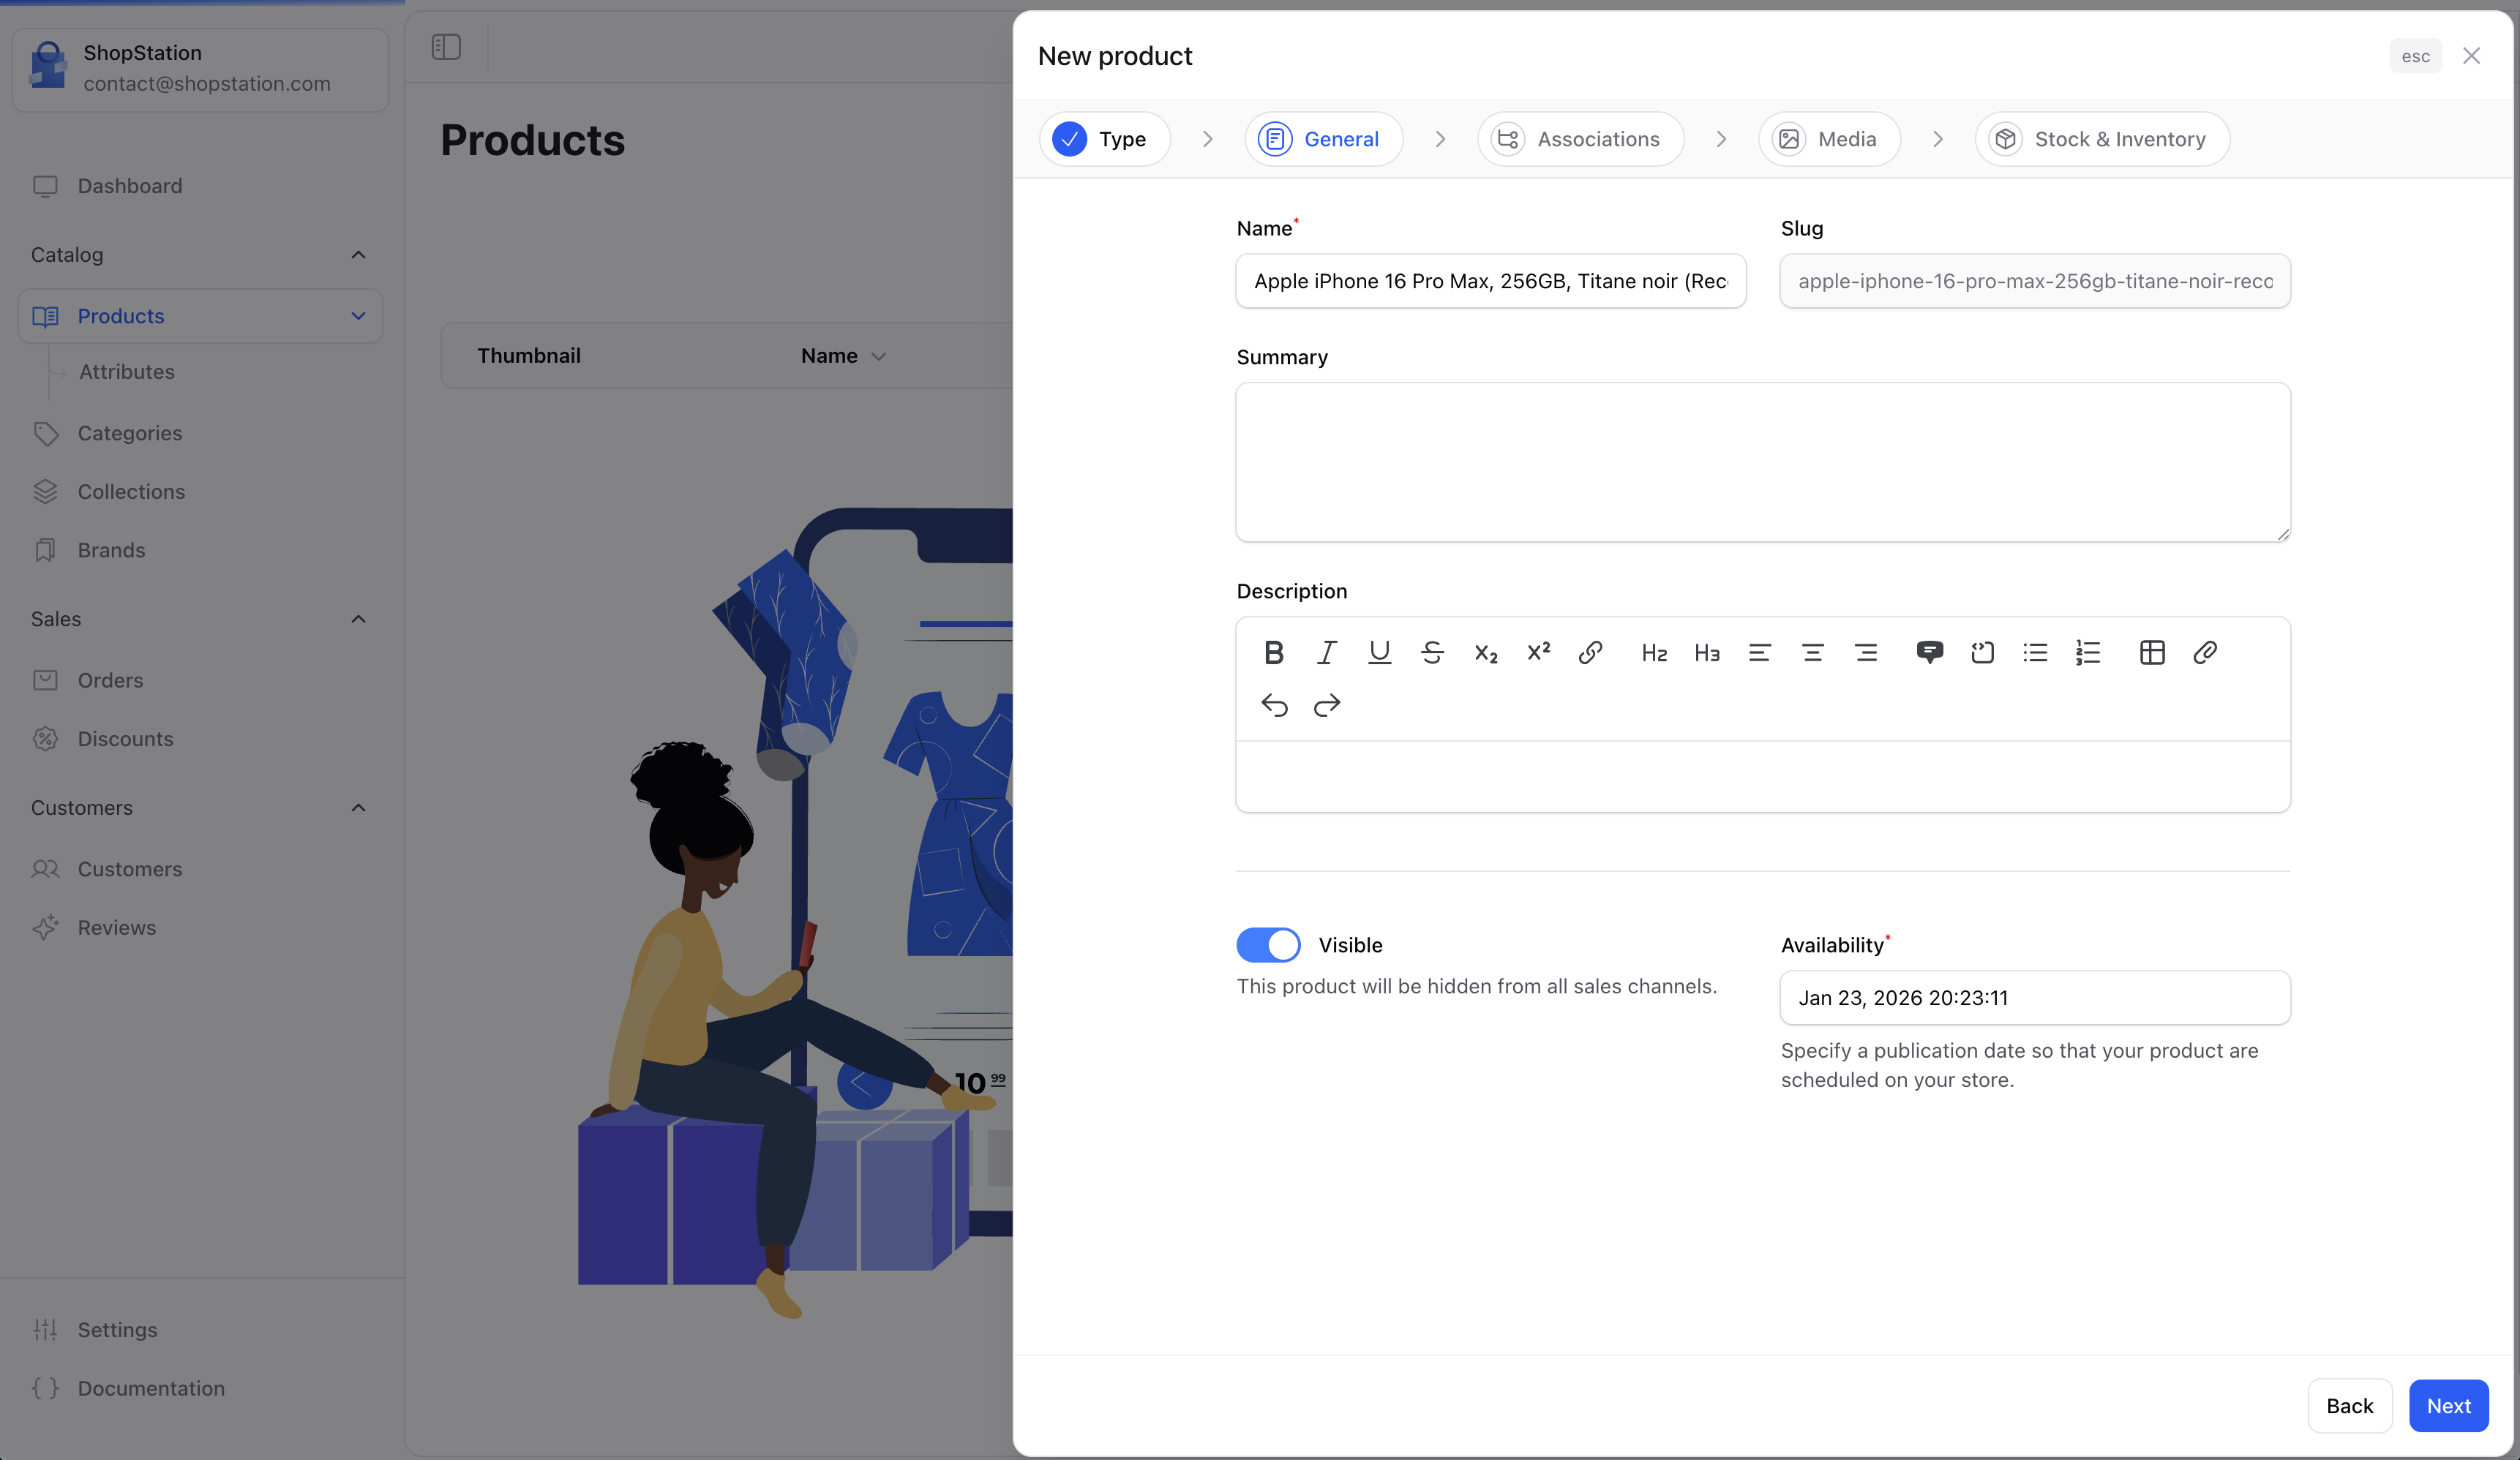 | Field | Required | Description |
| ---------------- | -------- | --------------------------------------------------------------------------------------------------- |
| **Name** | Yes | The product name displayed to customers. A URL-friendly slug is generated automatically. |
| **Summary** | No | A short description shown in product listings and cards. |
| **Description** | No | The full product description with rich formatting (bold, lists, links, etc.). |
| **Visible** | | Toggle whether the product appears on your storefront. Useful to prepare products before launching. |
| **Published at** | Yes | The date and time when the product becomes available. You can schedule future publications. |
The **Name** field automatically generates a URL slug (e.g., "Blue Running Shoes" becomes `blue-running-shoes`). You can modify the slug later in the product settings.
## Step 3: Associations
Link your product to the organizational structures of your store.
| Field | Required | Description |
| ---------------- | -------- | --------------------------------------------------------------------------------------------------- |
| **Name** | Yes | The product name displayed to customers. A URL-friendly slug is generated automatically. |
| **Summary** | No | A short description shown in product listings and cards. |
| **Description** | No | The full product description with rich formatting (bold, lists, links, etc.). |
| **Visible** | | Toggle whether the product appears on your storefront. Useful to prepare products before launching. |
| **Published at** | Yes | The date and time when the product becomes available. You can schedule future publications. |
The **Name** field automatically generates a URL slug (e.g., "Blue Running Shoes" becomes `blue-running-shoes`). You can modify the slug later in the product settings.
## Step 3: Associations
Link your product to the organizational structures of your store.
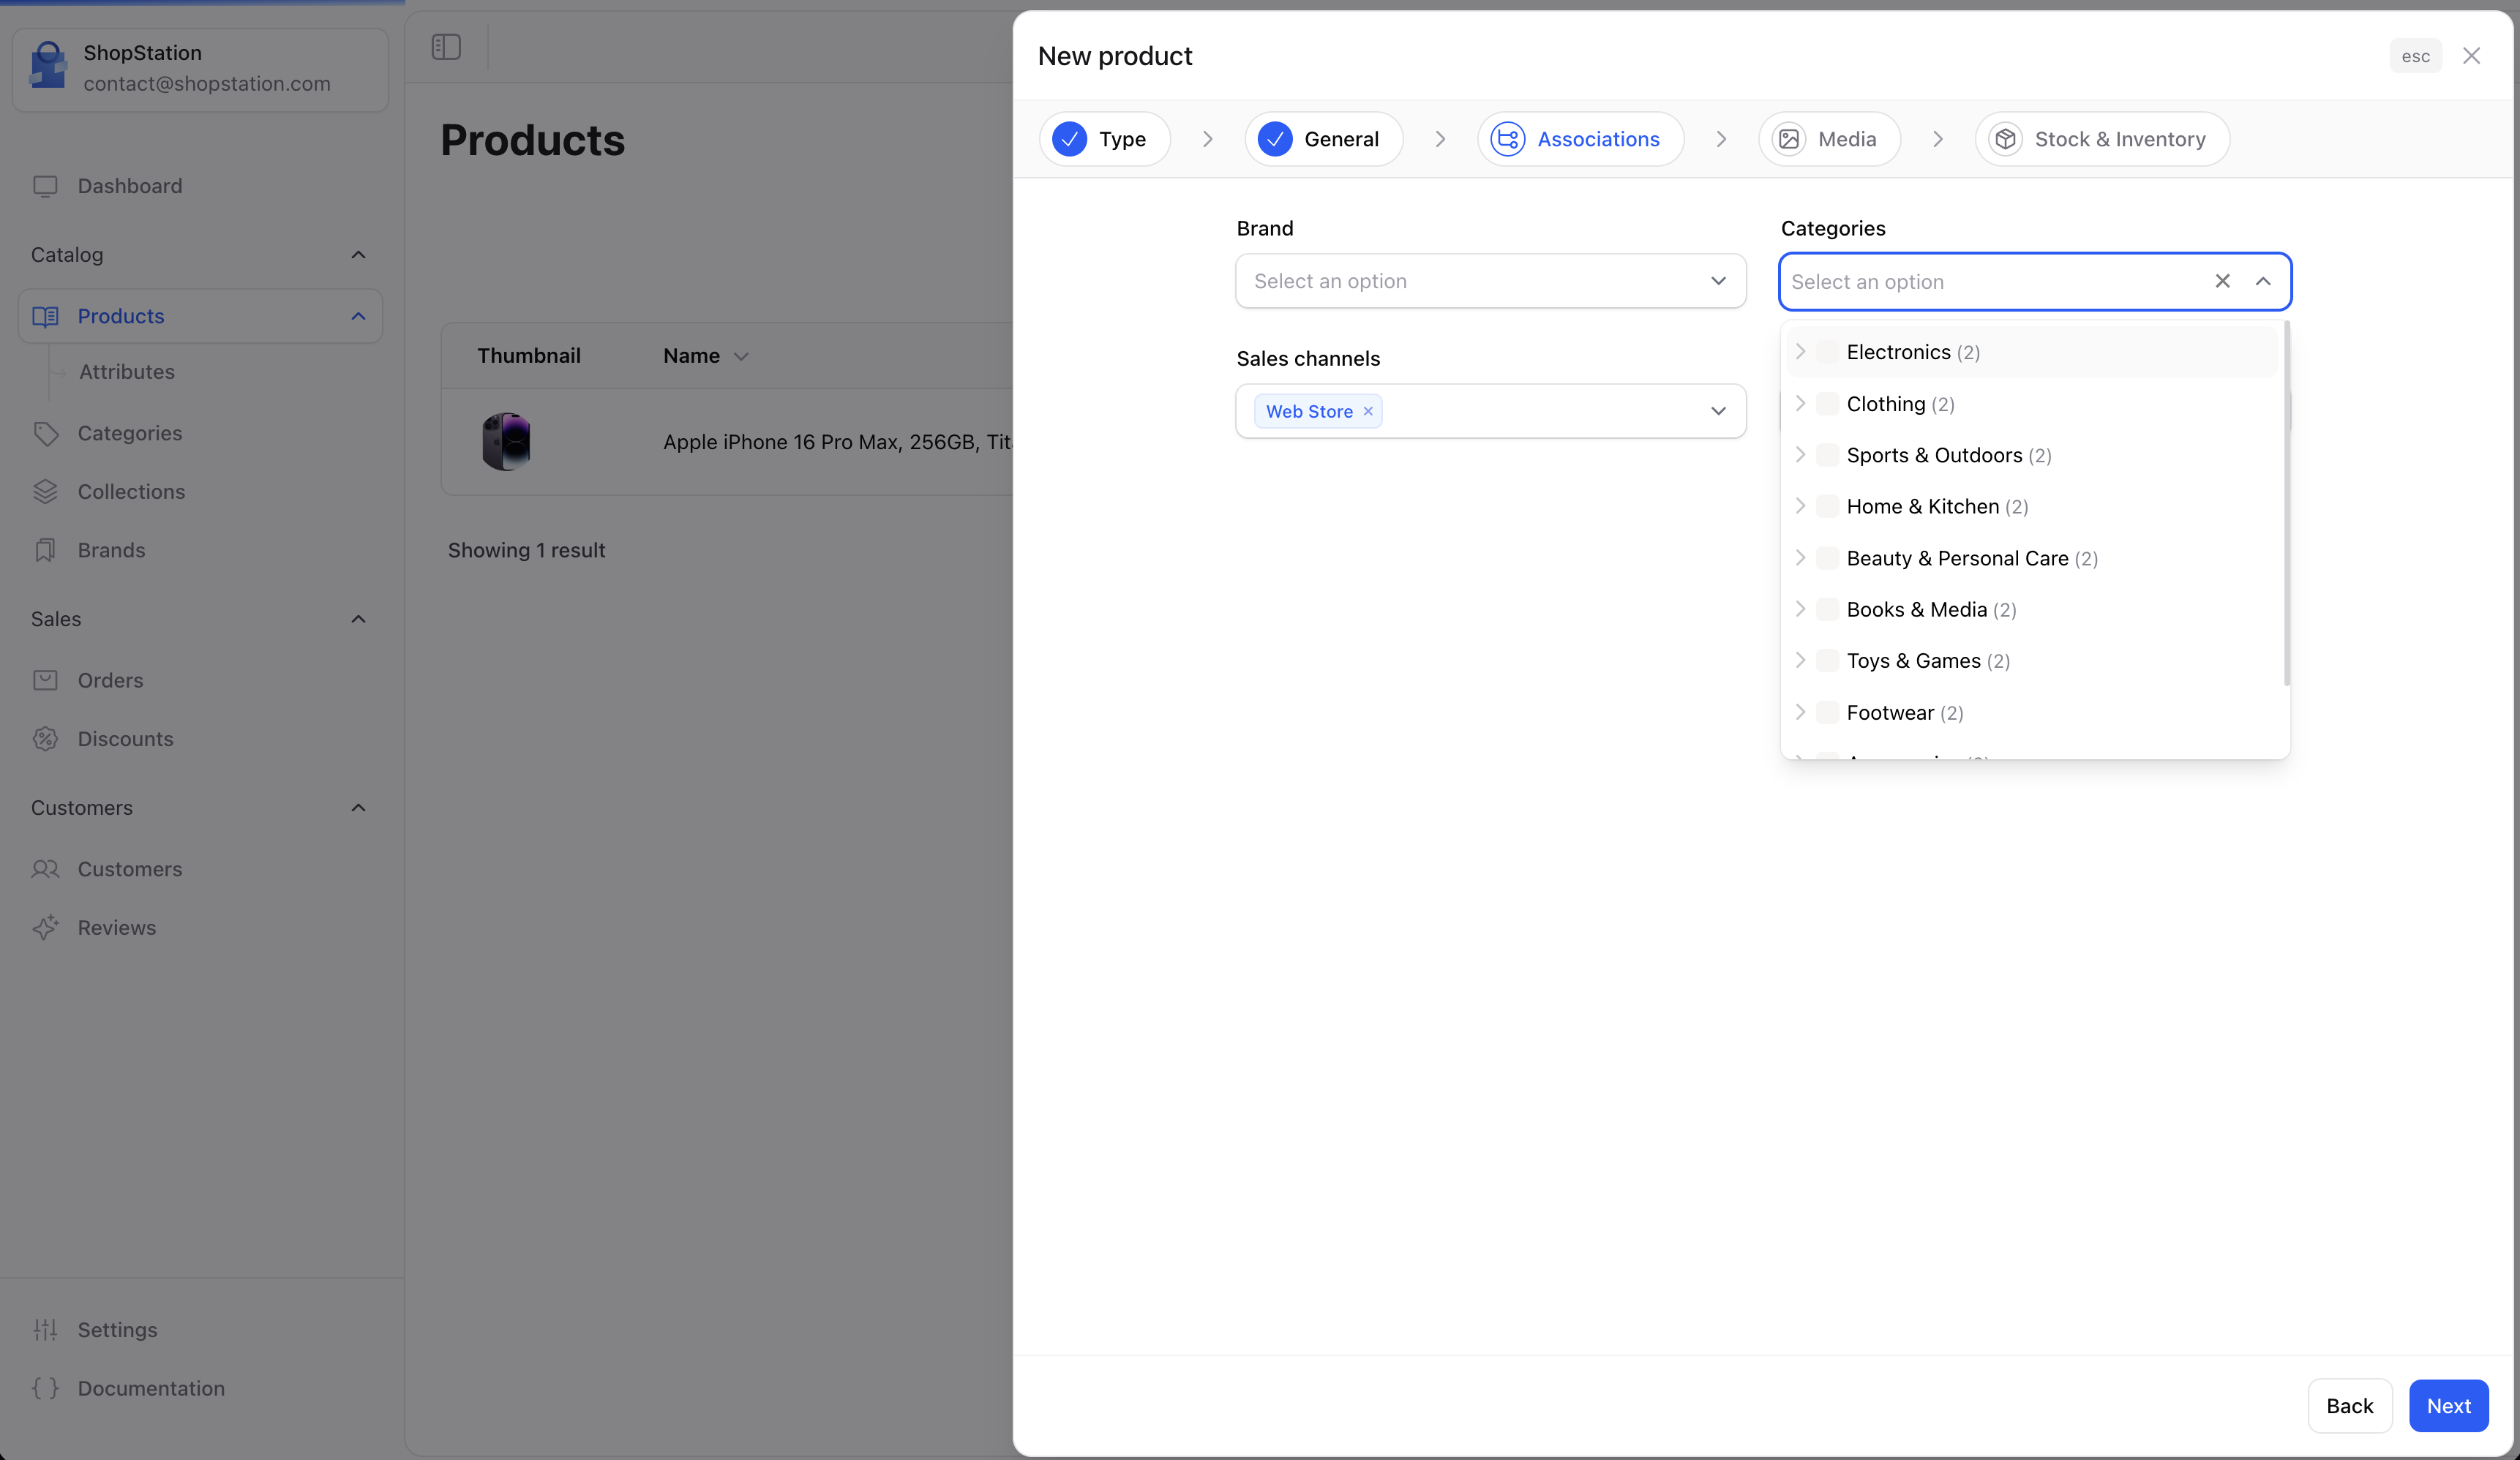 | Field | Description |
| --------------- | ----------------------------------------------------------------------------------------------------------------------------- |
| **Brand** | Associate the product with a brand. Only visible if you have brands configured in your store. |
| **Categories** | Assign one or more categories. Categories are hierarchical, so selecting a subcategory automatically includes parent context. |
| **Channels** | Choose which sales channels this product appears on (e.g., web store, mobile app, POS). |
| **Collections** | Add the product to one or more manual collections for curated groupings. |
You can always update associations after creation. If you haven't set up categories or brands yet, you can skip this step and come back later.
## Step 4: Media
Upload images to showcase your product.
| Field | Description |
| --------------- | ----------------------------------------------------------------------------------------------------------------------------- |
| **Brand** | Associate the product with a brand. Only visible if you have brands configured in your store. |
| **Categories** | Assign one or more categories. Categories are hierarchical, so selecting a subcategory automatically includes parent context. |
| **Channels** | Choose which sales channels this product appears on (e.g., web store, mobile app, POS). |
| **Collections** | Add the product to one or more manual collections for curated groupings. |
You can always update associations after creation. If you haven't set up categories or brands yet, you can skip this step and come back later.
## Step 4: Media
Upload images to showcase your product.
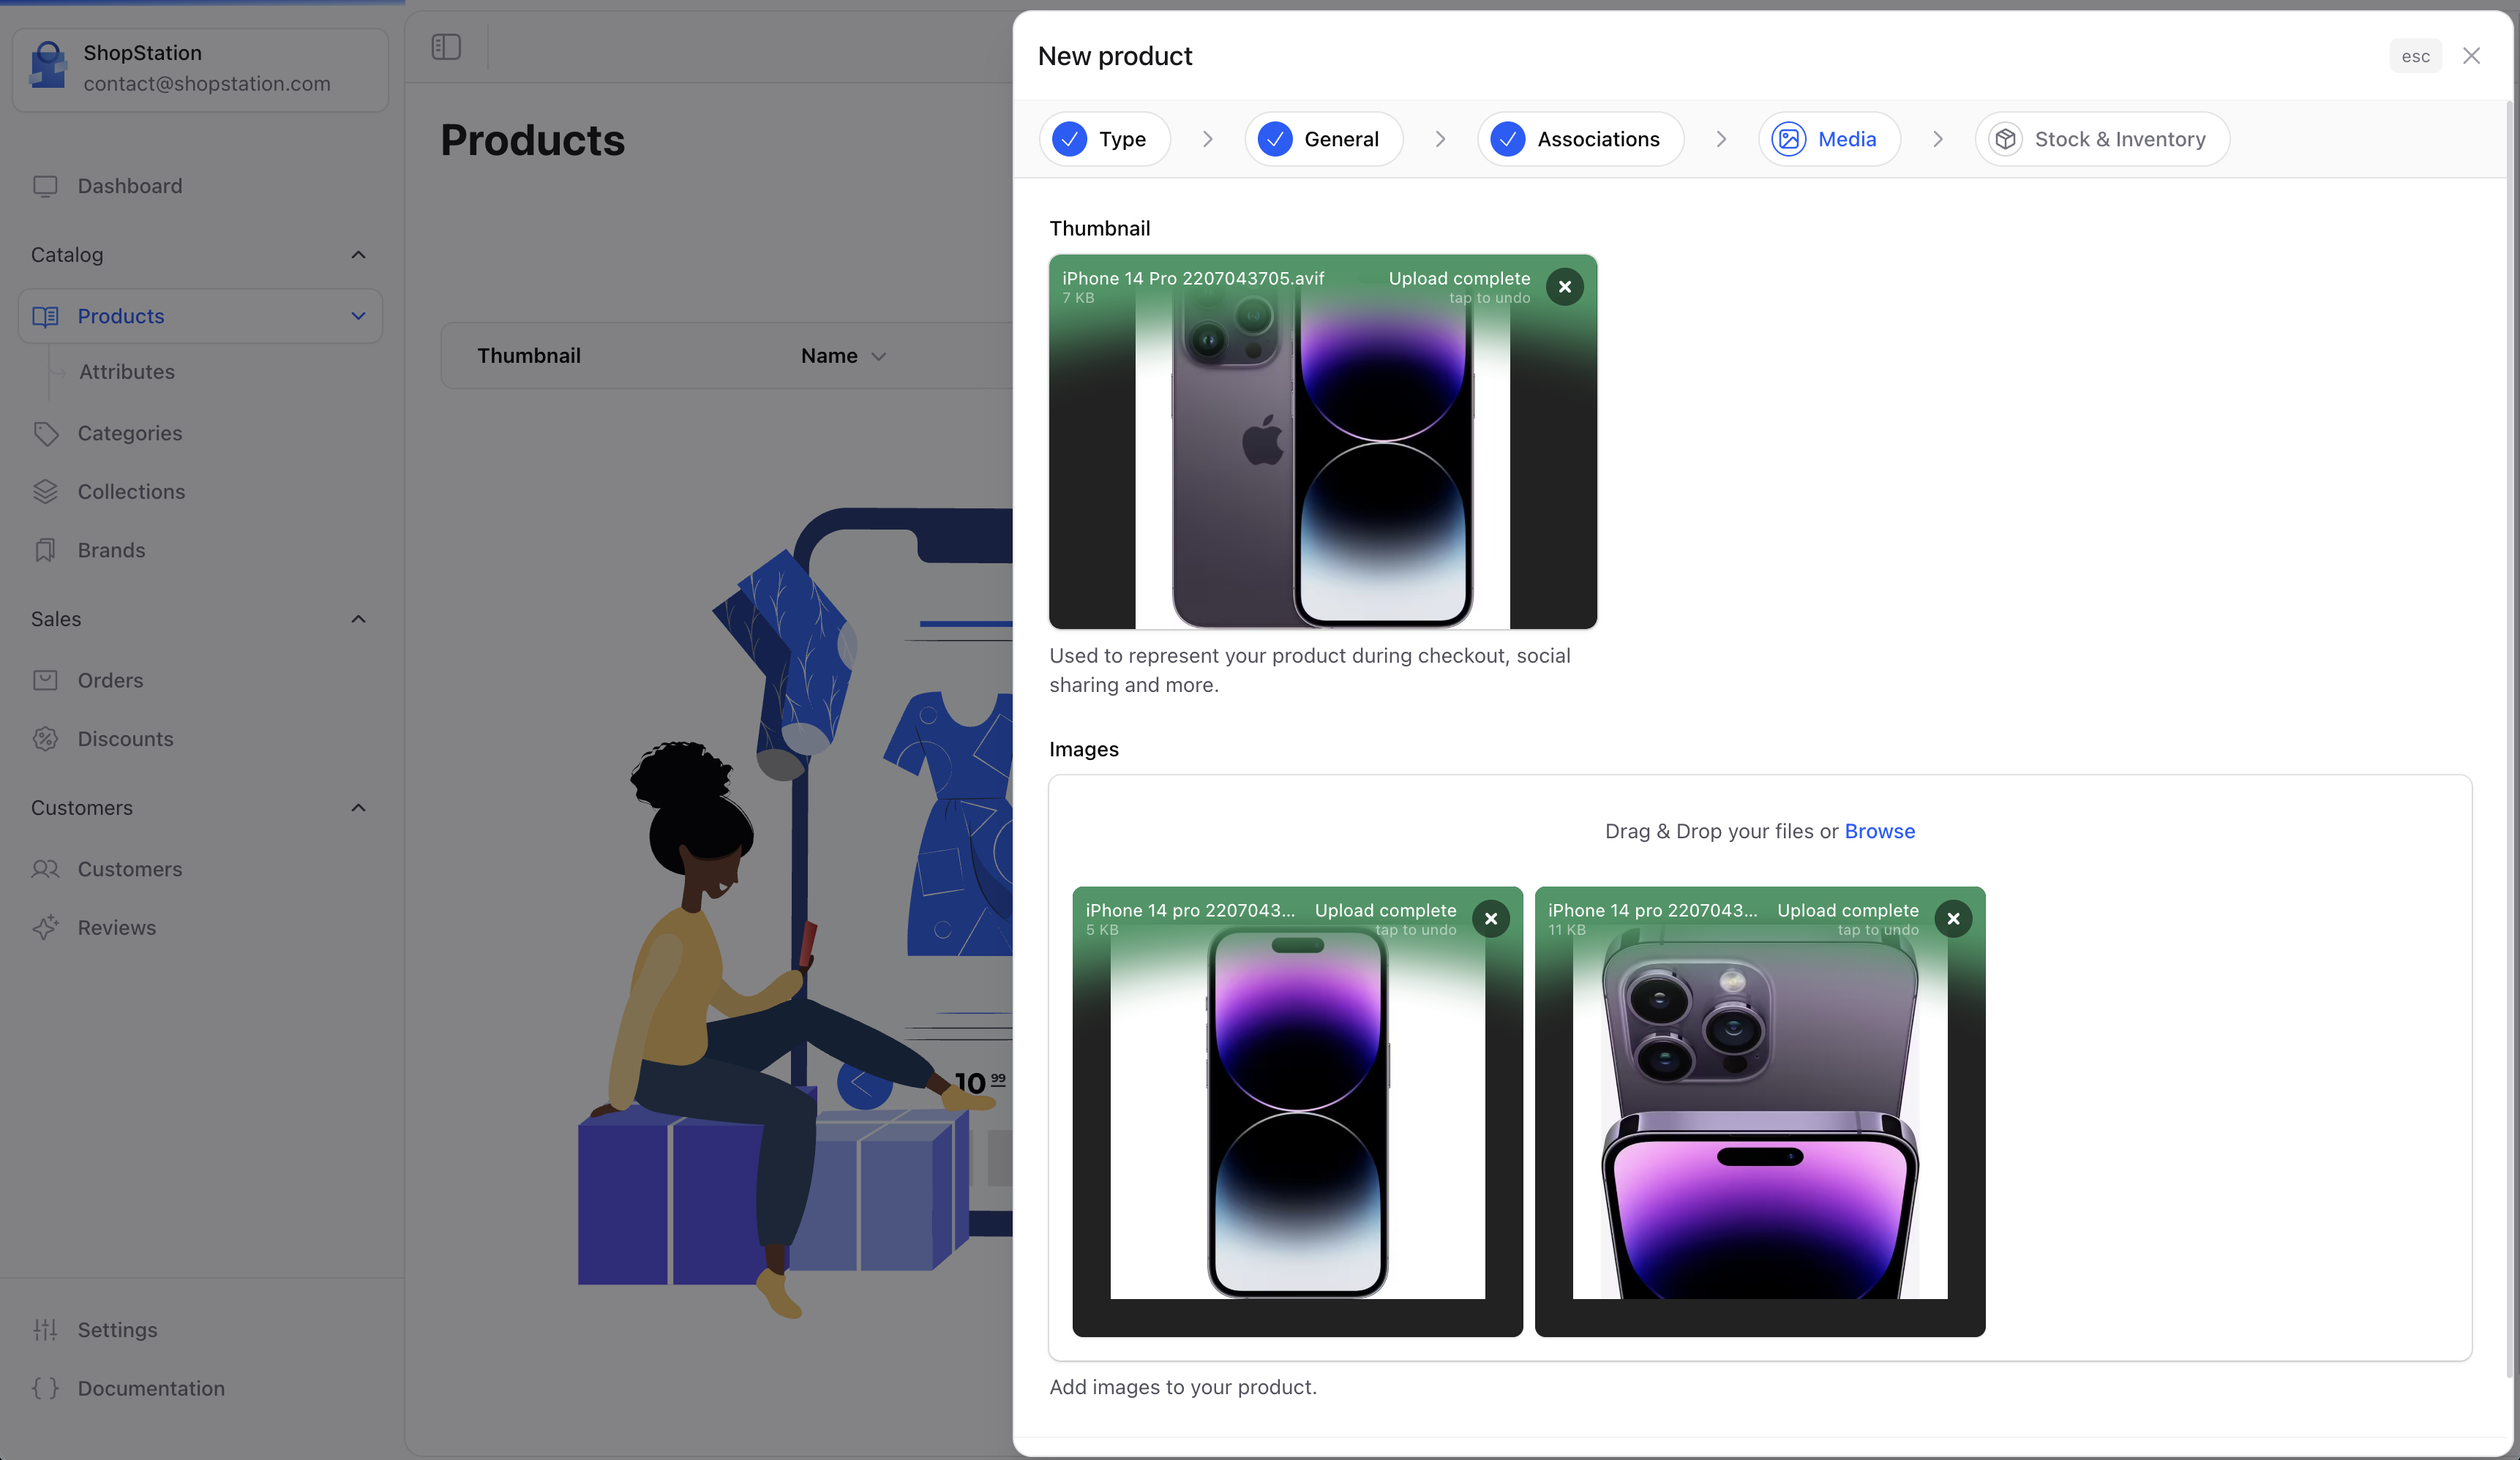 | Element | Description |
| ------------------ | ----------------------------------------------------------------------------------------------------------- |
| **Thumbnail** | The main image shown in product listings, search results, and cards. Upload one image. |
| **Product images** | Additional images shown on the product detail page. Upload multiple images for different angles or details. |
**Image best practices:**
* Use high-resolution images (minimum 800x800px recommended)
* Keep a consistent aspect ratio across products
* Show the product from multiple angles
* Use a clean background for the thumbnail
## Step 5: Stock & Inventory
Set up the initial inventory information for your product.
| Element | Description |
| ------------------ | ----------------------------------------------------------------------------------------------------------- |
| **Thumbnail** | The main image shown in product listings, search results, and cards. Upload one image. |
| **Product images** | Additional images shown on the product detail page. Upload multiple images for different angles or details. |
**Image best practices:**
* Use high-resolution images (minimum 800x800px recommended)
* Keep a consistent aspect ratio across products
* Show the product from multiple angles
* Use a clean background for the thumbnail
## Step 5: Stock & Inventory
Set up the initial inventory information for your product.
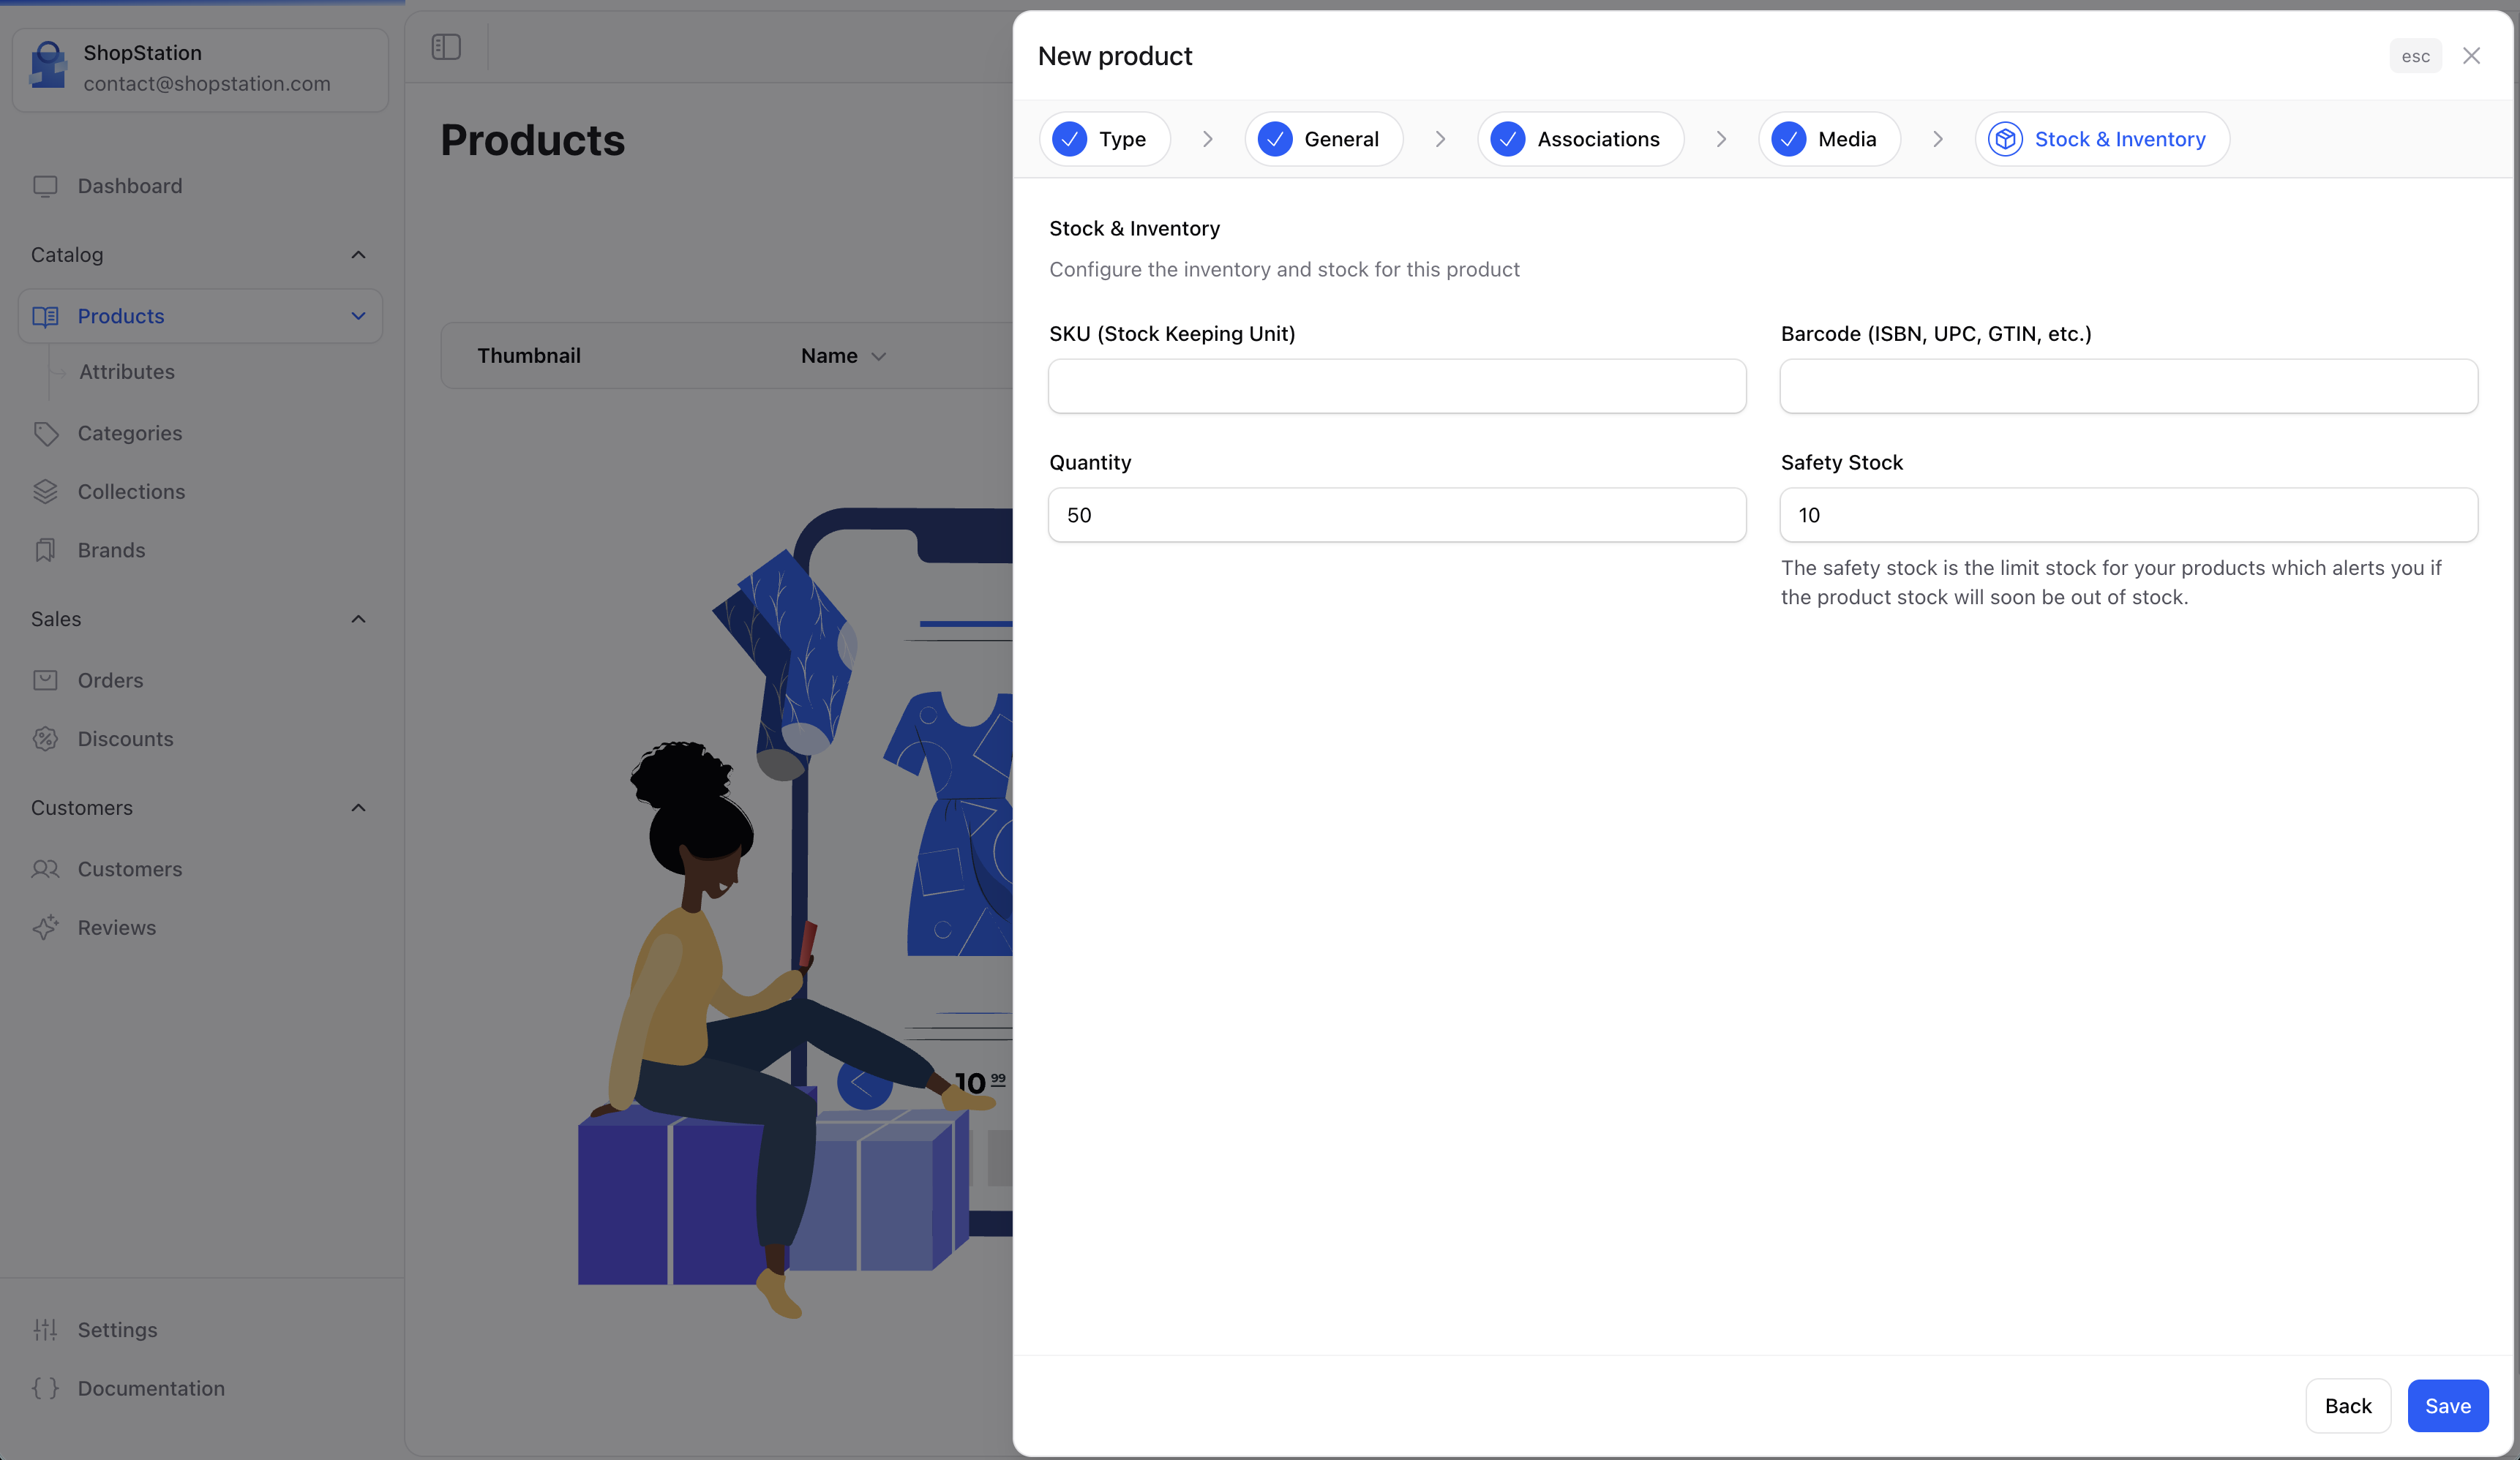 | Field | Required | Description |
| ---------------- | -------- | --------------------------------------------------------------------------------------------------------------------------- |
| **SKU** | No | Stock Keeping Unit, a unique identifier for your product in your inventory system. |
| **Barcode** | No | The product barcode (UPC, EAN, ISBN, etc.) for scanning and identification. |
| **Quantity** | No | The initial stock quantity available for sale. |
| **Safety stock** | No | The minimum stock level that triggers a low-stock alert. When inventory reaches this number, you'll be notified to reorder. |
For **Variant** products, inventory is managed at the variant level (per size/color combination), not at the parent product level. You'll configure stock for each variant after creation.
For **Virtual** and **External** products, inventory tracking is typically not needed since there's no physical stock to manage.
## Completing the Creation
After filling in all the steps, click **Save** to create your product. You'll be redirected to the product detail page where you can:
* Configure pricing
* Set up shipping dimensions (Standard & Variant products)
* Add product attributes (Standard & Variant products)
* Upload digital files (Virtual products)
* Generate variants (Variant products)
* Optimize SEO settings
* Link related products
## What's Next?
Depending on your product type, continue with the specific guide:
Configure shipping, attributes, and inventory for physical goods.
Upload digital files and configure access for downloadable products.
Set up dropshipping product details and supplier information.
Create variants from attribute combinations like size and color.
| Field | Required | Description |
| ---------------- | -------- | --------------------------------------------------------------------------------------------------------------------------- |
| **SKU** | No | Stock Keeping Unit, a unique identifier for your product in your inventory system. |
| **Barcode** | No | The product barcode (UPC, EAN, ISBN, etc.) for scanning and identification. |
| **Quantity** | No | The initial stock quantity available for sale. |
| **Safety stock** | No | The minimum stock level that triggers a low-stock alert. When inventory reaches this number, you'll be notified to reorder. |
For **Variant** products, inventory is managed at the variant level (per size/color combination), not at the parent product level. You'll configure stock for each variant after creation.
For **Virtual** and **External** products, inventory tracking is typically not needed since there's no physical stock to manage.
## Completing the Creation
After filling in all the steps, click **Save** to create your product. You'll be redirected to the product detail page where you can:
* Configure pricing
* Set up shipping dimensions (Standard & Variant products)
* Add product attributes (Standard & Variant products)
* Upload digital files (Virtual products)
* Generate variants (Variant products)
* Optimize SEO settings
* Link related products
## What's Next?
Depending on your product type, continue with the specific guide:
Configure shipping, attributes, and inventory for physical goods.
Upload digital files and configure access for downloadable products.
Set up dropshipping product details and supplier information.
Create variants from attribute combinations like size and color.