> ## Documentation Index
> Fetch the complete documentation index at: https://docs.laravelshopper.dev/llms.txt
> Use this file to discover all available pages before exploring further.
# Roles & Permissions
> Configure access control with roles and permissions.
Roles and permissions allow you to control what each staff member can do in your store's administration panel. This ensures security and prevents unauthorized access to sensitive areas.
## Overview
The access control system consists of:
* **Roles** - Groups of permissions assigned to users
* **Permissions** - Individual actions a user can perform
## Accessing Roles & Permissions
1. Click on **Settings** in the sidebar
2. Navigate to the access control section
## Understanding Permissions
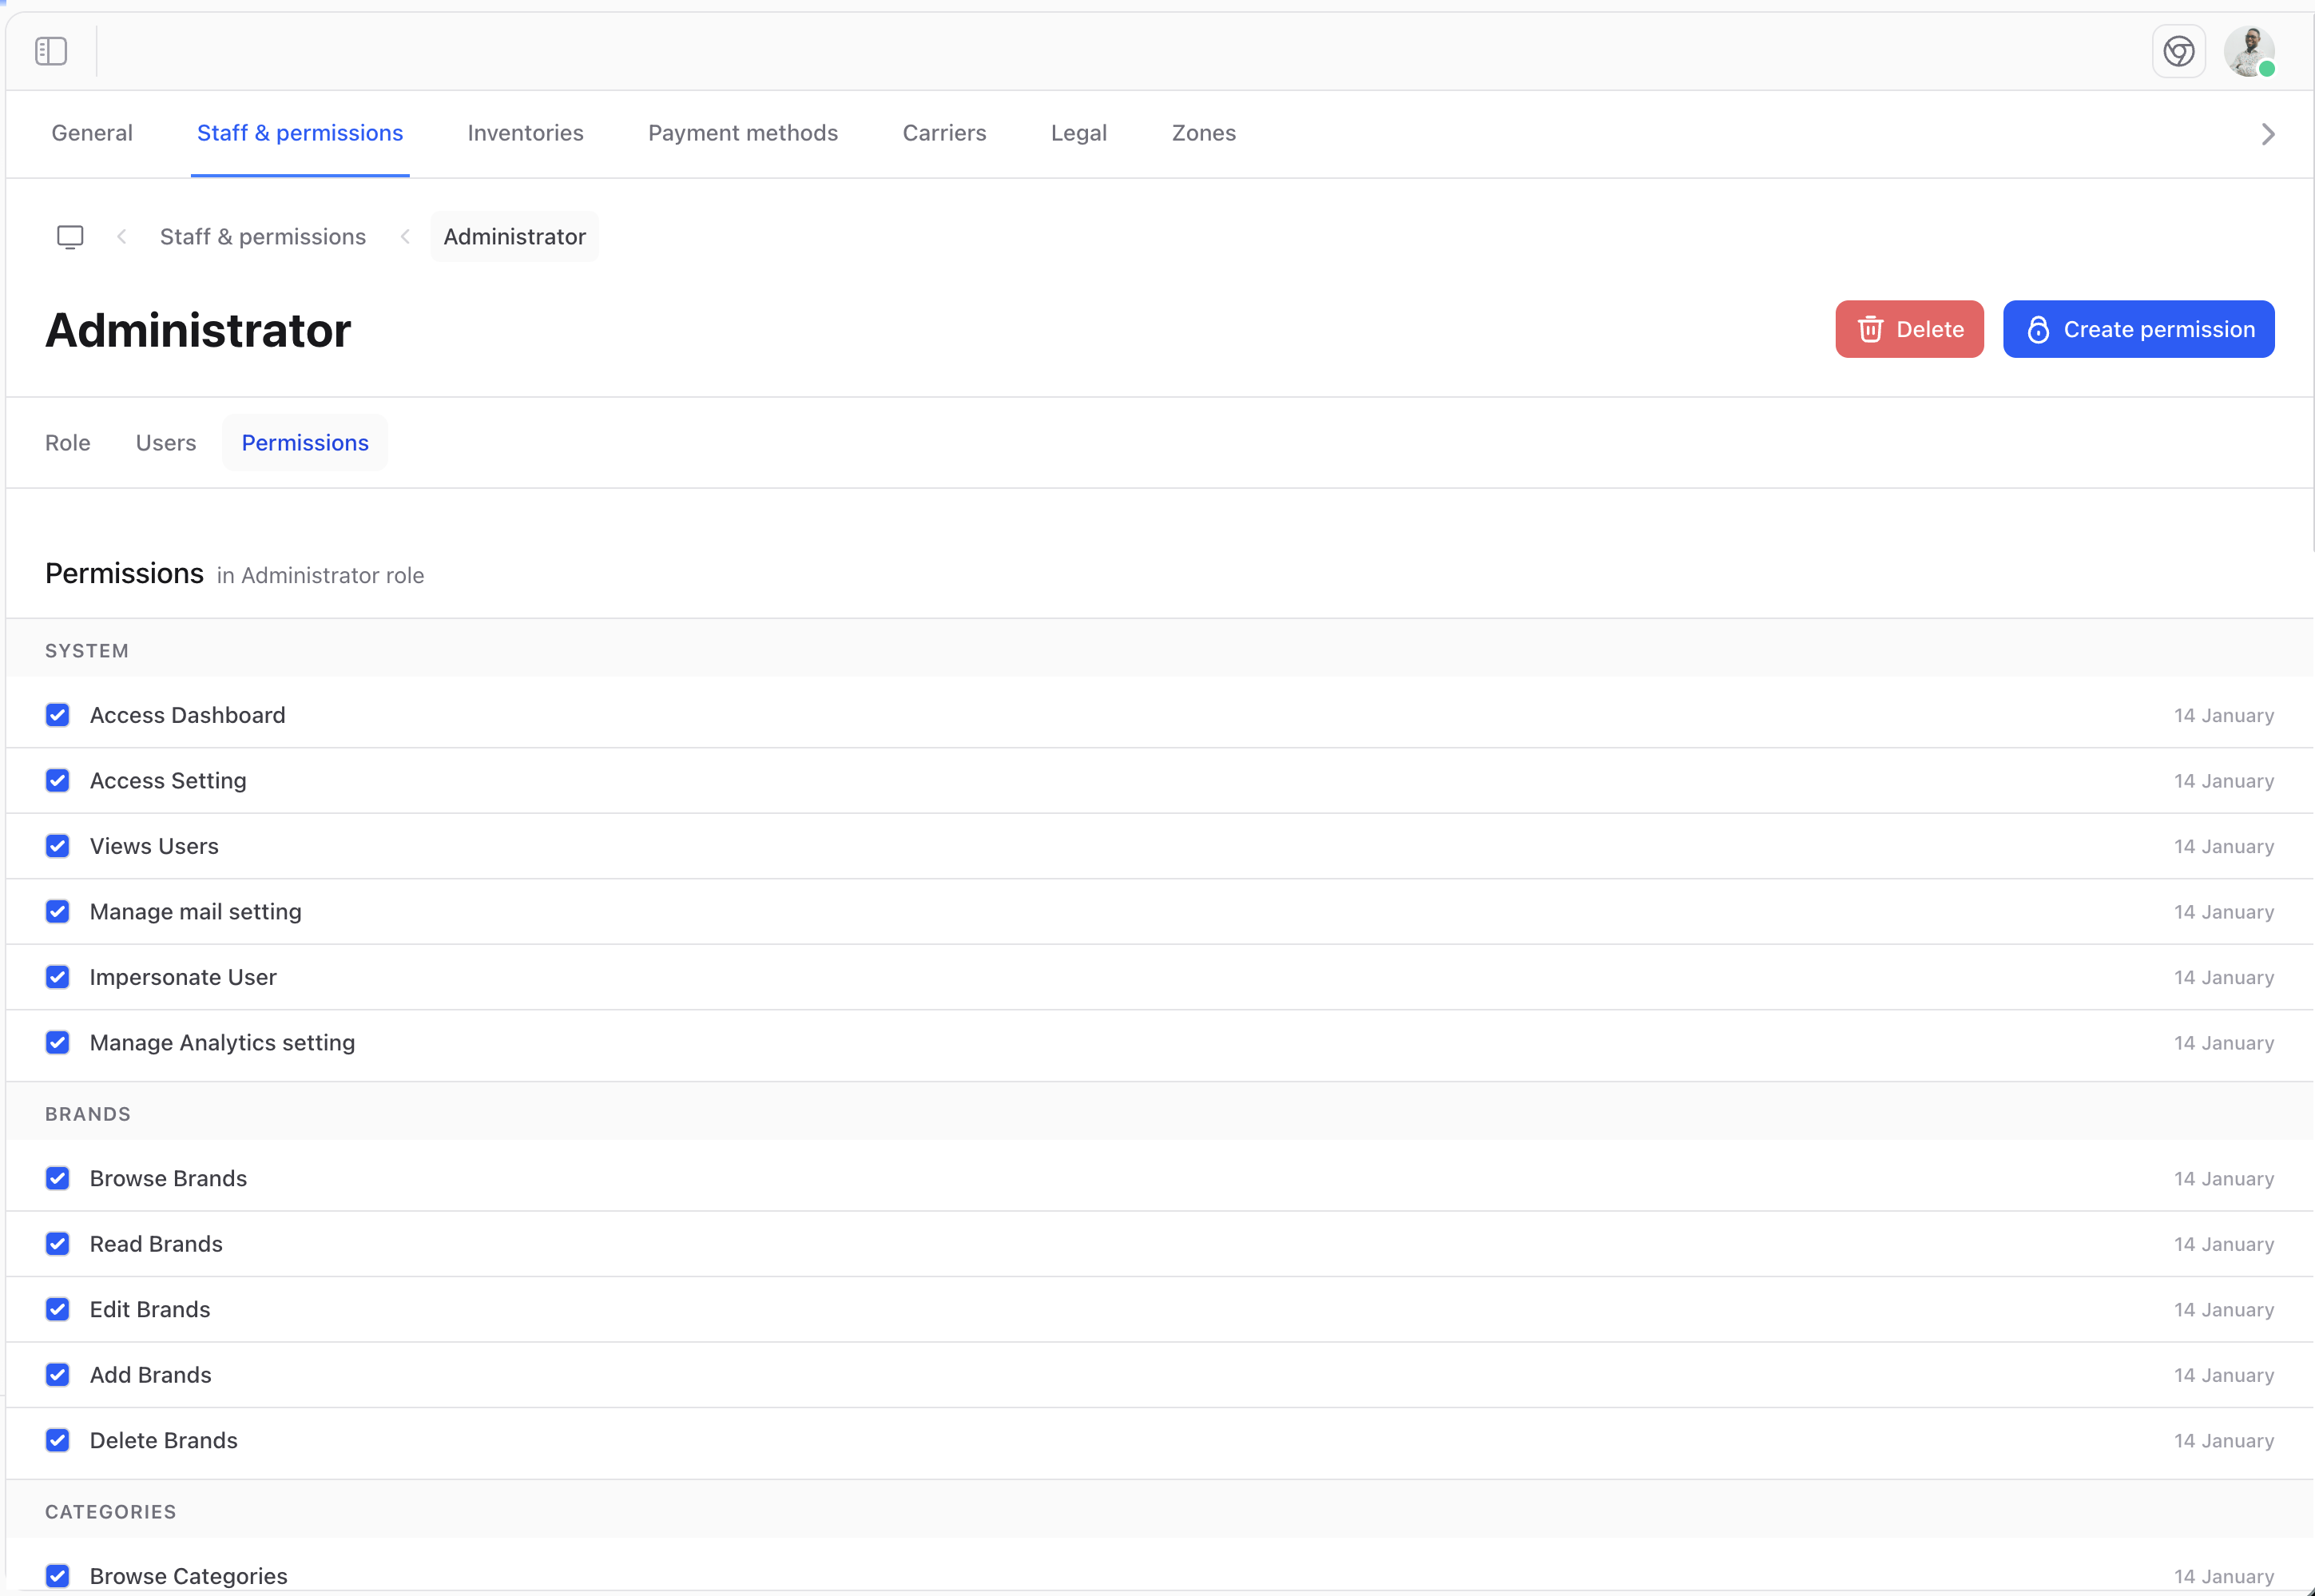
Permissions control access to specific actions:
 ### Permission Categories
| Category | Examples |
| ------------- | ----------------------------------- |
| **Products** | View, create, edit, delete products |
| **Orders** | View orders, process refunds |
| **Customers** | View customer data, edit accounts |
| **Settings** | Access configuration options |
| **Staff** | Manage other administrators |
### Browsing Permissions
View all available permissions in the system:
## Managing Roles
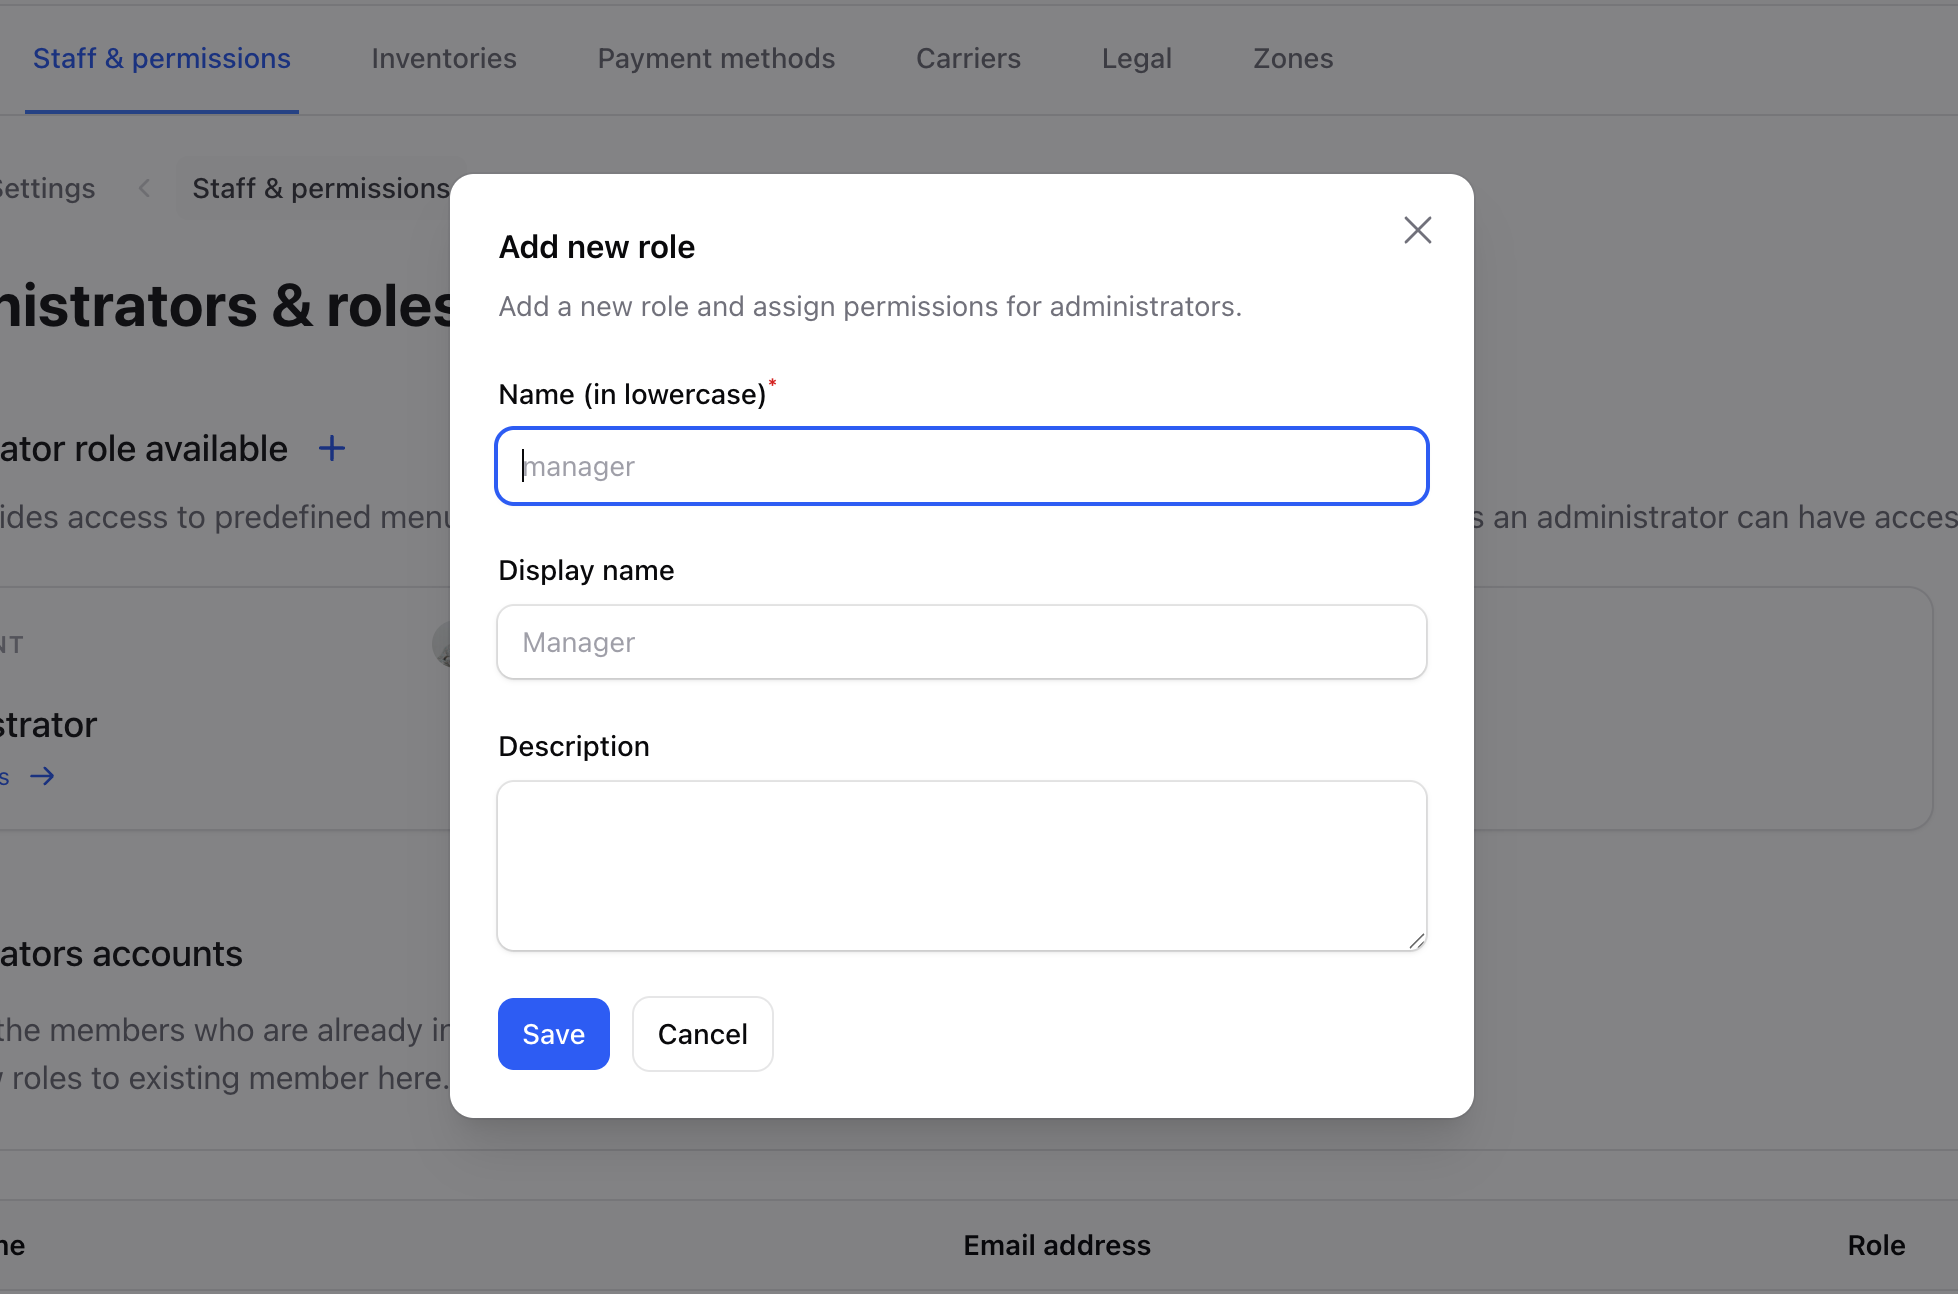
### Creating a Role
To create a new role:
1. Navigate to Roles
2. Click **Create role**
3. Enter a name and description
4. Select permissions
5. Click **Save**
### Permission Categories
| Category | Examples |
| ------------- | ----------------------------------- |
| **Products** | View, create, edit, delete products |
| **Orders** | View orders, process refunds |
| **Customers** | View customer data, edit accounts |
| **Settings** | Access configuration options |
| **Staff** | Manage other administrators |
### Browsing Permissions
View all available permissions in the system:
## Managing Roles
### Creating a Role
To create a new role:
1. Navigate to Roles
2. Click **Create role**
3. Enter a name and description
4. Select permissions
5. Click **Save**
 ### Role Fields
| Field | Description |
| --------------- | --------------------------------- |
| **Name** | Role name (e.g., "Store Manager") |
| **Description** | What this role is for |
| **Permissions** | List of allowed actions |
### Updating a Role
Modify an existing role:
### Role Fields
| Field | Description |
| --------------- | --------------------------------- |
| **Name** | Role name (e.g., "Store Manager") |
| **Description** | What this role is for |
| **Permissions** | List of allowed actions |
### Updating a Role
Modify an existing role:
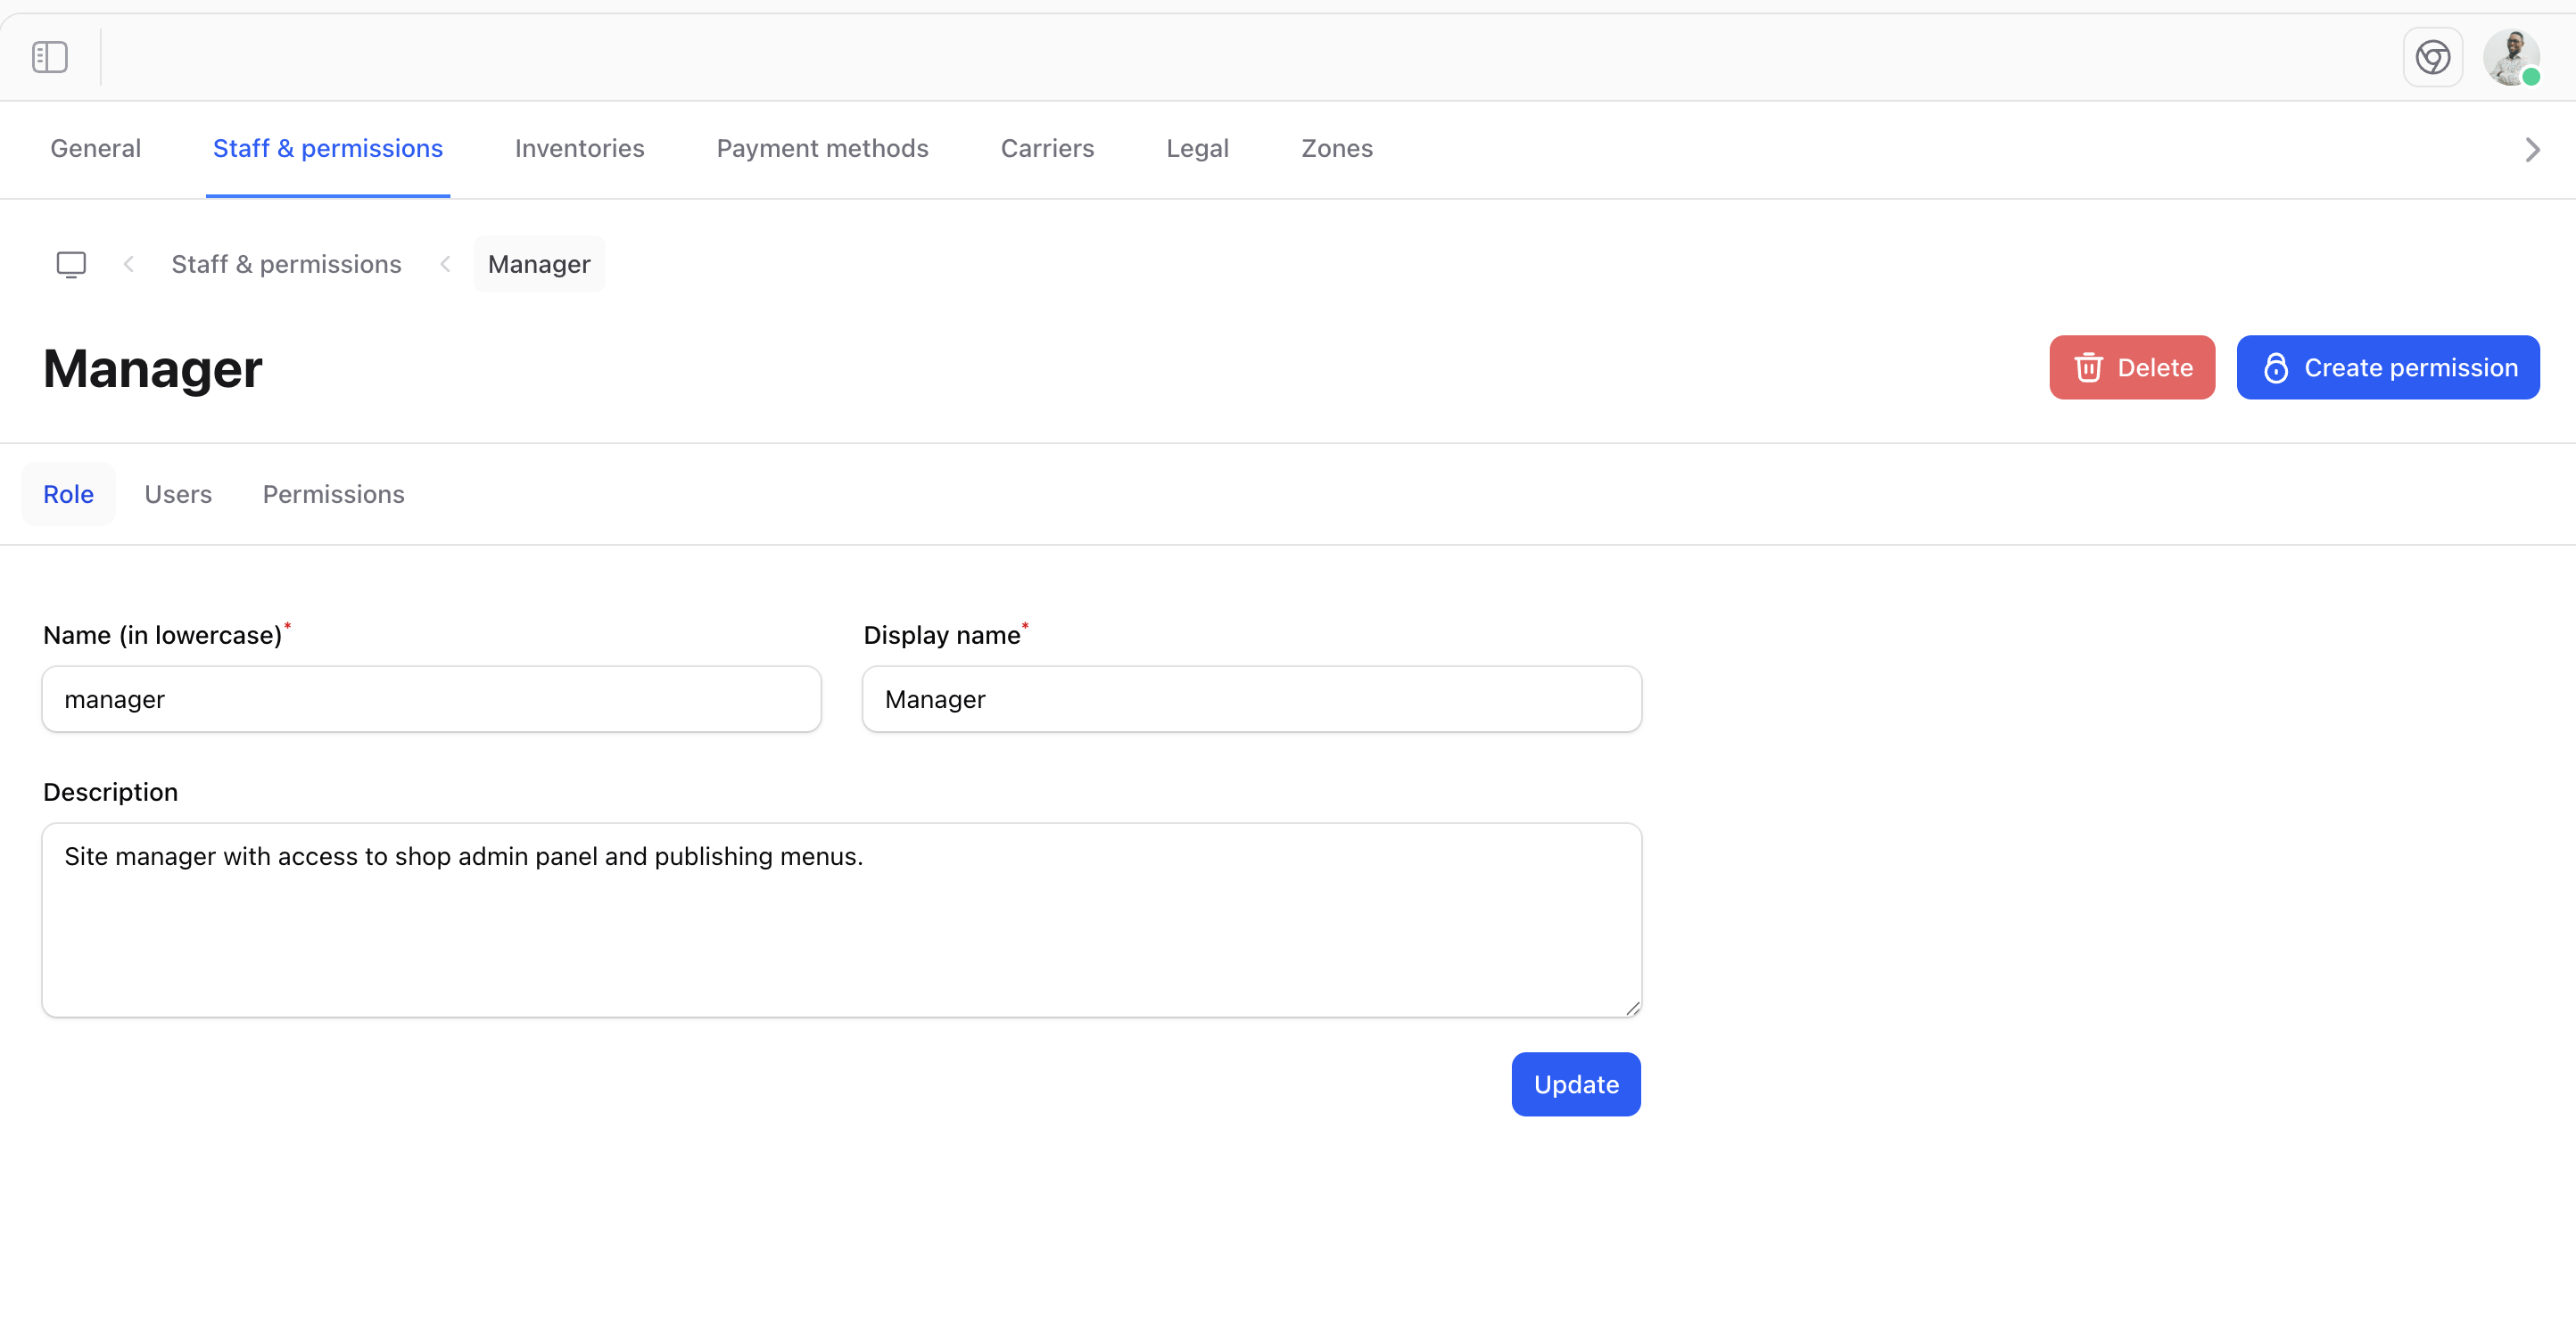 Changes apply immediately to all users with that role.
## Creating Permissions
Add custom permissions for your specific needs:
Changes apply immediately to all users with that role.
## Creating Permissions
Add custom permissions for your specific needs:
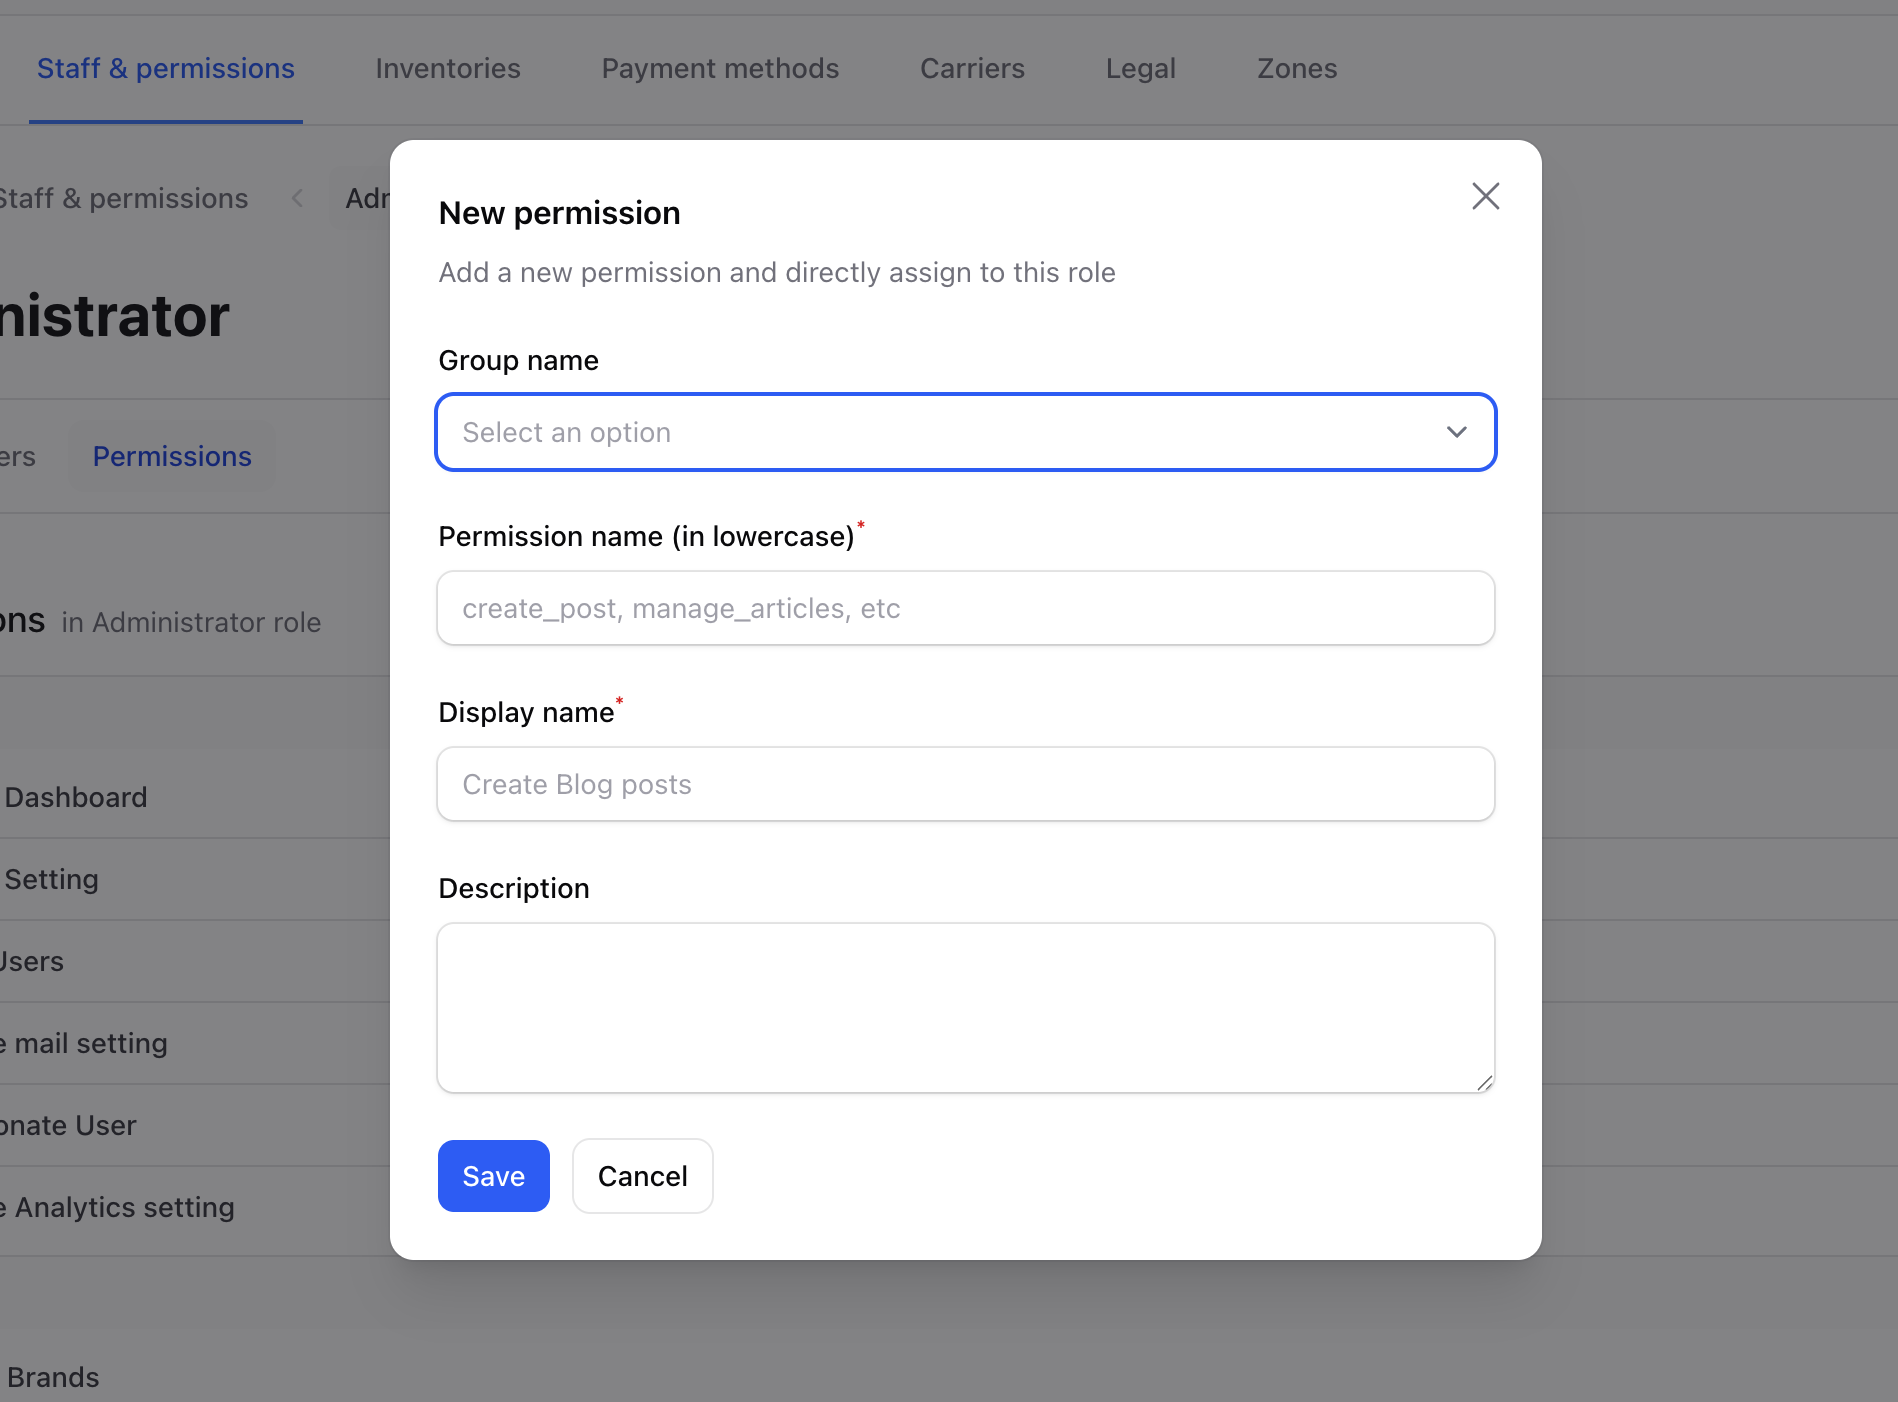 ## Custom Permissions
Create permissions tailored to your business:
## Custom Permissions
Create permissions tailored to your business:
 ## Common Role Examples
### Store Manager
Full operational access:
* All product permissions
* All order permissions
* All customer permissions
* Limited settings access
### Content Editor
Focus on catalog management:
* View/edit products
* View/edit categories
* View/edit collections
* No order or customer access
### Support Agent
Customer service focus:
* View orders
* View customers
* Limited edit capabilities
* No product management
### Marketing
Promotional access:
* View products
* Manage discounts
* Manage collections
* No customer data access
## Best Practices
Begin with minimal permissions and add as needed.
Create roles that match actual job functions.
Audit roles periodically to ensure they're still appropriate.
Keep clear descriptions of what each role can do.
## Permission Hierarchy
Some permissions may depend on others. For example, to edit a product, a user typically also needs permission to view products.
When assigning permissions, consider:
1. **View** - Can see the information
2. **Create** - Can add new items
3. **Edit** - Can modify existing items
4. **Delete** - Can remove items (most sensitive)
## Security Considerations
* **Audit trails** - Track who changed what
* **Separation of duties** - Don't give one person all permissions
* **Regular reviews** - Remove unnecessary access
* **Test roles** - Verify permissions work as expected
For developer details, see the [Roles & Permissions documentation](/v2/acl).
## Common Role Examples
### Store Manager
Full operational access:
* All product permissions
* All order permissions
* All customer permissions
* Limited settings access
### Content Editor
Focus on catalog management:
* View/edit products
* View/edit categories
* View/edit collections
* No order or customer access
### Support Agent
Customer service focus:
* View orders
* View customers
* Limited edit capabilities
* No product management
### Marketing
Promotional access:
* View products
* Manage discounts
* Manage collections
* No customer data access
## Best Practices
Begin with minimal permissions and add as needed.
Create roles that match actual job functions.
Audit roles periodically to ensure they're still appropriate.
Keep clear descriptions of what each role can do.
## Permission Hierarchy
Some permissions may depend on others. For example, to edit a product, a user typically also needs permission to view products.
When assigning permissions, consider:
1. **View** - Can see the information
2. **Create** - Can add new items
3. **Edit** - Can modify existing items
4. **Delete** - Can remove items (most sensitive)
## Security Considerations
* **Audit trails** - Track who changed what
* **Separation of duties** - Don't give one person all permissions
* **Regular reviews** - Remove unnecessary access
* **Test roles** - Verify permissions work as expected
For developer details, see the [Roles & Permissions documentation](/v2/acl).