> ## Documentation Index
> Fetch the complete documentation index at: https://docs.laravelshopper.dev/llms.txt
> Use this file to discover all available pages before exploring further.
# Locations
This is documentation for Shopper v1, which is no longer maintained. Please refer to the [v2 docs](/v2) for the latest information.
By default when you install Shopper for the first time you configure and create your shop, and this allows you to create a first location which will have the information you defined. This is the initial location in which all products will be stored.
If you have already used [Shopify](https://shopify.com) it is a bit the same model, but a little simpler so that you can modify it because the system is accessible for any type of business.
You can set up multiple locations in your store so that you can track inventory and have excel documents of the products ordered in each of your locations. Your locations can be retail stores, warehouses, popups, or any other place where you manage or store inventory. With multiple locations, you have better visibility into your inventory in your business.
 A location is a physical place or space where you perform any or all of the following activities: Selling products, shipping or fulfillment orders, and inventory inventory (this may even be your apartment).
## Setup locations
From the administration area of your store you can't manage more than 4 inventories. This system being still experimental we are working on it to make it simpler to facilitate the management of your store.
### Fields
The model used is `Shopper\Core\Models\Inventory`.
| Name | Type | Required | Notes |
| --------------------- | ------- | ------------- | --------------------------------------------------------------------------------------------------------- |
| `id` | autoinc | | auto |
| `code` | string | yes | Unique, the code is a unique element that allows to index an inventory in a unique way, a bit like a slug |
| `description` | text | no | nullable |
| `email` | string | yes | Unique, the location email address |
| `street_address` | string | yes | The address details (street, nr, building, etc) |
| `street_address_plus` | string | no | The second address details (optional) |
| `zipcode` | string | yes | National identification code. (optional) |
| `city` | string | yes | The city/settlement |
| `phone_number` | string | no | Nullable |
| `priority` | integer | default (`0`) | no |
| `latitude` | decimal | no | Nullable, GPS latitude coordinates |
| `longitude` | decimal | no | Nullable, GPS longitude coordinates |
| `is_default` | boolean | no | Default `false`, define location as defaut for stock |
| `country_id` | string | yes | foreign key for country, each location must be linked to a country |
### Components
The components used to manage locations are found in the component configuration file `config/shopper/components.php`.
```php theme={null}
use Shopper\Core\Http\Livewire;
use Shopper\Core\Http\Livewire\Components;
return [
'livewire' => [
'modals.delete-inventory' => Livewire\Modals\DeleteInventory::class,
'settings.inventories.browse' => Components\Settings\Inventories\Browse::class,
'settings.inventories.create' => Components\Settings\Inventories\Create::class,
'settings.inventories.edit' => Components\Settings\Inventories\Edit::class,
];
];
```
You can expand each of its components to customize this section or replace the entire section if your system requires it.
You can also change the views too and return your own views.
## Manage locations
In your administration area you must click on the "cog" icon to display the settings page of your store.
* From your admin panel, on the blue sidebar click on the cog icon, go to `Settings > Locations`.
A location is a physical place or space where you perform any or all of the following activities: Selling products, shipping or fulfillment orders, and inventory inventory (this may even be your apartment).
## Setup locations
From the administration area of your store you can't manage more than 4 inventories. This system being still experimental we are working on it to make it simpler to facilitate the management of your store.
### Fields
The model used is `Shopper\Core\Models\Inventory`.
| Name | Type | Required | Notes |
| --------------------- | ------- | ------------- | --------------------------------------------------------------------------------------------------------- |
| `id` | autoinc | | auto |
| `code` | string | yes | Unique, the code is a unique element that allows to index an inventory in a unique way, a bit like a slug |
| `description` | text | no | nullable |
| `email` | string | yes | Unique, the location email address |
| `street_address` | string | yes | The address details (street, nr, building, etc) |
| `street_address_plus` | string | no | The second address details (optional) |
| `zipcode` | string | yes | National identification code. (optional) |
| `city` | string | yes | The city/settlement |
| `phone_number` | string | no | Nullable |
| `priority` | integer | default (`0`) | no |
| `latitude` | decimal | no | Nullable, GPS latitude coordinates |
| `longitude` | decimal | no | Nullable, GPS longitude coordinates |
| `is_default` | boolean | no | Default `false`, define location as defaut for stock |
| `country_id` | string | yes | foreign key for country, each location must be linked to a country |
### Components
The components used to manage locations are found in the component configuration file `config/shopper/components.php`.
```php theme={null}
use Shopper\Core\Http\Livewire;
use Shopper\Core\Http\Livewire\Components;
return [
'livewire' => [
'modals.delete-inventory' => Livewire\Modals\DeleteInventory::class,
'settings.inventories.browse' => Components\Settings\Inventories\Browse::class,
'settings.inventories.create' => Components\Settings\Inventories\Create::class,
'settings.inventories.edit' => Components\Settings\Inventories\Edit::class,
];
];
```
You can expand each of its components to customize this section or replace the entire section if your system requires it.
You can also change the views too and return your own views.
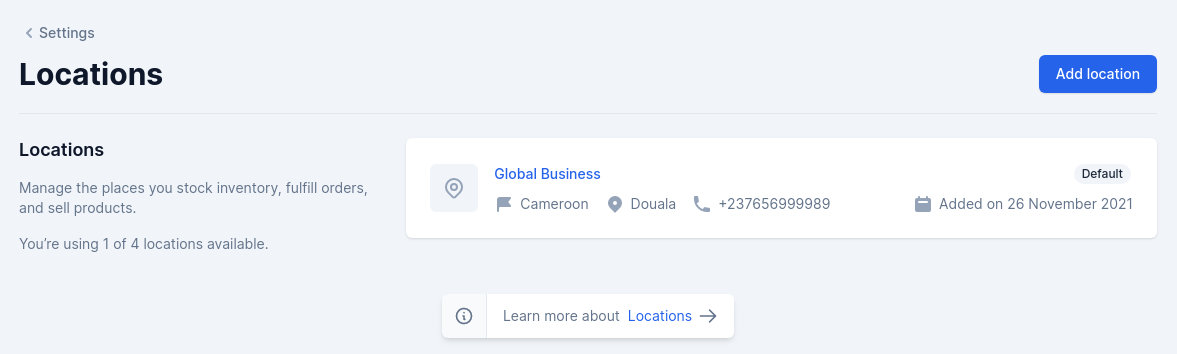
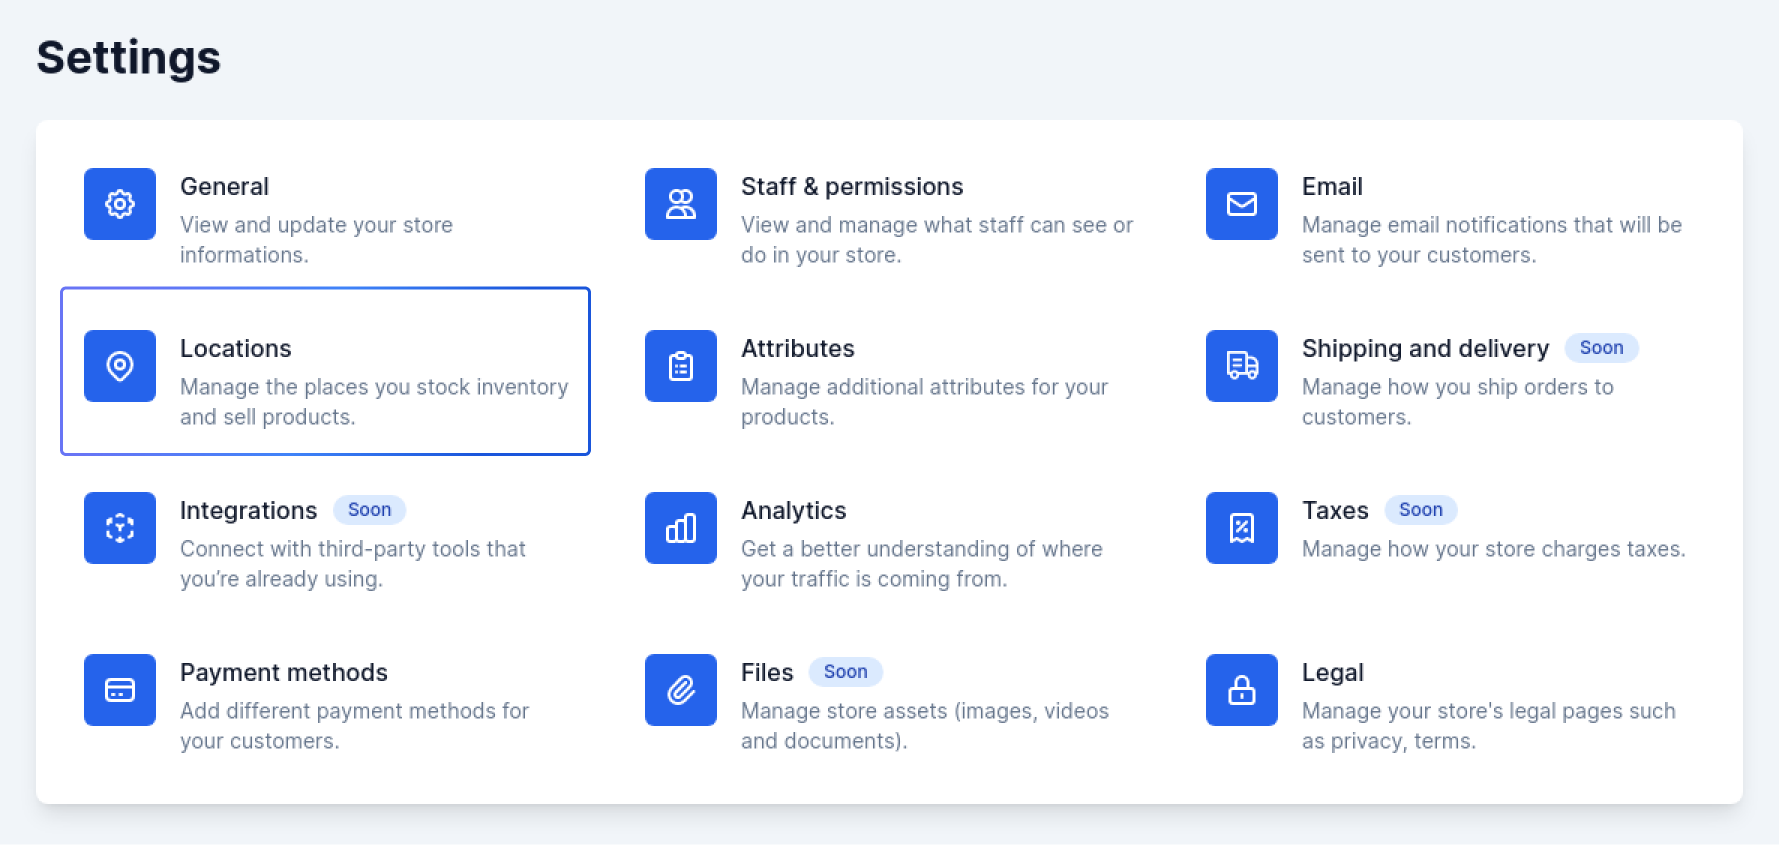
## Manage locations
In your administration area you must click on the "cog" icon to display the settings page of your store.
* From your admin panel, on the blue sidebar click on the cog icon, go to `Settings > Locations`.
 ### Add location
In your administration area you must click on the "cog" icon to display the settings page of your store.
1. Click Add location.
2. Enter a unique name and an address for the location.
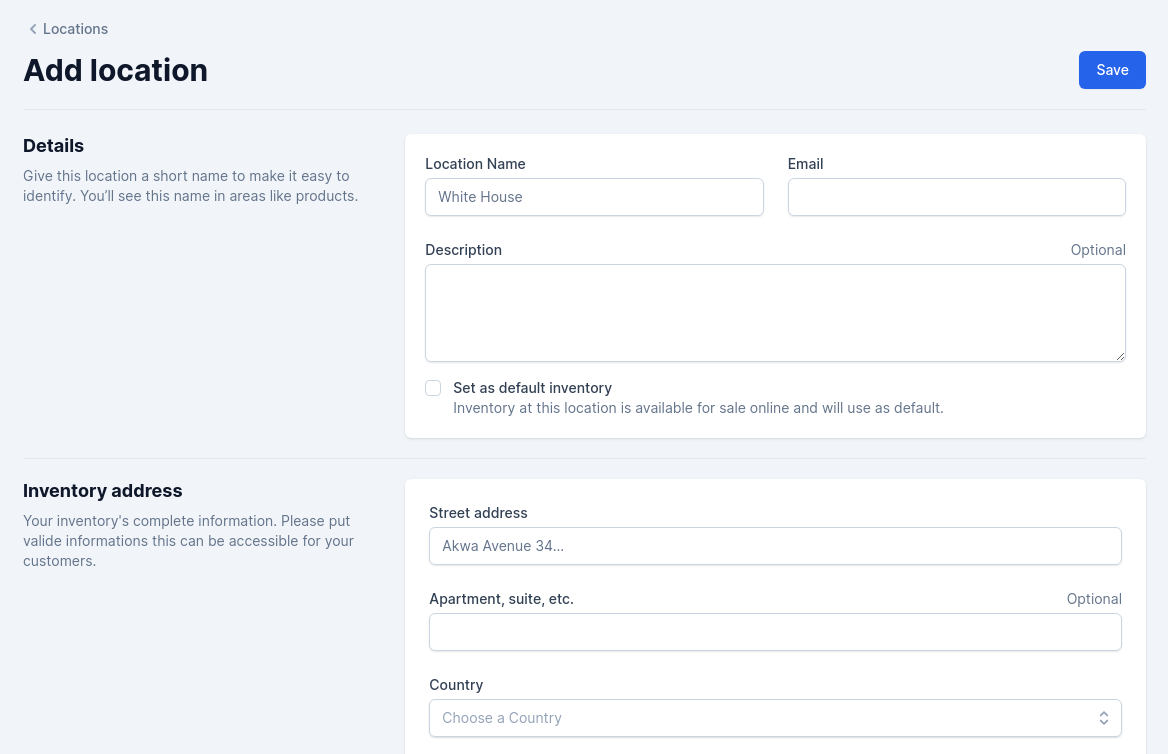
### Add location
In your administration area you must click on the "cog" icon to display the settings page of your store.
1. Click Add location.
2. Enter a unique name and an address for the location.
 ### Edit location
To update a location you click on an available location among those you have saved and you will have the update page.
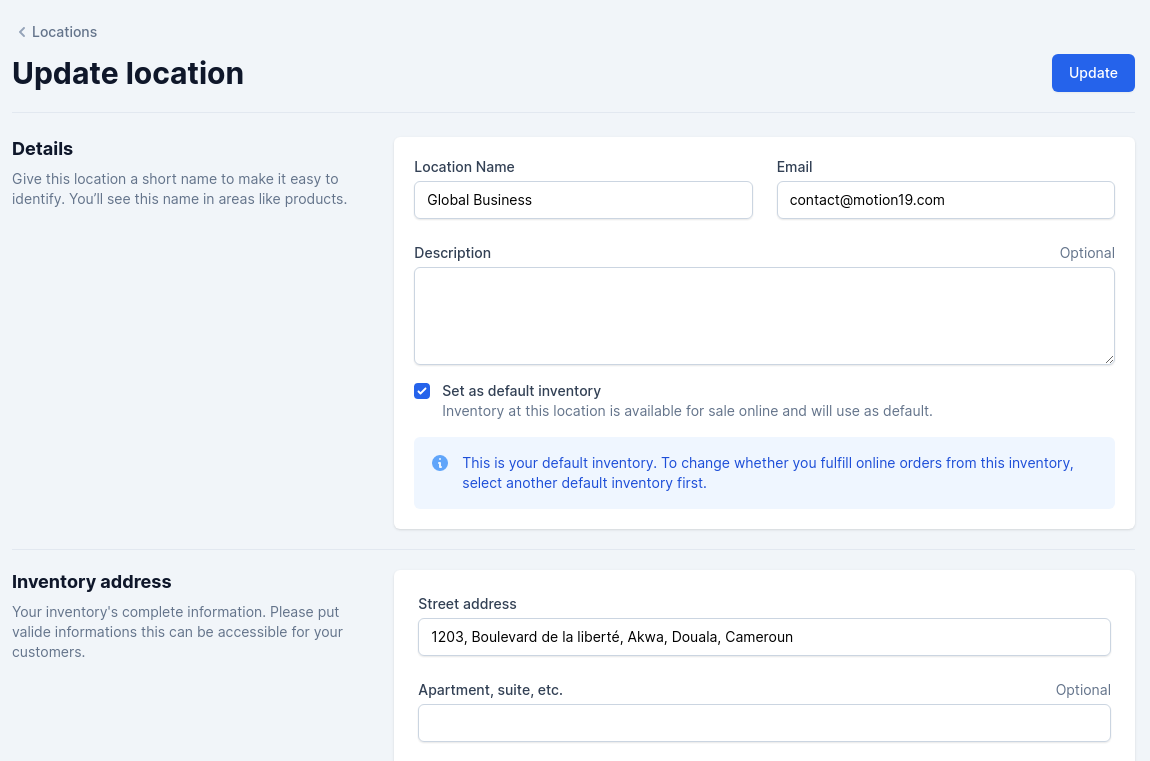
### Edit location
To update a location you click on an available location among those you have saved and you will have the update page.
 ### Define a default location
The default location is the one in which all products will be collected with each order. If this location is empty the products will be searched in another and if it is the only one the product will be out of stock on your store.
You select a location and during the modification you click on the checkbox **Set as default inventory**
### Define a default location
The default location is the one in which all products will be collected with each order. If this location is empty the products will be searched in another and if it is the only one the product will be out of stock on your store.
You select a location and during the modification you click on the checkbox **Set as default inventory**
 ### Delete location
To delete a location you must click on a location to display it and at the bottom of the page you click on the delete button.
### Delete location
To delete a location you must click on a location to display it and at the bottom of the page you click on the delete button.
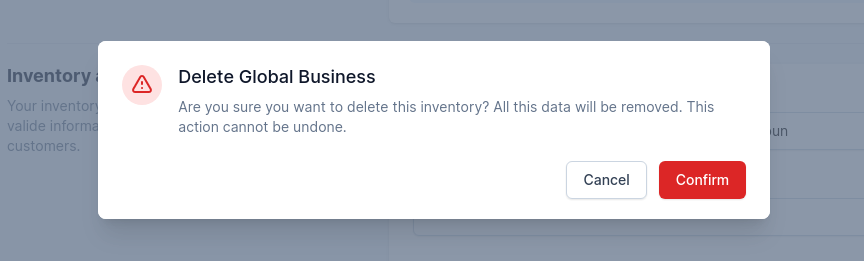 Once the location removed, all inventories will changed and this could complicate your inventory management. This is why you have a confirmation modal to be sure that this is indeed what you want to proceed.