> ## Documentation Index
> Fetch the complete documentation index at: https://docs.laravelshopper.dev/llms.txt
> Use this file to discover all available pages before exploring further.
# Installation
> Quick start guide for installing and configuring Shopper on your existing Laravel App
This is documentation for Shopper v1, which is no longer maintained. Please refer to the [v2 docs](/v2) for the latest information.
## Supported Versions of Laravel
**Laravel 8 and Laravel 9 are supported.** It feels like this section needs more than one sentence but it really doesn't. That first one said all that needs saying.
## Install Shopper
Shopper is really easy to install. After creating your new app or in an existing Laravel app (8+). There are 2 steps to follow to install Shopper.
1. Run `php artisan config:clear` to make sure your config isn't cached.
2. Install `shopper/framework` with Composer.
```bash theme={null}
composer require shopper/framework --with-dependencies
```
## Write Env Variables
Next make sure to create a new database and add your database credentials to your .env file, you will also want to add your application URL in the `APP_URL` variable
```bash theme={null}
APP_URL=http://laravelshopper.test
DB_HOST=localhost
DB_DATABASE=homestead
DB_USERNAME=homestead
DB_PASSWORD=secret
```
## Automatic Installation
After installing Shopper in your project via compose and configuring the database, now we will automatically install in the project.
```bash theme={null}
php artisan shopper:install
```
This will install shopper, publish vendor files, create shopper and storage symlinks if they don't exist in the public folder, run migrations and seeders classes.
And we're all good to go!
## Update Existing Files
Extend your current User Model (usually `app/Models/User.php`) using the `Shopper\Framework\Models\User\User as Authenticatable` alias:
```php theme={null}
// app/Models/User.php
use Shopper\Framework\Models\User\User as Authenticatable;
class User extends Authenticatable
{
// ...
}
```
## Create an Admin user
Now we can create a new superuser and sign into the Dashboard and start creating some content to display on the frontend.
Run the following command to create a user with supreme (at the moment of creation) rights:
```bash theme={null}
php artisan shopper:admin
```
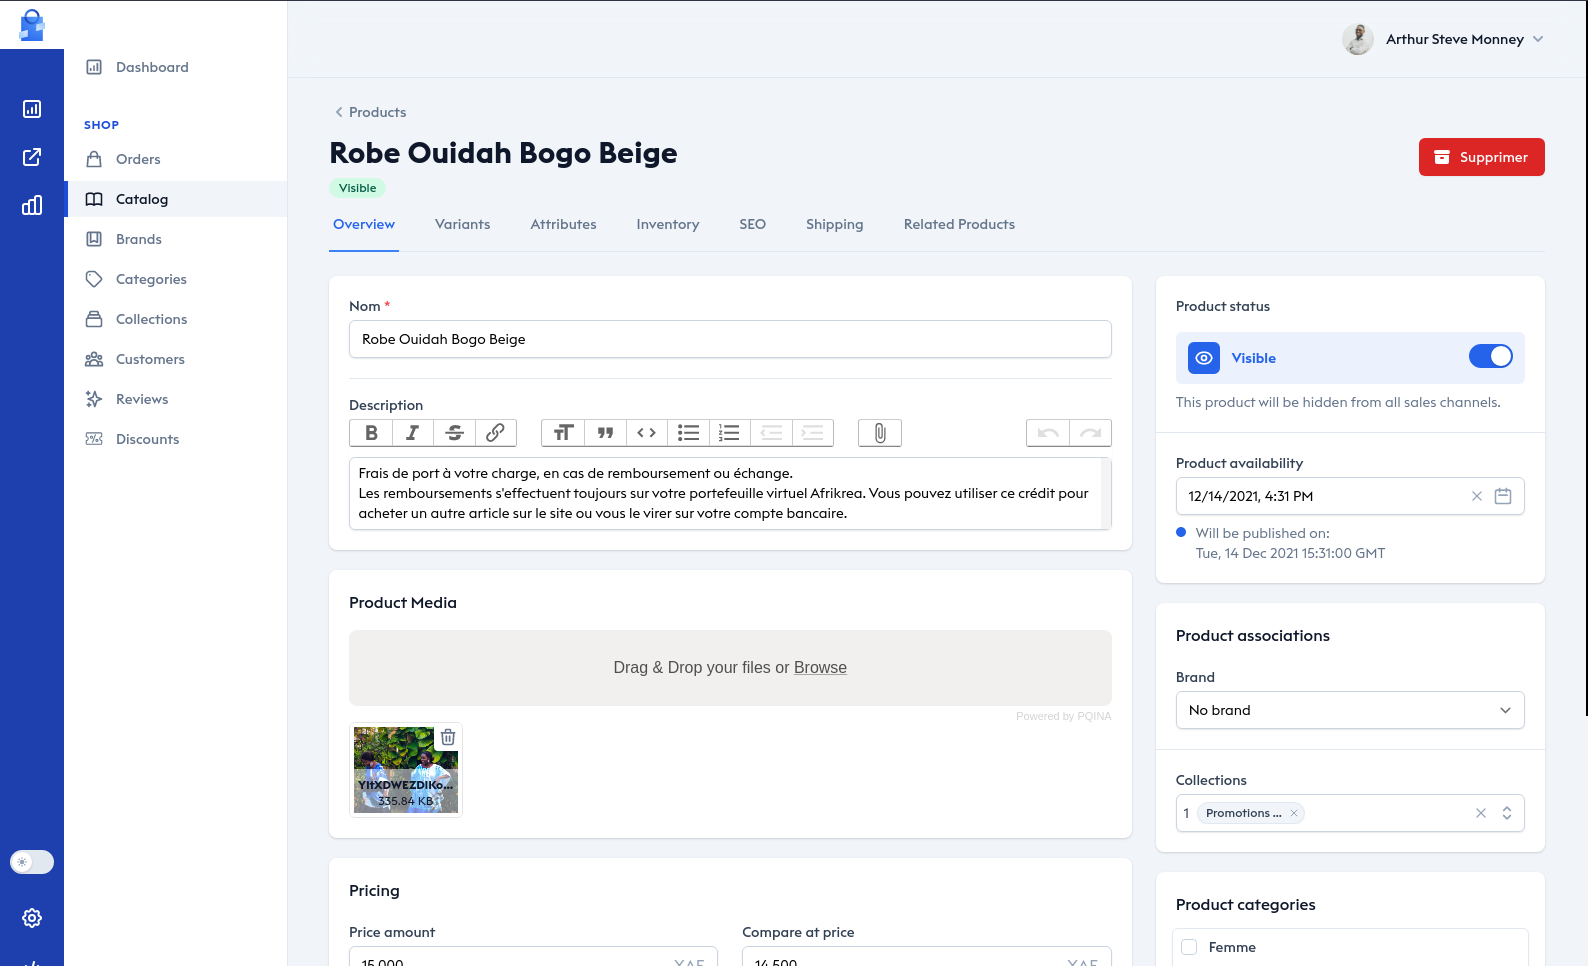
And you will be prompted for the user email, firstname, lastname and password. You can now login to start create products
 ## New Shopper Directory
After Shopper is installed, you'll have 1 new directory in your project:
* `config/shopper/`
## Publish Vendor Files
If you want to publish again Shopper's vendor files run these commands:
```bash theme={null}
php artisan shopper:publish
```
To run the project you may use the built-in server: `php artisan serve`
After that, run `composer dump-autoload` to finish your installation!
If your are using Laravel Valet you can easily access with your project name with `.test` at the end when you navigate on you project.
```bash theme={null}
http://laravelshopper.test/shopper/login
```
## New Shopper Directory
After Shopper is installed, you'll have 1 new directory in your project:
* `config/shopper/`
## Publish Vendor Files
If you want to publish again Shopper's vendor files run these commands:
```bash theme={null}
php artisan shopper:publish
```
To run the project you may use the built-in server: `php artisan serve`
After that, run `composer dump-autoload` to finish your installation!
If your are using Laravel Valet you can easily access with your project name with `.test` at the end when you navigate on you project.
```bash theme={null}
http://laravelshopper.test/shopper/login
```